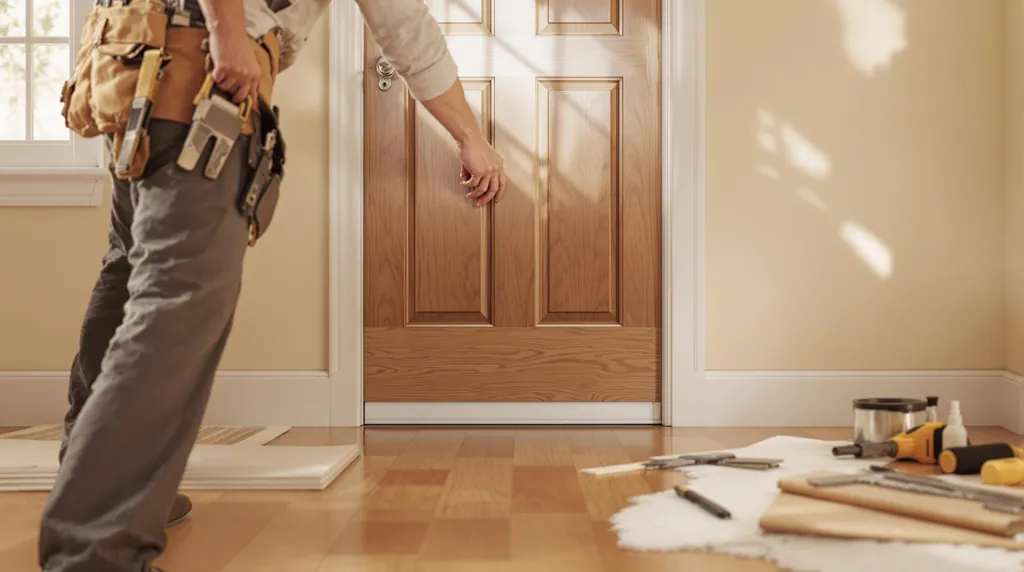
Learn how to install door weatherstripping to reduce drafts, save energy, and enhance comfort in your home year-round with simple steps.
How to Install Door Weatherstripping for Energy Savings
Did you know that up to 10% of your home's heat loss happens through exterior doors? Installing weatherstripping is a simple, effective way to reduce drafts, save on energy bills, and stay comfortable year-round. Here's a quick summary of what you'll need to do:
- Gather Tools: Tape measure, utility knife, screwdriver, cleaning supplies, and safety gear.
- Choose Materials: Options include foam tape, rubber gaskets, door sweeps, or V-strip vinyl.
- Prepare the Door: Remove old weatherstripping, clean the frame, and measure gaps.
- Install: Cut materials to size, apply adhesive strips, attach nail-on strips, and fit a door sweep.
- Check and Adjust: Ensure there are no gaps by testing with light or paper.
DIY How to install weather stripping - Exterior Door Installation
Required Tools and Materials
Having the right tools and materials is key to ensuring a proper seal and avoiding mistakes during weatherstripping installation.
Tools You'll Need
- Tape measure: For accurate measurements.
- Utility knife or scissors: To cut materials to the correct size.
- Screwdriver set: For securing components.
- Cleaning supplies: To prep surfaces for installation.
- Safety gear: Safety glasses and work gloves for protection.
- Pencil: To mark measurements.
- Metal file: To smooth out rough edges.
Types of Weatherstripping
- V-strip vinyl: Flexible and easy to install.
- Foam tape: Great for irregular gaps.
- Rubber gaskets: Durable and effective for sealing.
- Door sweeps: Blocks drafts under doors.
- Magnetic strips: Ideal for metal doors.
- Felt strips: A budget-friendly option.
- Vinyl bulb strips: Perfect for windows and doors.
- Bronze weatherstripping: Long-lasting and traditional.
Once you've gathered everything, you're ready to prepare the door frame for installation.
Before You Start
Follow these steps to get your door ready for a secure, weather-tight seal.
Inspect Existing Weatherstripping
Take off any strips that are loose or damaged. Look closely at the gaps around the door to identify where sealing is needed.
Clean the Door Frame
Use a damp cloth to wipe down the edges of the frame. Remove any old adhesive or debris with care, then let the surface dry completely.
Measure the Door
Grab a tape measure and check the perimeter of the door and the gap at the bottom. Write down these measurements to ensure accurate cutting later.
Once your door frame is prepped, you're ready to move on to the Installation Steps.
Installation Steps
With the frame ready, it's time to install the weatherstripping:
Cut Materials to Size
Measure the door's perimeter and cut each strip to match, adding an extra ½″ for a snug fit. For vinyl or rubber corners, make 45° cuts to ensure they fit tightly.
Apply Adhesive Strips
Peel off the backing and press the adhesive strips along the top of the door frame first, then move to the sides. Work in small sections to ensure the seal aligns evenly with the closed door.
Install Nail-On Strips
For nail-on strips, pre-drill holes every 12″. Use ¾″ finishing nails or the screws provided to attach the strips. Make sure they press lightly against the closed door to create an effective seal.
Install Door Sweep
Position the sweep at the bottom of the door and mark where the screws will go. Pre-drill the holes, then secure the sweep with #8 x ¾″ screws or self-tapping screws. Adjust it so there's about a ¹⁄₁₆″ gap from the floor.
Check and Adjust
Close the door and check for gaps by looking for light or feeling for drafts. You can also test by sliding a piece of paper under the door - it should move with slight resistance. If needed, adjust the strips or sweep until the seal is tight and the door latches properly.
Energy-Saving Tips
Saving energy at home doesn't have to be complicated. Small changes can lead to noticeable reductions in your energy bills. Here are a few practical steps to get started:
- Switch to LED Bulbs: LED lights use less electricity and last much longer than traditional incandescent bulbs. It's a simple swap that pays off over time.
- Unplug Devices: Electronics and chargers continue to draw power even when not in use. Unplugging them can help cut down on wasted energy.
- Adjust Your Thermostat: Lowering your thermostat by a few degrees in the winter or raising it slightly in the summer can result in significant savings without sacrificing comfort.
- Seal Drafts: Use weather stripping or caulk to seal gaps around windows and doors. This keeps your home insulated and reduces heating and cooling costs.
These easy steps can make a big difference in reducing energy usage and lowering your monthly expenses.
Conclusion
Installing door weatherstripping the right way helps reduce energy waste and keeps your home comfortable throughout the year without breaking the bank. Pick the right materials for your door, follow the outlined steps, check it every year, and replace any worn-out strips to keep saving energy and money.