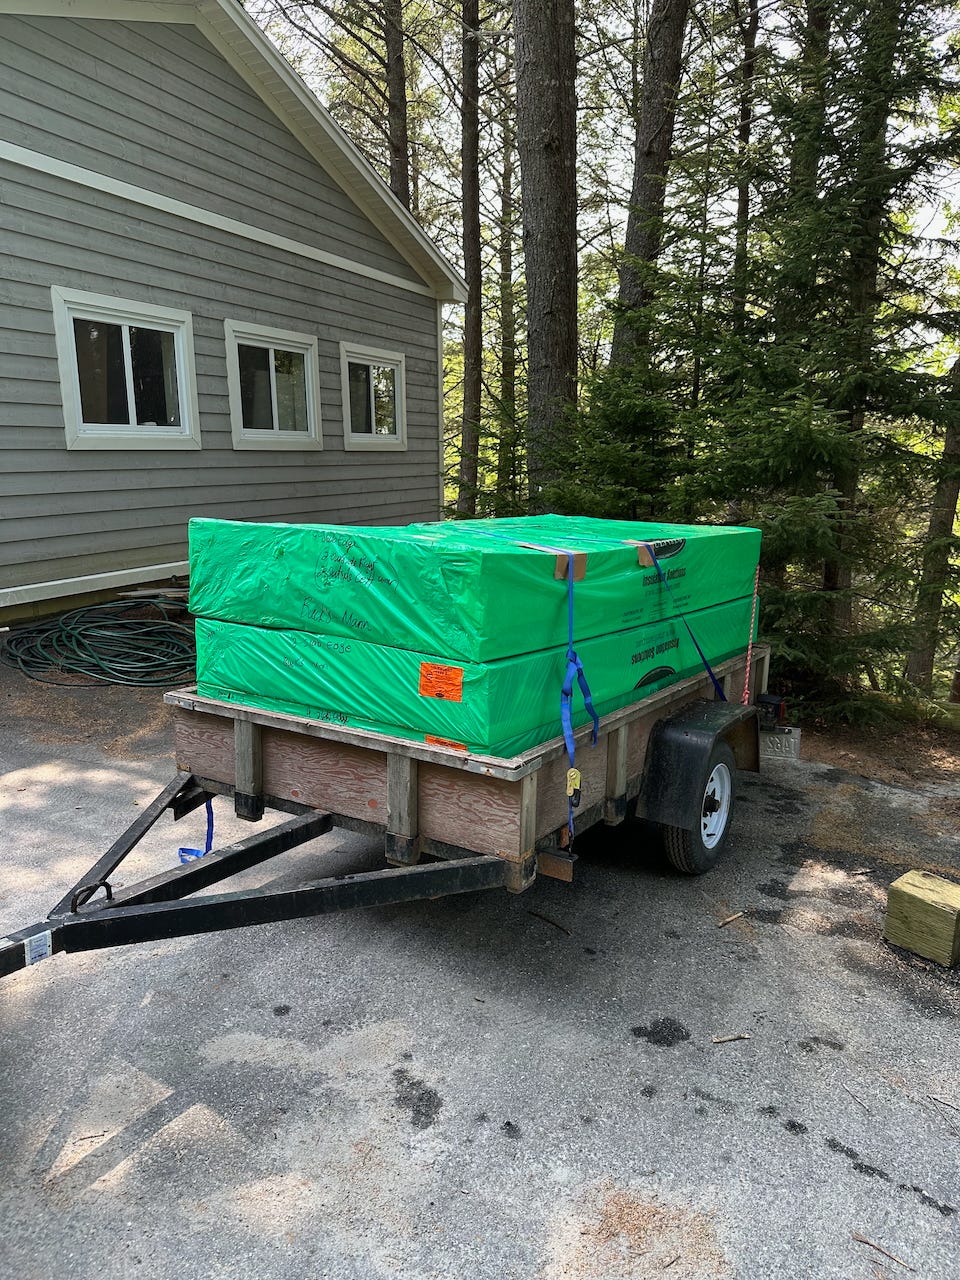
Getting the insulated floating slab forms ready and pouring the first two shed slabs.
This is part 3 of my Nova Scotia build series. Catch up on Build Update 2: Prepping Driveway & Slab Sites if you missed it.
---
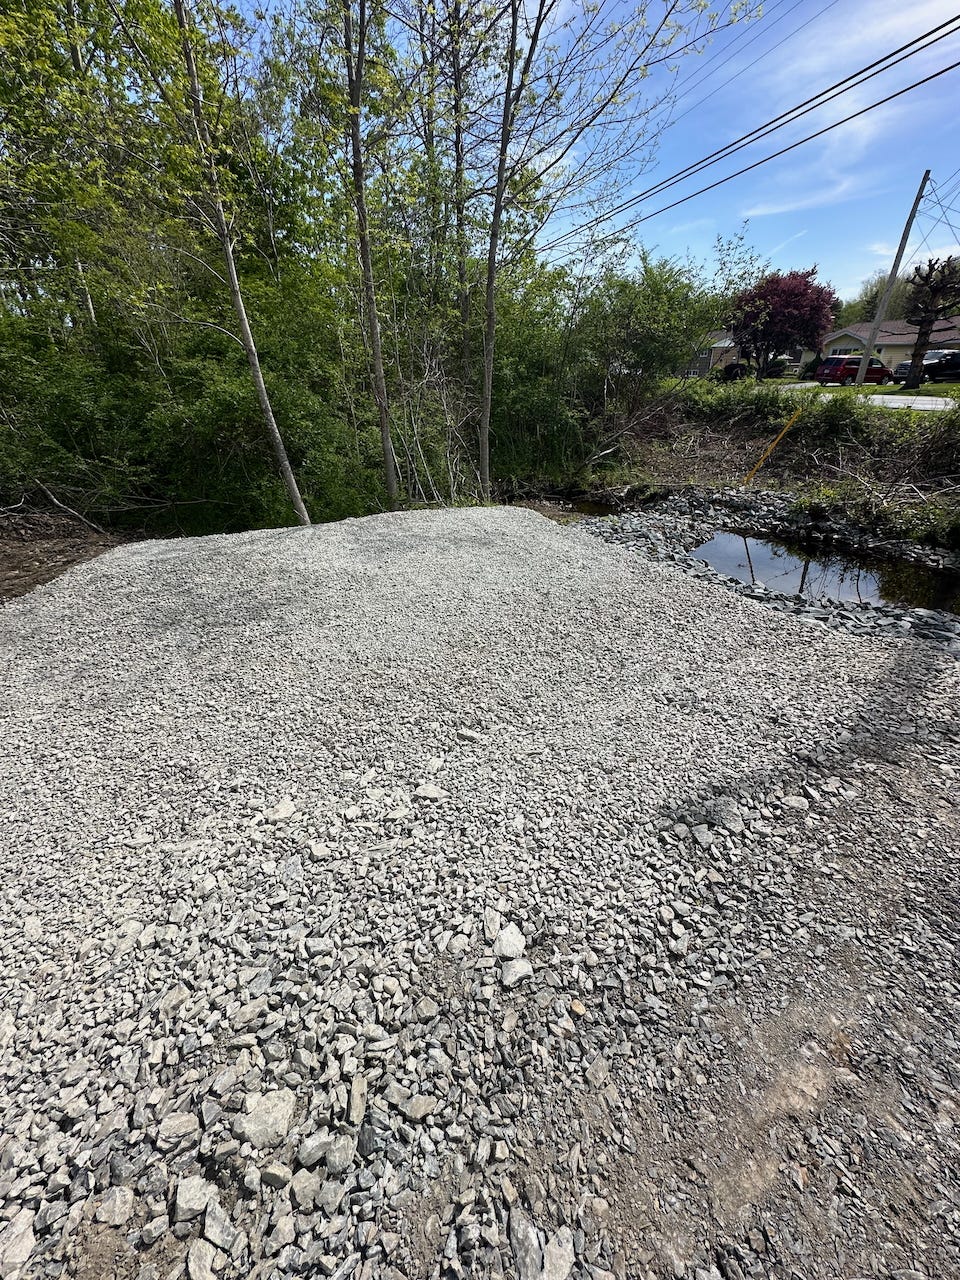
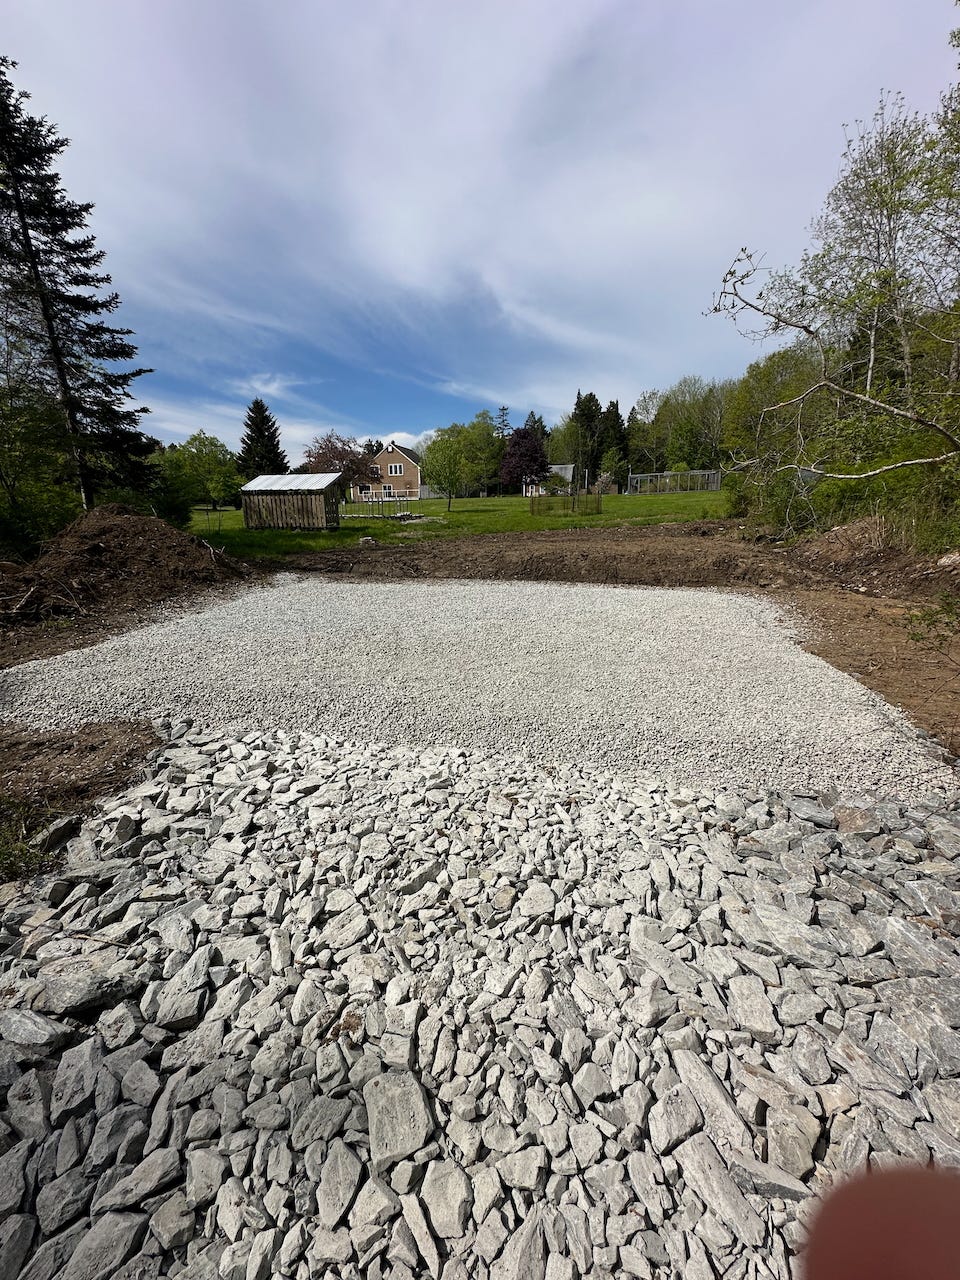
When we left off last, contractors had just put in the driveway and prepared the gravel slabs for the FastSlab insulated forms, levelling them and then compacting them with a roller.
The next step was putting in the rigid foam forms.
For the larger shed, I had always planned to use the FastSlab product, one that is local to the Maritimes, and designed for the purpose of building passive houses.
The smaller shed is only 8’x12’ and was a bit of a last minute addition, so I figured I’d build it with traditional rigid foam panels.
The FastSlab had a lead time of 4-8 weeks, so I ordered it well before the driveway was put in. Thankfully they aren’t that heavy, so it was one item I wasn’t too worried about having delivered nearby to my parent’s house instead of directly to the site.
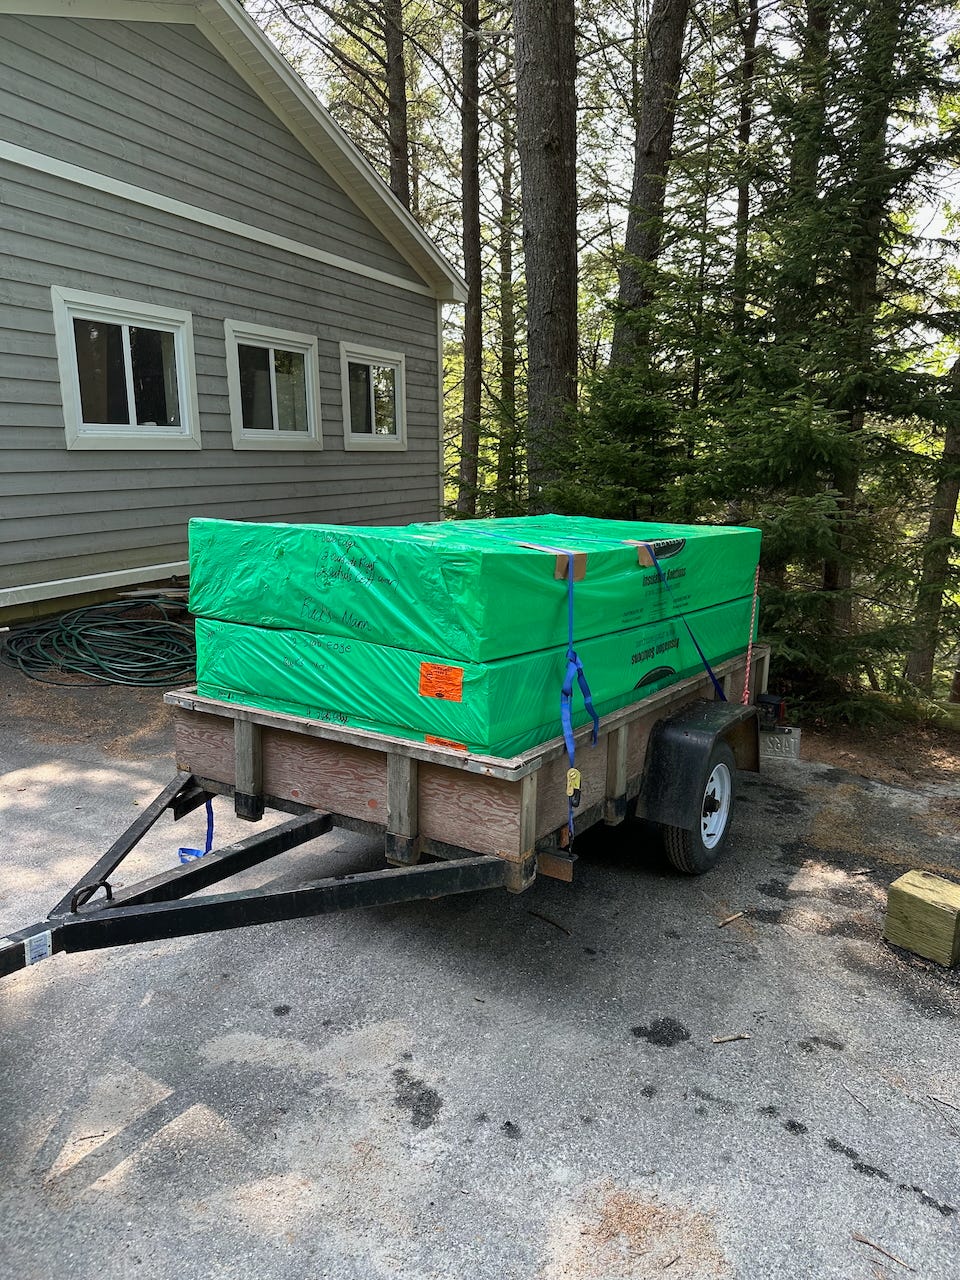
The process for getting the forms ready for pouring concrete looked something like:
- Level and compact the gravel pads
- Mark out and place the rigid foam forms
- Install vapor barrier, rebar, and wire mesh
- In the case of the non-FastSlab forms, add reinforcement/supports
Levelling & Compacting Gravel Pads
I touched on this in the previous update, but the FastSlab instructions call for 1-2” of crusher dust on top of the 3/4”-1” gravel. My contractor suggested I didn’t need this, and since they’re just sheds, I figured I’d save the money and find out.
As it turns out, they seem to be fine.
That said, I would still do some things differently on the next one.
I already mentioned how difficult it is to move around a 250lb+ compactor, and that will remain true in future, but it’s something that has to be done, either rented or by getting the contractors to do the compacting.
For the levelling, I had put 4’ pieces of rebar at the corners, and then tried to mark the outline of the pad with string to determine level. There are a few issues with this method.
First, it might work if I had a laser level (I didn’t at the time), but it doesn’t work if you’re trying to use a normal level. You just can’t judge string being level like this, which isn’t too surprising.
Second, it might work if the string was overtop of the actual pad, but it’s difficult to drive rebar through compacted gravel, so the rebar stakes were outside the pad, and as a result, so were the strings. It simply isn’t precise enough to get the tolerances required (FastSlab suggests it needs to be within 1/4” of level, and that seems right).
The concrete contractors showed me how the pros do it: they used a laser level on a tripod, and then a stick with a receiver on it, which they can stand on any part of the concrete and have it give a precise measurement above or below the correct level.
These systems are expensive—high hundreds or thousands of dollars (here’s one example).
However, there are a couple alternatives.
First, you can get off-brand laser levels for very cheap (like this one). They aren’t as powerful as the proper units, so you might need to do your levelling at dusk (or at night), but basically you could have the level on a tripod off to the side, and then just use a ruler or something marked to judge whether the pad is above or below the height you need.
Second, you can get off-brand Amazon versions of the full laser/receiver kits for much cheaper, several hundred dollars (like this one).
With both of these in mind, I think you could get a much more level surface than I did. I probably managed to get within 1”, but it was also relatively small dimensions (14’x18’ on the large shed), and so that amount will grow on a larger building.
So in future, the changes I’ll make will be:
- Using a laser system
- Using at least some crusher dust (I think 1”-ish would be fine)
Now, all of that said, what’s the worst case?
Your styrofoam forms aren’t level, and when they pour the concrete, it’s going to be at or slightly above the level of the forms on one end, and well below the level of the forms on the other end. At which point you could just cut away the excess form.
Now, obviously then your concrete starts to be non-uniform, is probably more prone to cracking, etc. But on a small building, the consequences are relatively small.
Mark Out & Place Rigid Foam Forms
This was a short step; I measured using a roll-up measuring tape to make sure I was in approximately the correct spot from nearby markers, the property line, survey markers, and a power pole, and then just squared things up by eye.
The actual placement of these didn’t matter much, and the gravel pads were in the correct spot, so it was more about centering them on the gravel pads.
Essentially, as long as things are approximately correct at this stage, there’s not going to be any issue.
However, keep in mind that there were no buried penetrations that needed to be placed, and when those are present, I’ll need to be much more precise.
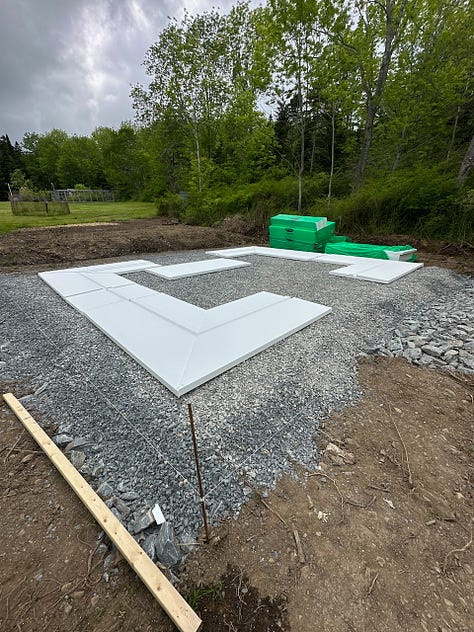
For the forms themselves, I was expecting them to all be pre-cut and ready to snap together. That was partly true.
All the pieces were either 8’ long (the vertical supports, for example), or in 8’x4’ sheets (the flat insulation sheets). It took me a little bit to work out that they were cut for corners, but not all the foam would be used, so there would be extra which was not used.
It also added some time, as I needed to carefully measure and cut everything to the correct size. That meant cutting the vertical supports to the correct length, and then cutting the flat sheets to the correct width.
For measuring and cutting, I just used a marker and circular saw, like I would with wood, and that worked fine. A hand saw worked well too.
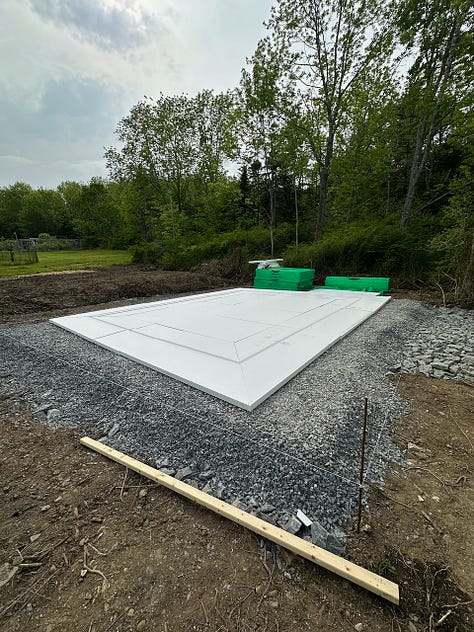
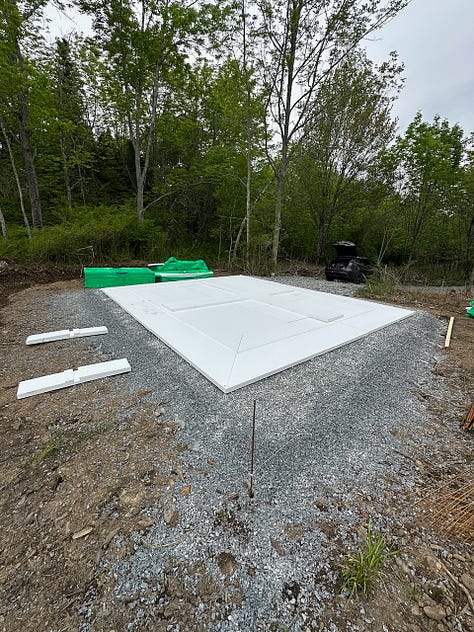
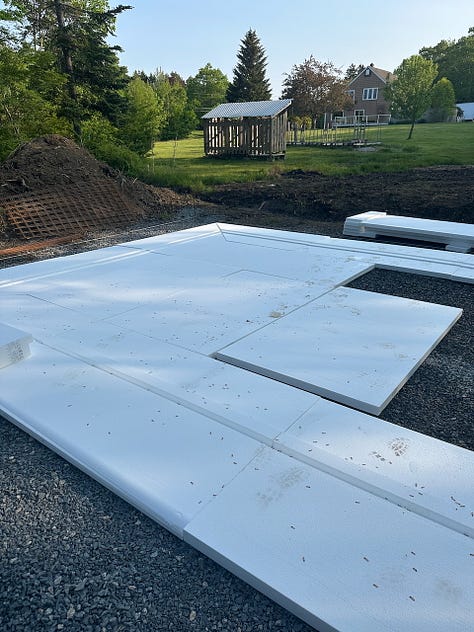
<ImageGallery columns={3} caption="Putting together the FastSlab forms for the 14'x18' shed">
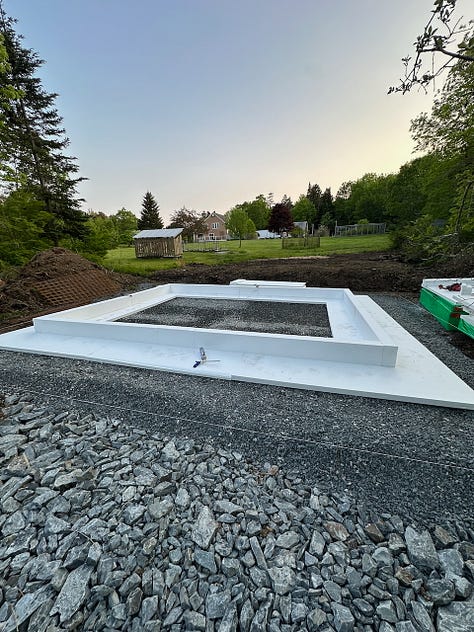
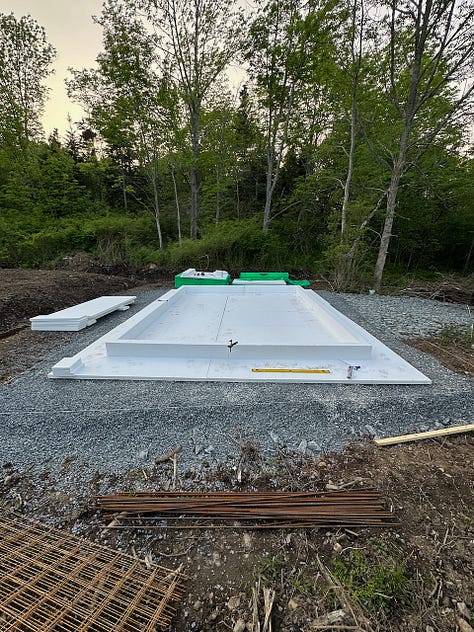
</ImageGallery>
The FastSlab is provided with adhesive/filler foam, which is actually drywall low-expansion foam. I assume they use this to keep heat reaction down, so as not to deform the foam, and as a low-expansion option so it doesn’t distort the forms.
Putting together the forms was quite tricky; it is difficult to get purchase on them to pull them together, and it was difficult to get the vertical pieces into the tight-fitting slots they fit into.
I figured out some solutions to this after some experimentation.
To keep the flat sheets together at the seams (and the vertical pieces once added), I bought some plastic straps that I would screw into the foam once placed. You could replicate this with some screws and string too I’m sure. That helped keep the pieces in place while I was putting in a vertical piece, at which point the form fit would keep things aligned.
To slot in the vertical pieces, I found that wiggling them back and forth was the most effective at getting them into the slot.
The other tricky part here is that any variation in level you have on the pad will quickly become apparent. I had to move around some gravel to try and compensate for this, and then when I glued the pieces together, I tried to compensate a little bit with the vertical pieces to keep a level top edge. This is obviously not ideal and why I would spend more time working on level, and using crusher dust, for builds that matter more.
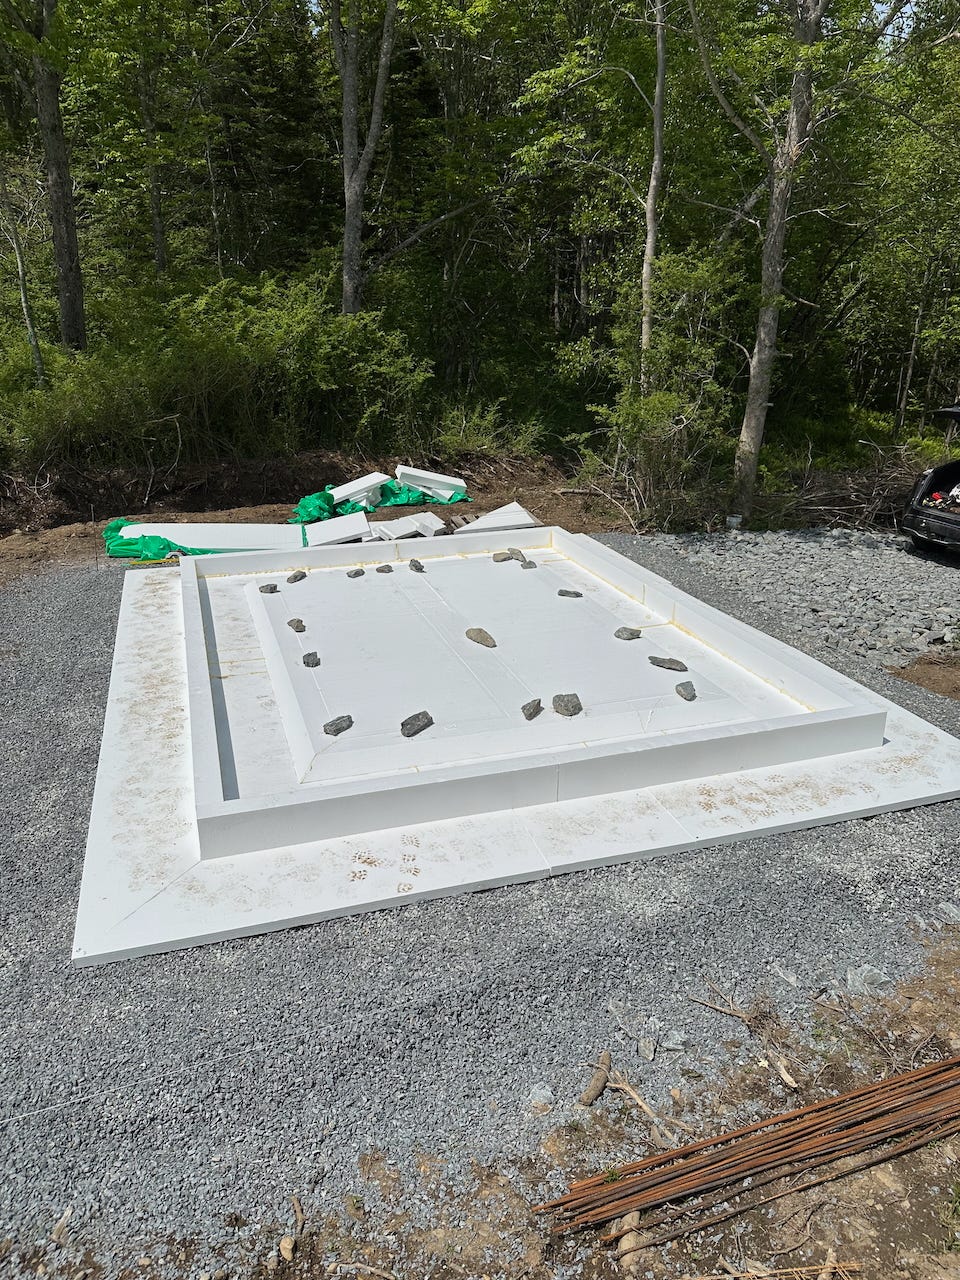
I first placed all the pieces in place to make sure I’d cut things right, and then I disassembled everything and put it back together, this time with the foam adhesive on each piece. This is a daunting step, but at some point you just have to dive in. It’s relatively flexible in terms of moving pieces around even with the adhesive on, so there is some room for error.
On the first time around, I’d occasionally use some clamps to hold joints in place. By the time I did the smaller shed, I had bought the mechanical fasteners, and so I’d use these to hold things together instead.
As I went, I often added large rocks on top to keep some pressure on the joints and prevent things from sliding around.
Install Vapor Barrier, Rebar & Wire Mesh
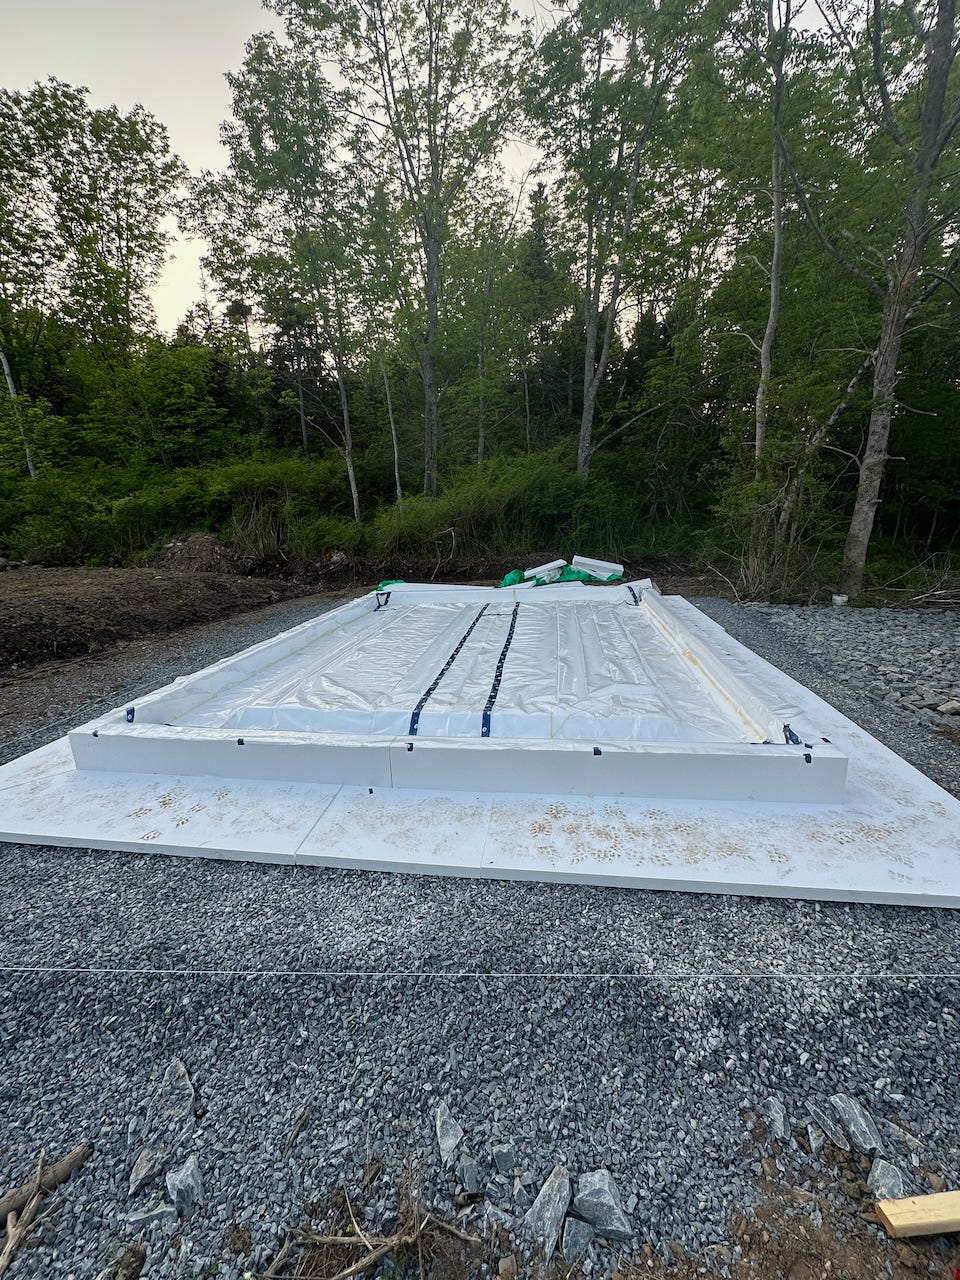
Installing the vapor barrier on top of the forms is a key step, as this is what ultimately seals the concrete from moisture, and also forms the continuous air barrier we want to get to passive house spec.
I planned to use 10mil poly for this, though it was remarkably hard to figure out exactly how many mils each poly option was at my local hardware store. In the end, I chose the “heavy” option they had, as this seemed to be approximately correct. When I use 15 mil poly in future I think I’ll have to order it.
Blue Tuck tape or similar is the correct tape for use with poly vapor barriers I discovered, and this is easy to find.
There are two things I found tricky with the vapor barrier:
- Adding enough slack in the laying that it won’t pull down on the edges when the concrete is poured, yet still having enough extra to wrap over the slab
- Creating corners that will work
For the slack part, you should just try and make sure you have a ton of extra over the edge. I didn’t put enough, and in some spots when they poured the concrete, there wasn’t really an edge to overlap. It shouldn’t be a big deal for the sheds, but something I want to do better in future.
For the corners, I asked the concrete guys after, and they described it as “like folding wrapping paper on a present.” That’s a fairly good description, and you basically fold one side over the other and then tape the corner.
Once the poly vapor barrier was placed, next up was the rebar. I went with 10M rebar, which is the smaller diameter of the two most common sizes. These slabs didn’t have to be engineer-designed as they aren’t for habitable structures (and the smaller one is below the building permit size limit), so I went with 3 rings of rebar which seemed standard.
Bending the rebar was relatively easy, I found a length of metal pipe laying around my parents garage, and using that along with standing on the rebar at the bending point made things easy.
I found small rebar stands at the local hardware store, and used those to elevate the rebar slightly, then tied them all together with wire ties (also easily available).
I had the rebar lengths cut ahead of time at the building supplies store (they’ll do it for you), or you can use a grinder to cut them yourself.
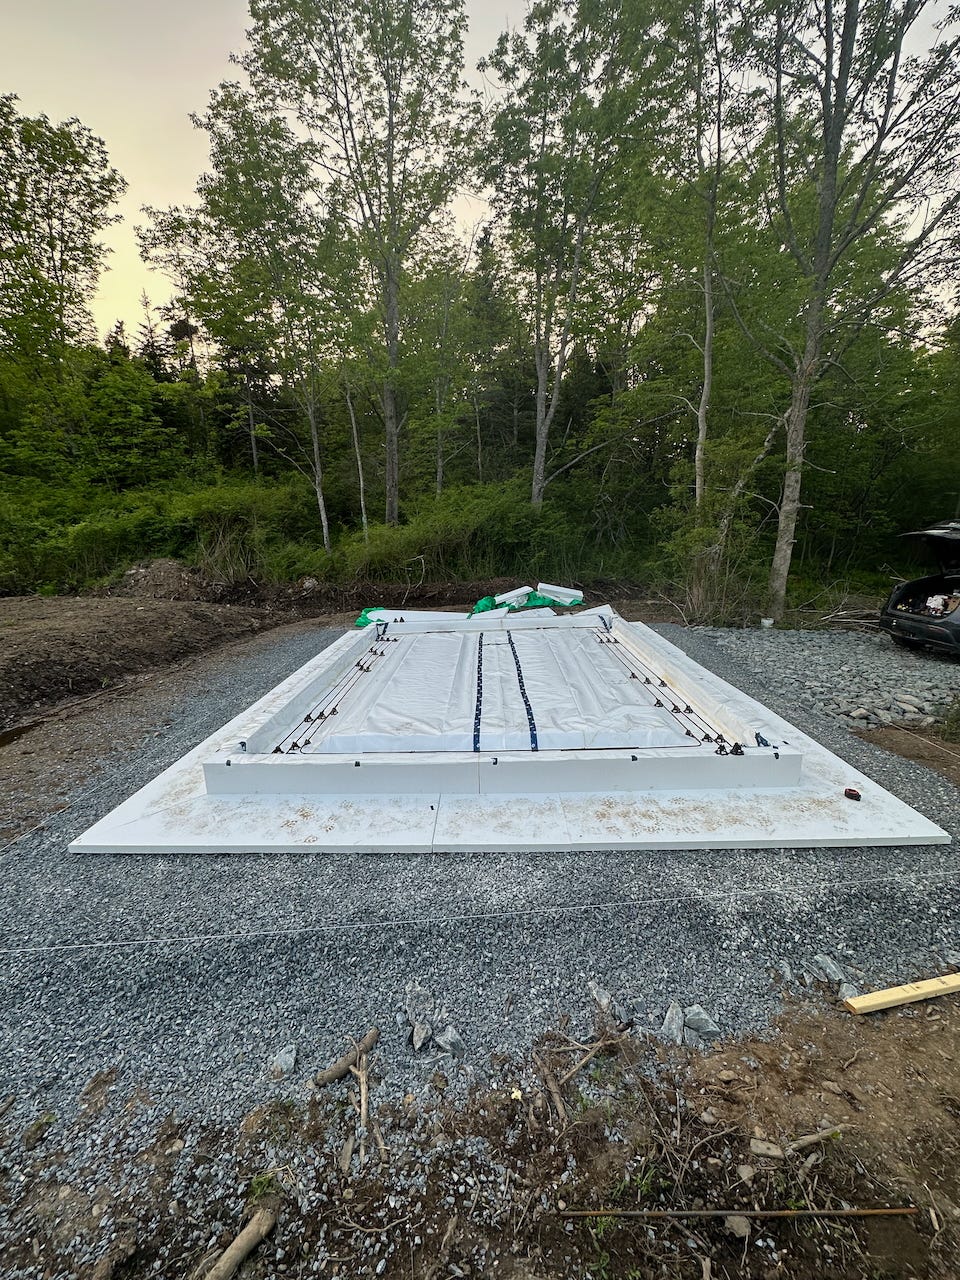
The final step was to add wire mesh, which helps prevent cracking. These sheets can be cut with bolt cutters, and based on the videos I’ve seen, can be laid out without too much thinking. I didn’t bother using wire ties to secure them together, but instead often overlapped them and tucked them into the plastic stands to keep things organized.
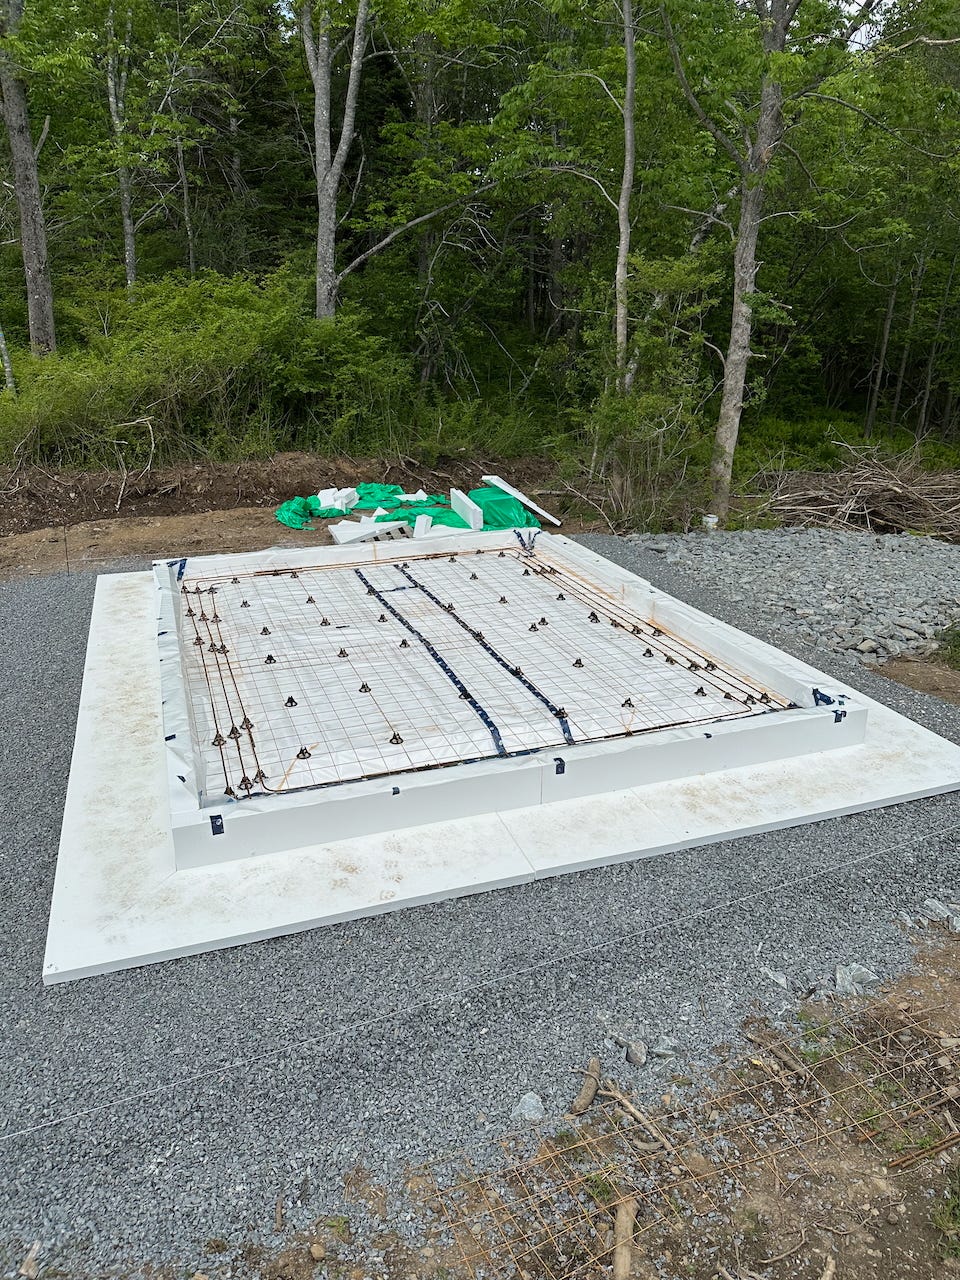
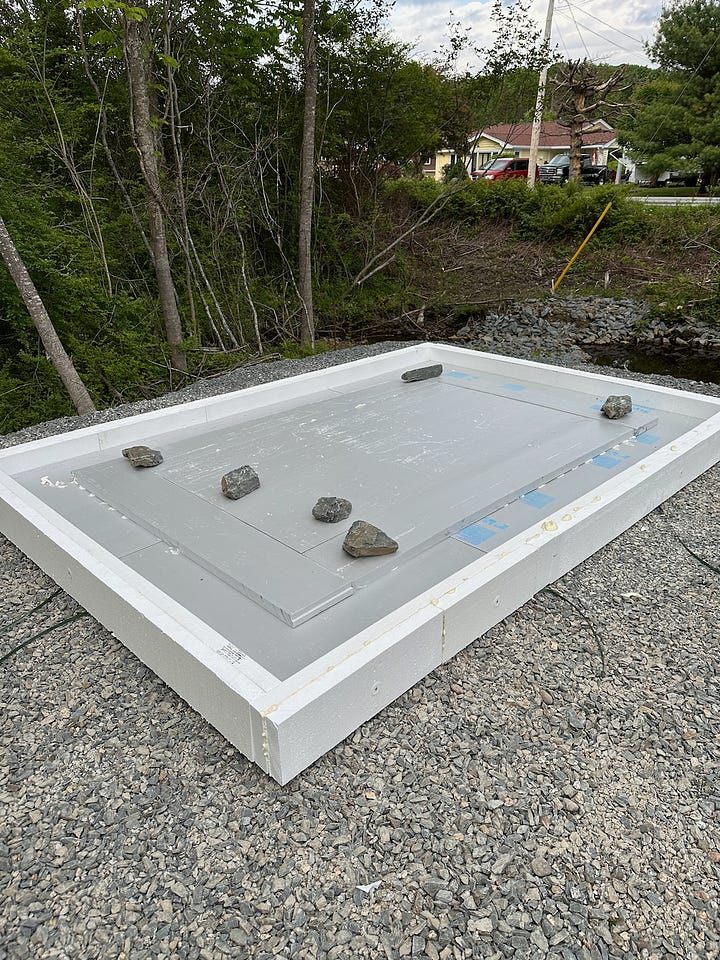
You can see photos of the smaller shed prep below, though it looks very similar.
Add Reinforcement/Supports
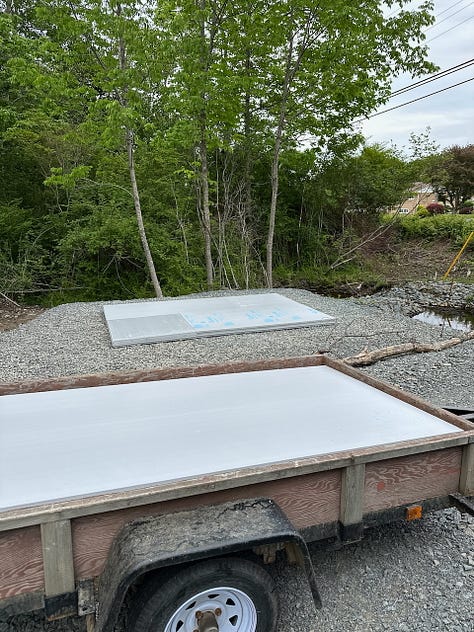
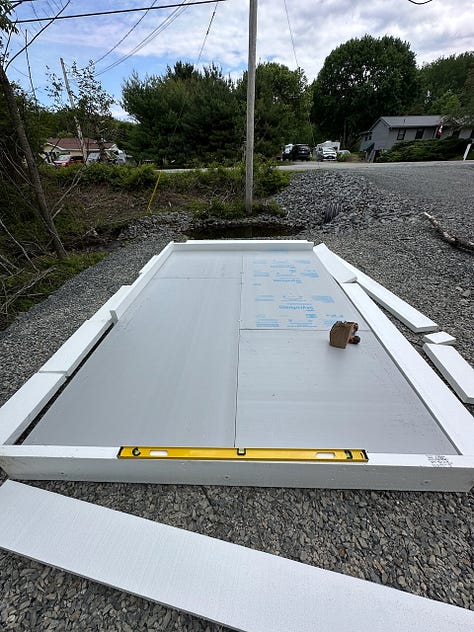
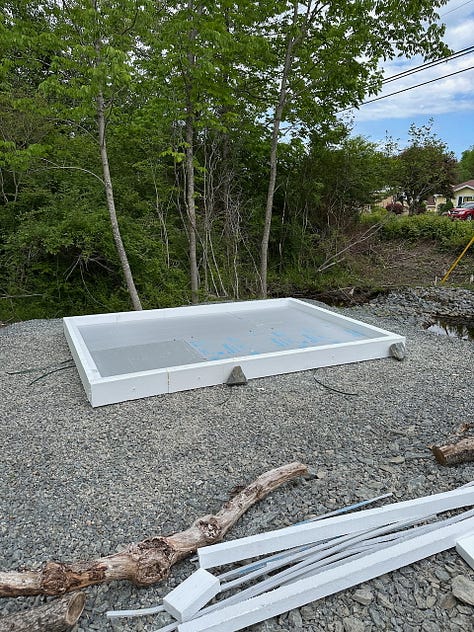
For the small shed I built, I didn’t bother using FastSlab (the lead time was 4-6 weeks for forms, plus I had some leftover scrap). I built the forms using a combo of leftovers from the larger shed FastSlab, and standard 2” rigid foam sheets.
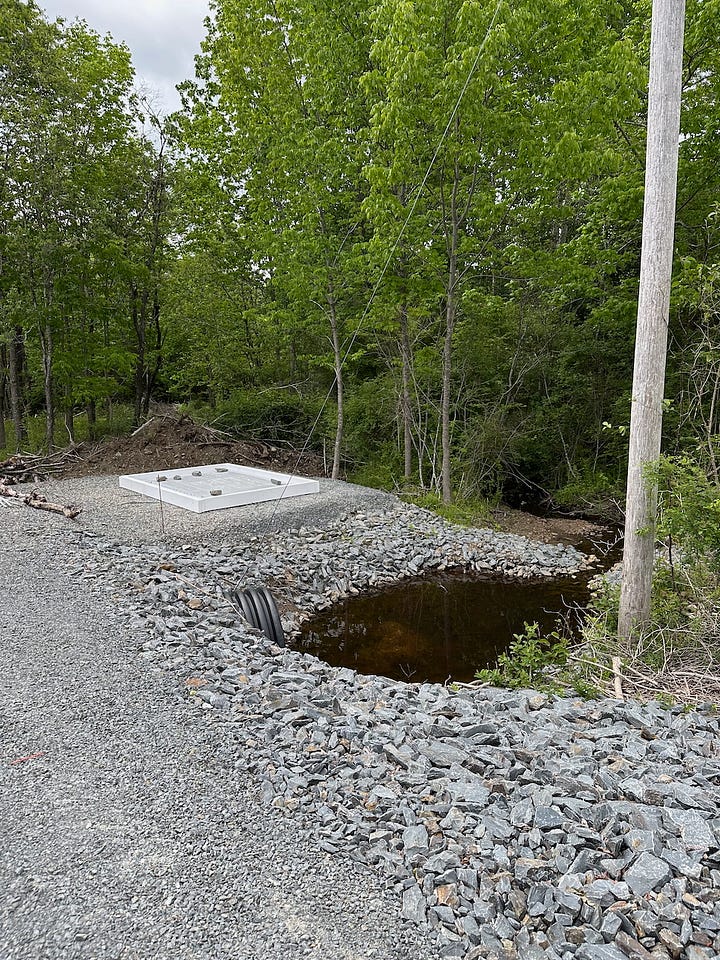
<ImageGallery columns={3} caption="The simpler insulated forms for the small "power shed" near the road and power connection point.">
</ImageGallery>
As a result, I needed support. I didn’t want to build the typical concrete supports you see, which involve driving stakes into the ground, and then supporting the walls with braces attached to the stakes.
Instead, I asked the construction yard if I could take some of the plastic straps used for shipping wood. I installed wooden boards around the perimeter of the rigid foam, and then nailed the plastic straps to these boards. I ran those diagonally under the corners, pulling them tight by hand, and nailing them to the adjacent wall.
On top, I screwed in corner supports also running diagonally, and this proved to be more than enough.
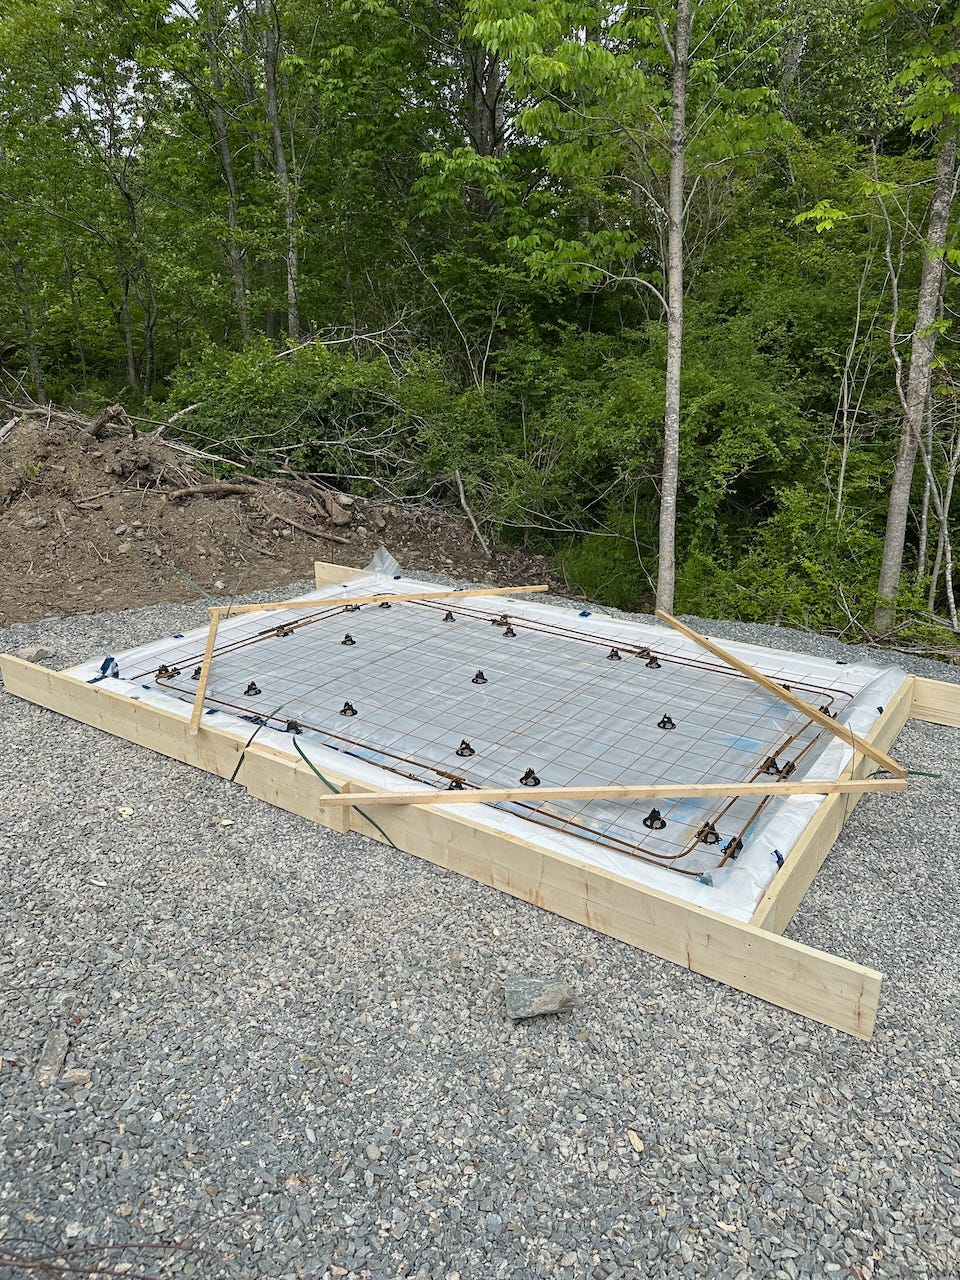
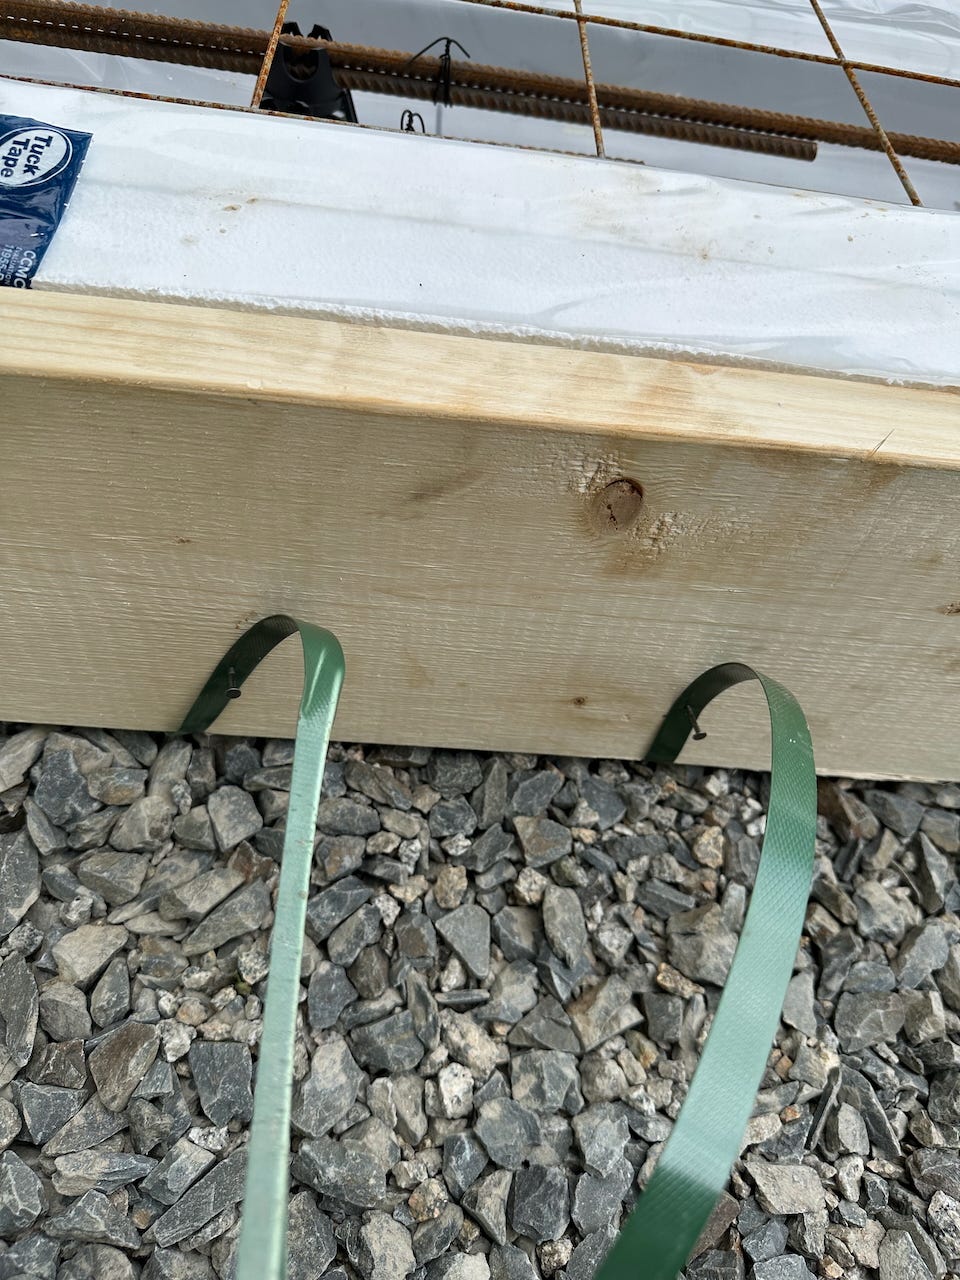
The concrete guys added a little concrete to the outside of the wooden boards, but it wasn’t really required. As they poured and needed to work on the surface, they just unscrewed the top supports, leaving the plastic bands in place.
When the pour was finished, I pulled the nails and pulled the bands out from underneath. That simple.
Pouring the Concrete
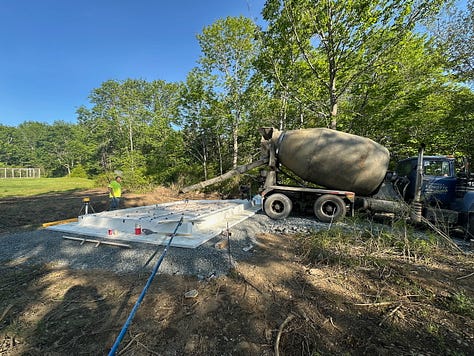
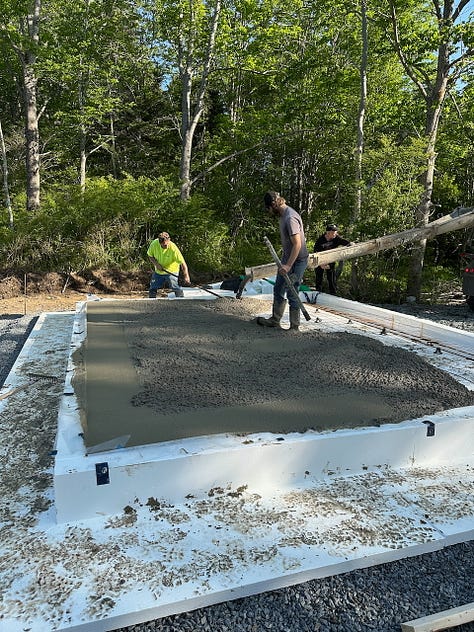
I had contractors come and pour the concrete for me; I don’t think it would have been impossible to do, but I didn’t have any of the tools required, and I figured I’d be far likelier to get a good finish. I could also watch and learn from them, and decide if I wanted to tackle it in the future.
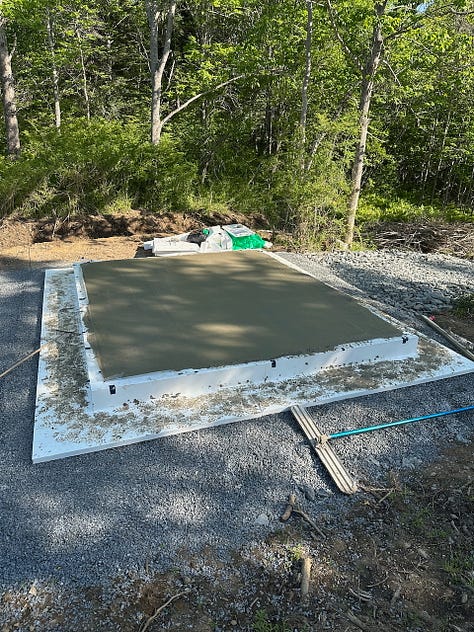
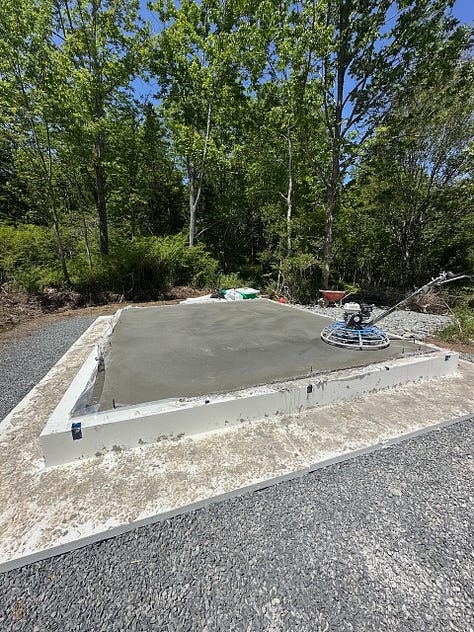
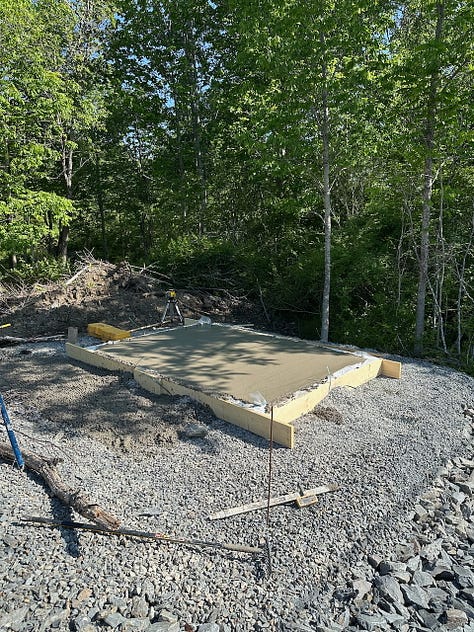
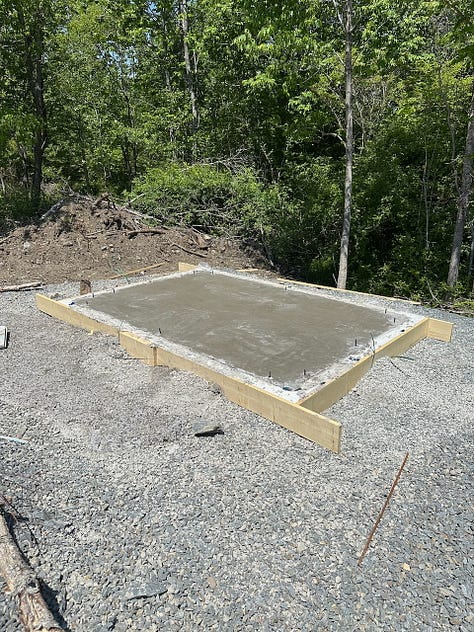
Finding one was difficult, as it is with all contractors around here, but eventually I found one, and they came and poured it the following week. It probably took them 90 minutes start to finish to do both slabs, and then one worker stayed behind to use the power trowel to get a nice finish once it had hardened up a bit.
The only real thing I brought for them was the anchor bolts for both slabs, which they put in when the concrete had set enough. Knowing the layout of doors is key for this step, so they don’t put one where a door is going to go, and can add extras around the door opening too.
I did the estimate for the concrete amount, and it differed from both the concrete contractor and the supplier. In the end I went with what the supplier estimated, which was higher than my estimate, and it turned out to be about the right amount. Presumably accounted for by slippage in the machine and so on. Either way, a little extra concrete is far less expensive than running out and having them go get more.
<ImageGallery columns={3} caption="Pouring concrete in the slab forms for both the larger and smaller shed">
</ImageGallery>
Overall, super simple process. I’ll be deciding if and what I finish the concrete with later.
---
Continue to Build Update 4: Framing the Small Shed →