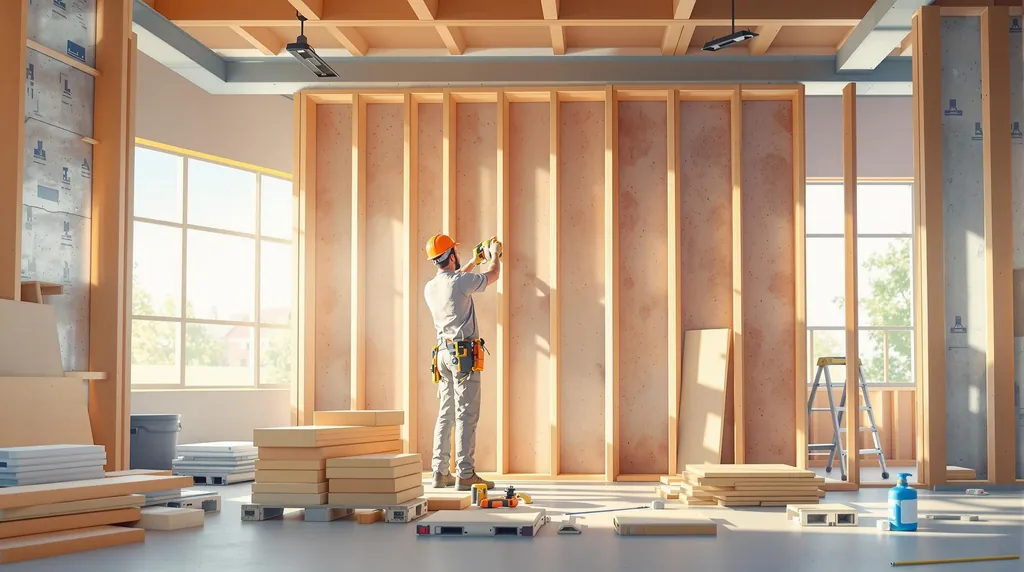
Explore advanced wall framing techniques to optimize material use, enhance energy efficiency, and reduce construction costs effectively.
Step-by-Step Guide to Advanced Wall Framing
Want to save materials, improve energy efficiency, and build faster? Advanced wall framing, also known as Optimum Value Engineering (OVE), is a construction method that reduces lumber use, speeds up assembly, and enhances insulation. Here's what you need to know:
- Key Benefits:
- Cuts lumber use by 20%.
- Shortens framing time by 15-25%.
- Improves insulation for better energy performance.
- Core Techniques:
- Use 2×6 studs spaced 24 inches on-center.
- Install single top plates to reduce materials.
- Simplify corners and use engineered headers for openings.
- Tools & Materials:
- Tools: Circular saw, framing hammer, nailer, tape measure, level, etc.
- Materials: 2×6 studs, OSB sheathing, house wrap, insulation, and nails.
This method aligns with IRC) guidelines for structural integrity and energy efficiency. Whether you're a builder or DIY enthusiast, advanced wall framing can reduce waste, lower costs, and help you create a more efficient structure.
A Short Guide to Advanced Framing Details (vs. Traditional Framing)
Required Tools and Materials
Once your energy-efficient design is ready, it's time to gather the tools and materials you'll need. Having everything organized before starting will make assembly smoother and reduce waste.
Tool List
- Circular saw (7-1/4″ blade)
- Framing hammer
- Cordless framing nailer (21°–30°)
- 16′ magnetic tape measure
- 6′ aluminum level
- Speed square
- Chalk line
- Utility knife
- Carpenter's pencil
Materials List
- #2 SPF 2×6 studs (based on your layout)
- 2×6 top and bottom plates
- Engineered headers (LVL or glulam)
- 7/16″ OSB wall sheathing
- 10d and 16d galvanized framing nails
- House wrap
- Insulation (rigid foam panels or batts)
These tools and materials are chosen to support wider stud spacing and simpler corners, which help cut down on waste while increasing insulation space. Once everything is ready, you can move on to the core framing techniques in the next section.
Advanced Framing Core Methods
Once you've gathered your tools and materials, it's time to put advanced framing techniques into action.
Main Techniques
- Use 2×6 studs spaced at 24 inches on-center to create larger insulation cavities.
- Install a single top plate to cut down on lumber and fasteners.
- Opt for ladder or California corners to eliminate unnecessary blocking.
- Apply engineered headers (as discussed earlier) for window and door openings.
Advanced vs. Standard Framing
- Advanced framing reduces the number of studs by about 20% compared to traditional 16-inch layouts.
- Assembly time is shortened by 15-25% thanks to fewer cuts and less blocking.
- Larger wall cavities provide space for thicker insulation, improving energy efficiency.
- Simplified corner designs help minimize thermal bridging, which can lead to heat loss.
Building Code Requirements
To ensure compliance, follow the IRC R602.3 guidelines:
- Adhere to rules for stud spacing and alignment.
- Follow specified nailing schedules.
- Use proper specifications for single top plates.
- Install fire-blocking where required.
- Size headers based on span tables to maintain strength and efficiency.
By sticking to these methods, you'll maintain structural integrity while optimizing for energy savings.
Next, we'll take these concepts and apply them to your plate layout and marking process.
Wall Construction Steps
Once your tools and materials are ready, you can start building your wall. Begin by laying out the plates on a flat surface and marking the stud positions at 24 inches on-center.
Plate Layout and Marking
- Place the top and bottom plates parallel on a flat, level surface.
- Mark layout lines at 24 inches on-center on both plates.
- Use chalk lines to ensure precise alignment across the plates.
- Label positions for studs, corners, and openings.
- Indicate header locations and rough opening dimensions.
- Transfer all markings to both sides of the plates for better visibility.
Corner and Header Assembly
- Cut studs to the correct length, subtracting the thickness of the plates.
- Create a ladder corner by combining two studs with horizontal blocking positioned 16 inches from the inside edge.
- Install engineered headers above any openings.
- Add single king studs to the sides of each opening.
- Position trimmer studs beneath the ends of the headers.
- Secure all connections with 16d nails for stability.
Wall Assembly and Insulation
- Stand the bottom plate on the marked layout line.
- Attach studs at the marked positions using 10d nails.
- Lift and secure the top plate, ensuring the wall is plumb.
- Install wall sheathing, starting from the bottom and working upward.
- Cover the sheathing with house wrap for added protection.
- Place insulation between the studs.
- Double-check that the wall is straight and plumb.
- Secure the wall to the foundation according to local building codes.
Once the walls are in place, insulated, and properly aligned, you can move on to the next step: sealing and finishing your building envelope for energy efficiency.
Energy Efficiency Methods
Boost your walls' thermal performance and cut down on heat loss with these focused strategies.
Insulation and Heat Loss Prevention
- Exterior rigid foam: Adding continuous rigid foam on the outside creates a thermal barrier. Pair it with 2×6 studs spaced 24″ apart for walls rated R-30 or higher.
- Air sealing: Spray foam seals gaps between framing and sheathing, stopping unwanted air leaks and reducing heat loss.
- Thermal break plates: Placing these between the foundation and bottom plates helps limit heat transfer from the structure to the ground.
Eco-Friendly Building Materials
- Dense-packed cellulose: Made from recycled paper, this insulation completely fills 5.5″ cavities, delivering R-20 performance.
- Mineral wool batts: These not only insulate but also provide fire resistance and soundproofing for 2×6 wall setups.
- Recycled denim insulation: A chemical-free option offering R-19 performance, made from post-consumer denim materials.
Off-Grid Design Options
- Solar air heating panels: These attach to south-facing walls and use solar energy to heat your space efficiently.
- Capillary mat systems: Installed between studs, they circulate rainwater for passive cooling, reducing reliance on active systems.
Next, we'll dive into the highlights of advanced framing techniques and how they can benefit your projects.
Conclusion
Advanced wall framing improves structure, enhances energy efficiency, and lowers material and labor costs by refining stud spacing, corner assemblies, and header designs.
Key Takeaways
- Material Use: Optimized stud spacing and simplified corner/header assemblies help save on lumber.
- Energy Efficiency: Larger cavity spaces allow for better insulation, reduce thermal bridging, and improve air sealing.
- Cost Savings: Simplified framing reduces both material and labor expenses while cutting energy costs over time.
- Code Compliance: Meets IRC standards for stud spacing, header sizing, shear walls, insulation, and air sealing.