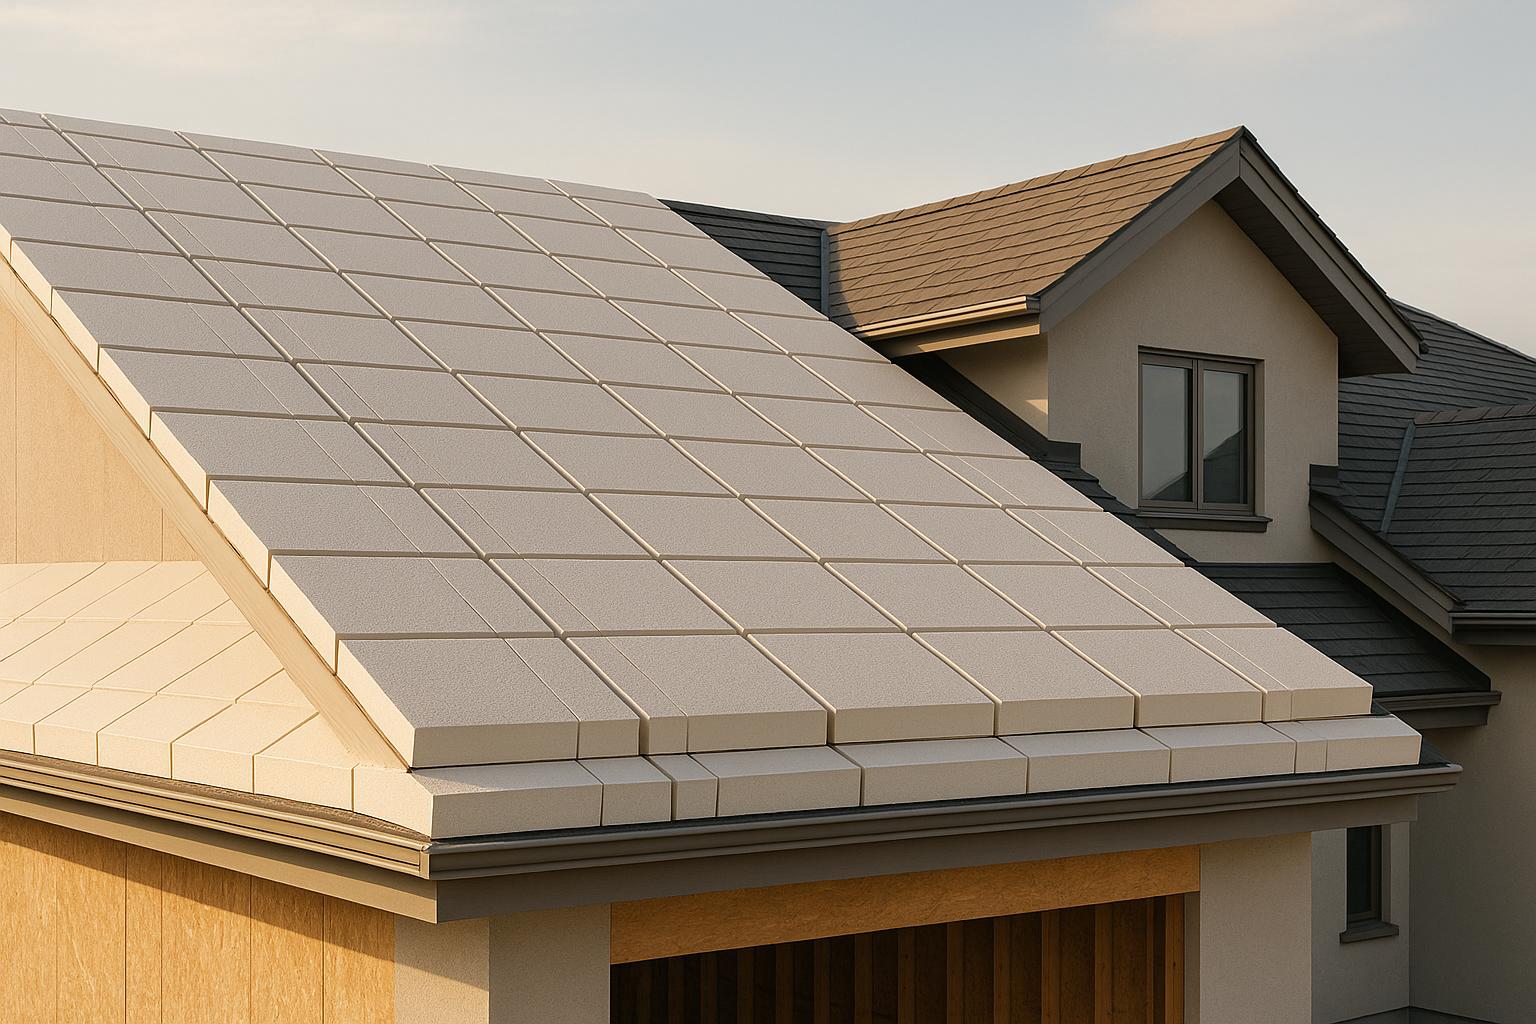
Learn how exterior foam insulation can enhance your roof's energy efficiency, reduce costs, and improve indoor comfort with this comprehensive guide.
The Complete Guide to Exterior Foam Insulation for Energy-Efficient Roofs
Exterior foam insulation transforms your roof into an effective barrier against energy loss, helping you save on heating and cooling costs. By attaching rigid foam boards to the outside of your roof, you can reduce heat transfer, improve indoor comfort, and lower your home's energy use. Here's what you need to know:
- How it works: Foam boards create a continuous thermal shield, covering gaps and reducing heat escape.
- Types of foam: Choose from Polyisocyanurate (Polyiso), Extruded Polystyrene (XPS), or Expanded Polystyrene (EPS) based on your climate and budget.
- DIY-friendly: With the right tools and safety measures, you can install foam insulation yourself and achieve professional results.
- Key steps: Prepare the roof surface, install foam boards with adhesive, seal gaps, and finish with a protective roofing layer.
Proper installation ensures long-term energy savings, quieter interiors, and a more efficient home. Whether you're tackling this as a DIY project or hiring a pro, this guide covers everything you need to get started.
DIY Spray Foam Insulation - What You Need to know Before You Start
Types of Exterior Foam Insulation for Roofs
Selecting the best foam insulation for your roof depends on factors like your local climate, budget, and specific performance needs. Here’s a closer look at three popular options that are well-suited for DIY projects.
Polyisocyanurate (Polyiso)
Polyisocyanurate, often called Polyiso, provides one of the highest thermal resistance levels per inch, making it a go-to choice for those seeking thinner boards without sacrificing insulation. It also boasts excellent fire resistance when paired with the right facings. While it performs well in cooler conditions, its efficiency can dip slightly in extremely cold temperatures. Available with foil or fiberglass facings, Polyiso works seamlessly with various roofing membranes and adhesives.
Extruded Polystyrene (XPS)
XPS is known for its durability and ability to maintain thermal performance, even under challenging conditions like temperature fluctuations or foot traffic. Its closed-cell structure helps prevent water absorption, making it a solid choice for humid or wet environments. XPS comes in different thicknesses and often features interlocking edges, which help reduce heat transfer through gaps.
Expanded Polystyrene (EPS)
If you’re looking for an affordable insulation option, EPS might be the answer. While its thermal resistance per inch is lower compared to Polyiso and XPS, it’s easy to cut and shape, making it ideal for roofs with complex designs. Though EPS isn’t as moisture-resistant as XPS, it performs well in moderate climates when paired with appropriate roofing membranes and vapor barriers. It strikes a good balance between upfront costs and energy savings over time.
As you evaluate these options, consider your desired R-value and how it aligns with your project budget in the next section.
Planning and Selecting the Right Exterior Foam Insulation
Choosing the right foam insulation requires balancing local climate considerations, building codes, and your budget. Once you've got those basics nailed down, focus on the specifics - like R-value requirements, costs, and safety measures - to ensure your project runs smoothly.
Determining the Required R-Value
The R-value you need depends on your climate, energy efficiency goals, and local building codes. Check the manufacturer's specifications to see how much insulation performance (R-value) their foam provides per inch. From there, calculate the thickness you'll need to meet your target.
Budgeting for Materials and Tools
When planning your budget, don’t stop at just the insulation panels. Factor in tools and supplies too. Essential items include:
- A circular saw with the right blade
- Construction adhesive
- Fasteners
- A chalk line
Safety gear is also a must - think harnesses, non-slip boots, and cut-resistant gloves. If you don’t own the necessary tools, renting them can help keep costs in check. To save even more, compare prices between local retailers and bulk suppliers.
Safety and Preparation Tips
Roof work comes with its risks, so safety should be a top priority. Always use secure anchor points and wear a full-body harness. Never work alone or in poor weather. Be mindful of how you store foam insulation, especially on windy days, to prevent accidents.
Finally, ensure compliance with local codes by covering the foam with an approved thermal barrier, such as gypsum board or plywood. Check that your roof structure can handle the additional load, and don’t forget to obtain any required permits before starting your project.
Step-by-Step Guide to Installing Exterior Foam Insulation
Once you've handled all the necessary safety preparations, it's time to dive into the installation process. Careful measurements and precise techniques are key to achieving a result that not only looks professional but also enhances your home's energy efficiency for years to come.
Preparing the Roof Surface
Start by removing all existing roofing materials until you're down to the bare plywood or OSB sheathing. This step is non-negotiable because leftover debris or loose materials can interfere with the foam boards' adhesion.
With the roof stripped, take a close look at the sheathing. Check for any signs of rot, warping, or loose fasteners. If you come across hazardous materials like asbestos or lead, deal with them safely and appropriately before moving forward.
A moisture meter is your best friend here - ensure the sheathing's moisture level is below 15%. This is especially important if you're using vapor-impermeable foam boards, as moisture trapped beneath the insulation can cause major problems over time.
Once the sheathing is dry (moisture below 15%), apply a continuous air control membrane, making sure it overlaps fully. This membrane is essential for keeping air and moisture from seeping through your insulation layers.
Finally, use a chalk line to mark the framing members. These marks will guide you during fastening, ensuring screws or nails hit solid wood and provide a secure installation.
With the surface clean, dry, and prepped, you're ready to move on to installing the foam boards.
Installing Foam Insulation
Start by cutting and dry-fitting your foam boards to make sure they align perfectly before applying adhesive. Use a sharp utility knife or a circular saw with a fine-tooth blade for smooth, accurate cuts. Cut the boards slightly larger than needed, then trim them down for a snug fit. Tight joints are crucial to avoid gaps that could compromise the insulation's performance.
Begin at the bottom edge of the roof and work your way upward. This method not only helps shed water during the installation process but also creates natural overlaps for better coverage.
Apply adhesive to the back of each foam board in a zigzag pattern, covering about 20-25% of the surface. Press the board firmly against the air control membrane to ensure full contact and adhesion.
Seal all seams with foam-safe tape or sealant to eliminate thermal bridging and prevent air leaks. Pay extra attention to tricky areas like roof edges, corners, and penetrations, as these spots are more prone to leaks.
Work methodically across the roof, keeping the foam boards aligned and evenly spaced. Use a level or straight edge regularly to check that the surface remains flat and smooth - this will make installing the final roof covering much simpler.
Securing and Finishing the Roof
With the foam boards in place, the next step is creating a solid, ventilated framework for your final roofing material. Install furring strips over the insulation, running them perpendicular to the roof rafters underneath. These strips serve as attachment points for the roofing material and create an air gap that enhances ventilation.
Secure the furring strips with 3–4 inch screws, ensuring they go into the marked framing points. Be careful not to overtighten, as this could compress the foam and reduce its effectiveness.
Next, lay your chosen underlayment over the furring strips, following the manufacturer's guidelines for overlap and fastening. This layer adds another level of weather protection and provides a smooth base for your roof covering.
Finally, install your roofing material - whether it's shingles, metal panels, or tiles - according to the recommended practices for that specific material. The furring strips ensure proper attachment and ventilation, while the foam insulation underneath delivers the energy efficiency you're aiming for.
As you work, inspect frequently for any gaps, loose fasteners, or other issues. Addressing these problems during installation is far easier than dealing with them after the roof is complete.
Maximizing Energy Efficiency and Long-Term Durability
Preventing Thermal Bridging
Once your roof is secured and finished, there are additional steps you can take to boost energy efficiency even further.
Thermal bridging happens when structural elements allow heat to transfer directly, which can weaken the effectiveness of your insulation . One of the best ways to tackle this is by using exterior foam insulation, provided it's installed properly. Here are some practical tips to help you get the most out of your insulation:
- Double up on foam layers: Use two thinner layers of foam with offset seams. This helps disrupt continuous paths for heat transfer .
- Pay attention to roof trusses: Areas where roof trusses extend over exterior walls are common trouble spots for thermal bridging . Applying a continuous layer of exterior insulation here is key. Make sure foam boards fully cover these structural parts without leaving gaps or compressing the material.
- Seal everything thoroughly: Use tape, flashing, or sealant to close off all joints, edges, transitions, and penetrations .
- Handle tricky spots carefully: For areas around vents, chimneys, or other penetrations, fill any gaps with closed-cell spray foam. This ensures a seamless, airtight seal that prevents energy loss .
Conclusion: Achieving Energy-Efficient Roofs with Exterior Foam Insulation
Adding exterior foam insulation to your roof is a smart step toward cutting energy waste and lowering utility bills. This guide has shown how the right materials, accurate installation, and attention to detail can turn your roof into a strong shield against energy loss.
Different foam types - like polyisocyanurate, extruded polystyrene, and expanded polystyrene - offer options to suit various climates, budgets, and performance needs. Whether you're facing harsh winters, hot summers, or more moderate weather, there's a foam insulation solution that fits your specific requirements and financial plans.
Proper installation is the key to success. Every stage, from preparing the surface to securing protective layers, works together to create an effective insulation system. Techniques such as preventing thermal bridging, managing moisture, and ensuring continuous coverage are essential for long-lasting results.
The benefits go beyond just comfort. A well-installed insulation system not only reduces energy bills but also provides long-term savings. Plus, by lowering energy consumption, you're taking a step toward a greener future.
Once installed, regular maintenance is crucial. Simple tasks like annual inspections and addressing any issues right away can help maintain peak performance and protect your investment for years to come.
With thoughtful planning and high-quality materials, your project can deliver lasting comfort, financial savings, and environmental advantages. It's time to take the first step toward a more energy-efficient home.
FAQs
What are the key differences in performance and cost between Polyiso, XPS, and EPS foam insulation for energy-efficient roofs?
When it comes to foam insulation for roofs, Polyiso, XPS, and EPS are the go-to options. Each type has its own strengths, costs, and ideal applications, so understanding their differences can help you make the right choice.
- Polyisocyanurate (Polyiso): With an impressive R-value of around 6.0 per inch, Polyiso offers strong thermal resistance, especially in warmer climates. However, it can lose some insulating power in extremely cold conditions. It’s also the priciest among the three options.
- Extruded Polystyrene (XPS): XPS delivers a solid R-value of about 5.0 per inch and is highly resistant to moisture, making it a versatile choice for various climates. Its moderate price and durability make it a common pick for roofs that need extra water protection.
- Expanded Polystyrene (EPS): The most budget-friendly option, EPS has an R-value ranging from 3.6 to 4.0 per inch. While it provides decent insulation, it’s less dense and less moisture-resistant than XPS, which may limit its usability in certain roofing scenarios.
When deciding, think about your budget, the climate in your area, and the specific needs of your project. To optimize energy efficiency, pay close attention to the insulation's R-value, its durability, and how well it fits with your roof's design.
How can I choose the right R-value for my roof insulation based on my climate and energy-saving needs?
Choosing the right R-value for your [roof insulation](/blog/exterior-roof-insulation-passive-house-performance) is all about balancing your local climate and energy-saving goals. If you live in a colder area, you'll generally want a higher R-value to keep heat from escaping. On the other hand, milder climates often do fine with lower [R-values](/glossary/r-value).
For the best results, check out insulation recommendations specific to your region. These guidelines consider things like average temperatures and seasonal energy needs. Picking the right R-value doesn’t just make your home more comfortable - it can also lead to long-term savings on energy bills.
What safety steps should I follow when installing exterior foam insulation on my roof as a DIY project?
When working with exterior foam insulation, keeping safety at the forefront is essential. Begin by equipping yourself with personal protective equipment (PPE), such as gloves, safety goggles, and an N95 mask or respirator. This gear helps shield you from dust, fibers, and potentially harmful fumes. Additionally, ensure the area you're working in is well-ventilated, especially if spray foam is part of your project.
Before starting, take the time to clear the workspace of clutter and confirm that surfaces are clean and dry to reduce the risk of slips or mishaps. Handle [insulation materials](/blog/ultimate-guide-to-natural-fiber-insulation) with care, and stay alert to electrical hazards, particularly when working near wiring or fixtures. Following these steps can make your project both safer and more efficient.