The first big update from the Nova Scotia build, including photos and layout of the property.
This is part 1 of my Nova Scotia build series, where I document every step of building my own eco-friendly home. Continue to Build Update 2 →
---
Build Update 1: Site Prep, Ordering Materials, and Finalizing Drawings and Layout
Site Prep
The lot I'm building on is 1.3 acres, alongside a county road. It wasn't accessible until last fall, when we had a culvert installed—a bit of an endeavour itself—as there's a stream that runs along the perimeter and then diagonally through the property.
Last year, the only real work that was done was the installation of this culvert in September, as well as some tree clearing.
The major remaining parts before building are:
- Ditching of two sides of the property to prevent water gathering in low areas
- Preparation of both shed sites, one of which will become an office long-term, and one of which will serve as the power/utility hub for the property
- Filling in of the test hole dug for septic planning
Bonus but not required yet:
- Clearing of stumps, larger logs/brush/deadfall from clearing
- Preparation of the driveway
- Filling in of low-lying areas that gather water
Future/sometime this year:
- Dig the well
- Clear and prep the cottage sites
- Prep for, and then install septic
So far, the excavator has been for one day (a very wet one), during which they did manage to create a ditch that spans the back property line, and has been great in diverting water so far. I'm hoping they return soon.
In the meantime, we thought we'd tackle some of the clearing of brush ourselves. The property is a mix of thick brush, which includes prickly bushes intertwined, and larger branches/small trees.
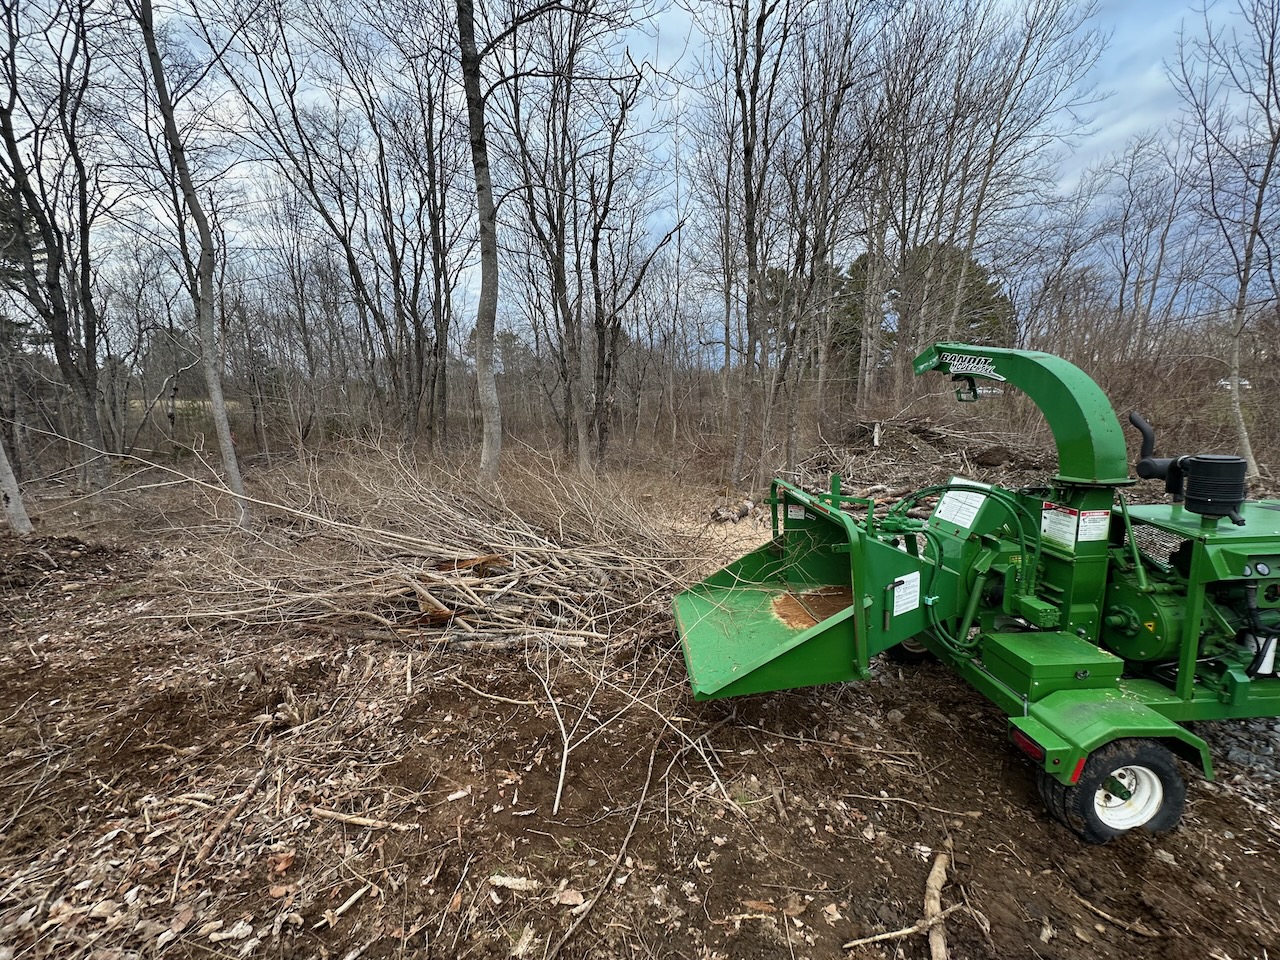
I've already had someone go through and clear out some of the brush and small trees, and the excavator had gathered some piles of smaller trees and brush too.
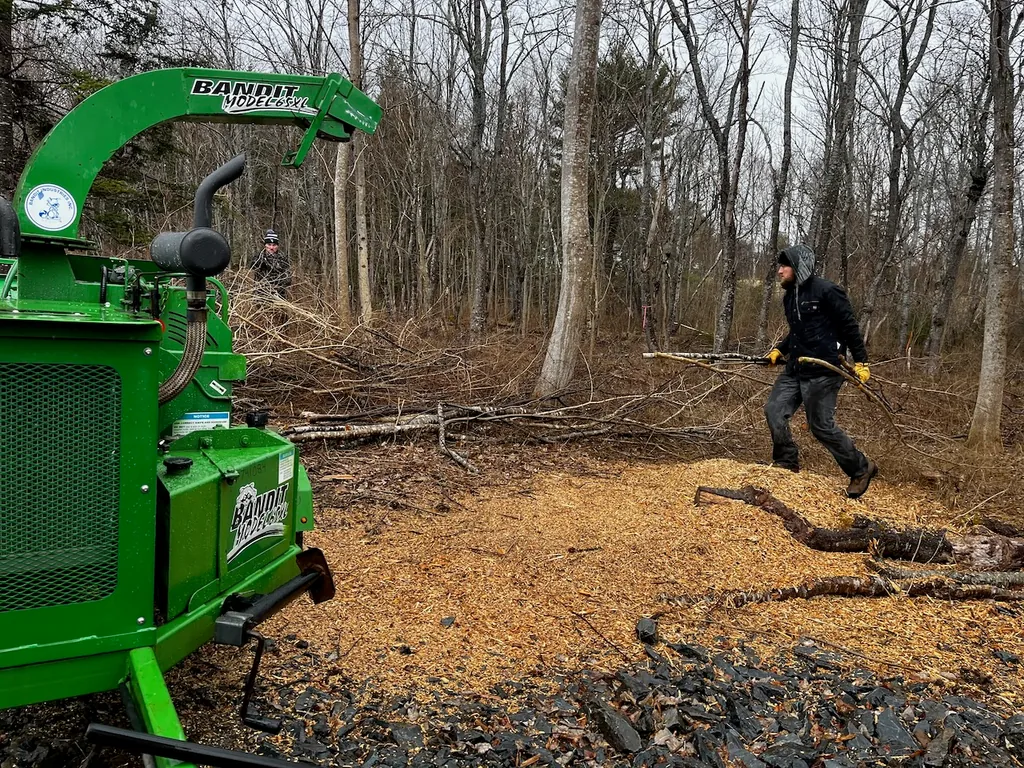
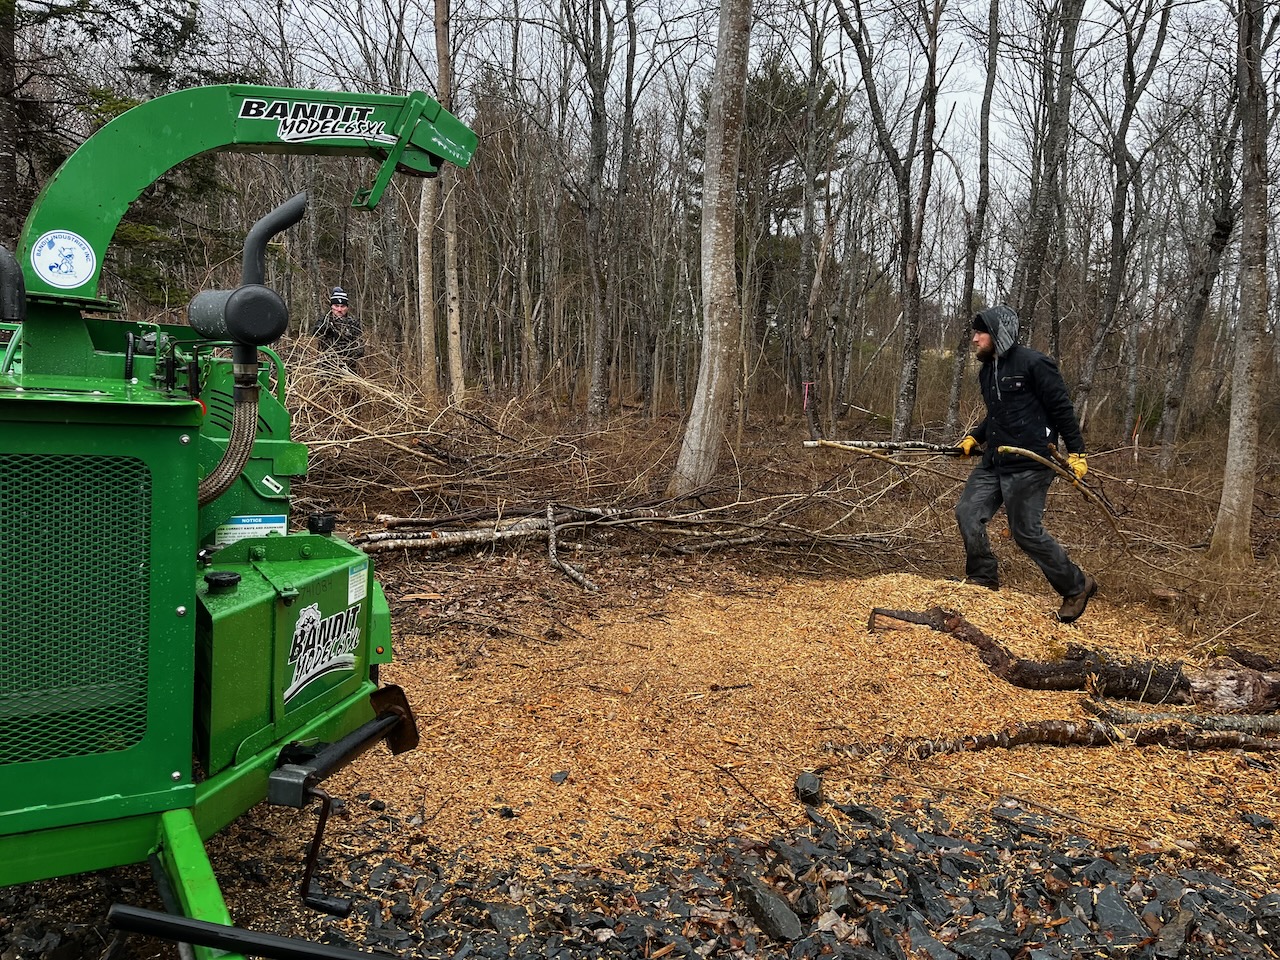
So we rented a brush saw—basically a whipper-snipper with a saw blade on the end—and a chipper.
Now, the chipper they rented us was a huge thing, powered by a 4-cylinder diesel, and a lot for an SUV to tow, let alone one small enough to wheel around the property as I'd envisioned.
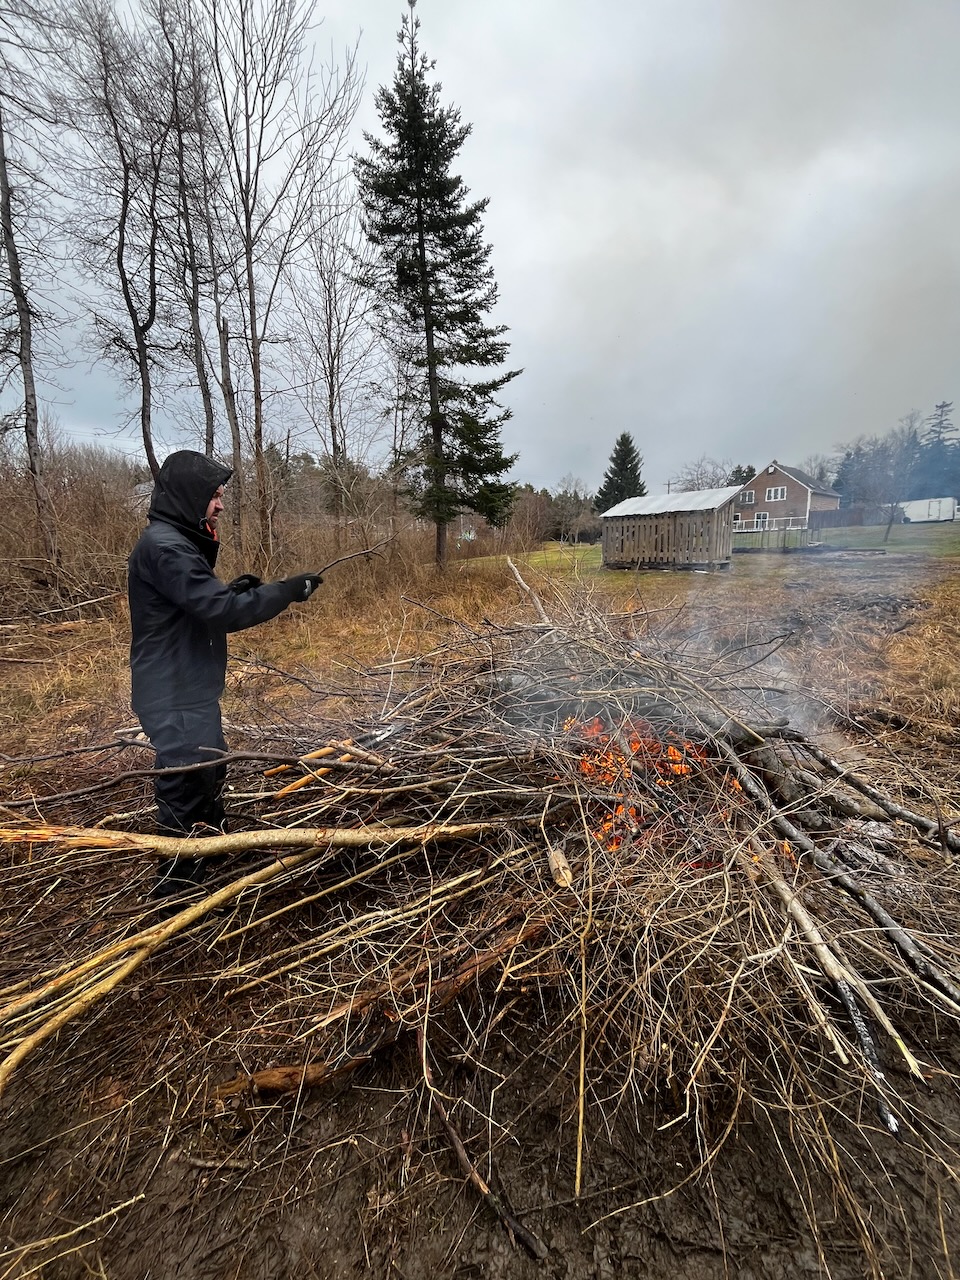
Also, as luck would have it, it rained most of the weekend, making the work less pleasant, and making burning a challenge.
That said, with the help of some friends and family, we did get quite a bit of clearing done. I failed to take many photos, but we had a big pile of wood chippings at the end showing our progress. The property is much clearer now as a result.
There were several learnings from this effort:
- It's not that cheap to rent a chipper and brush saw, about $450 and $150 respectively, for the weekend (1.5 days cost)
- Without a working chainsaw (we had one, but it didn't work as expected), it's going to be tough to break things down. The big piles that the excavator had put together, and the larger trees, were simply too tough for us to quickly break down into chunks that we could burn.
- If you've got piles of stumps, or brush mixed with dirt/rocks, things like that, you're going to need an excavator. This might seem obvious, but I had in my mind we'd be able to tackle some of these things.
Afterwards, I met with the same person who had done the previous clearing to talk about strategy and how to get the rest done.
There are basically three methods of clearing a property:
- Cut things by hand, with chainsaw, brush saw, etc. and then burn or chip it
- Get a mulcher of some kind, which are often attachments for excavators or skid-steers, to come and do clearing
- Get an excavator to rip things up, and then either burn it or truck it off in dump trucks.
By hand is probably the cheapest, using a mulcher is probably the cleanest/best end result, but the third is most common, and also the most durable, as brush and trees will grow back if they aren't dug up by the roots.
What I realized is that I was going to have to get the excavator to do some things, like taking away stumps, anyway, and it probably wouldn't add that much cost.
So I think we may do some more burning of brush, particularly the stuff that's grouped into piles already, but I'll be getting the excavator contractor to take some stuff away and save myself some time in the future.
Layout & Measuring
The following weekend, my main goal was to measure and mark the spots where the first buildings will go.
To recap, my building plan is:
- Utility shed: this was added later, but is going to serve as the main power hub for the property. NS Power (our utility) will connect directly from the pole to this shed, and then I'll be free to use my local electrician to bury power lines on the property, and determine the power distribution to each building.
- Main shed: this was originally going to be used as my "test build," a very simple building for me to test and refine my building skills. With no utilities, I could also use it to store building materials as they're delivered, and long-term convert it to my personal office.
- Two cottages: these will be 1-bedroom cottages, likely identical design, and will serve as rental properties to generate income for the property long-term. Short-term I'll probably live in one.
It's unlikely anything past this will get done this year (and I'll be lucky if all that does get done\!). Long-term there will be space for a bigger house, and some other buildings (gym, garage, etc.) if possible.
So, we set out to mark where I think they'll be going.
I've been planning the layout by doing the following:
- Took the formal survey (which I got before purchasing the property), stripped it of most of the markings, and uploaded it to Miro (online whiteboarding tool)
- Used the grid in Miro to add buildings of different sizes, including the ones I wanted
- Added those buildings to the layout, moving them around to see what makes sense, how things fit, etc. until I landed on a final layout
It looks like this: 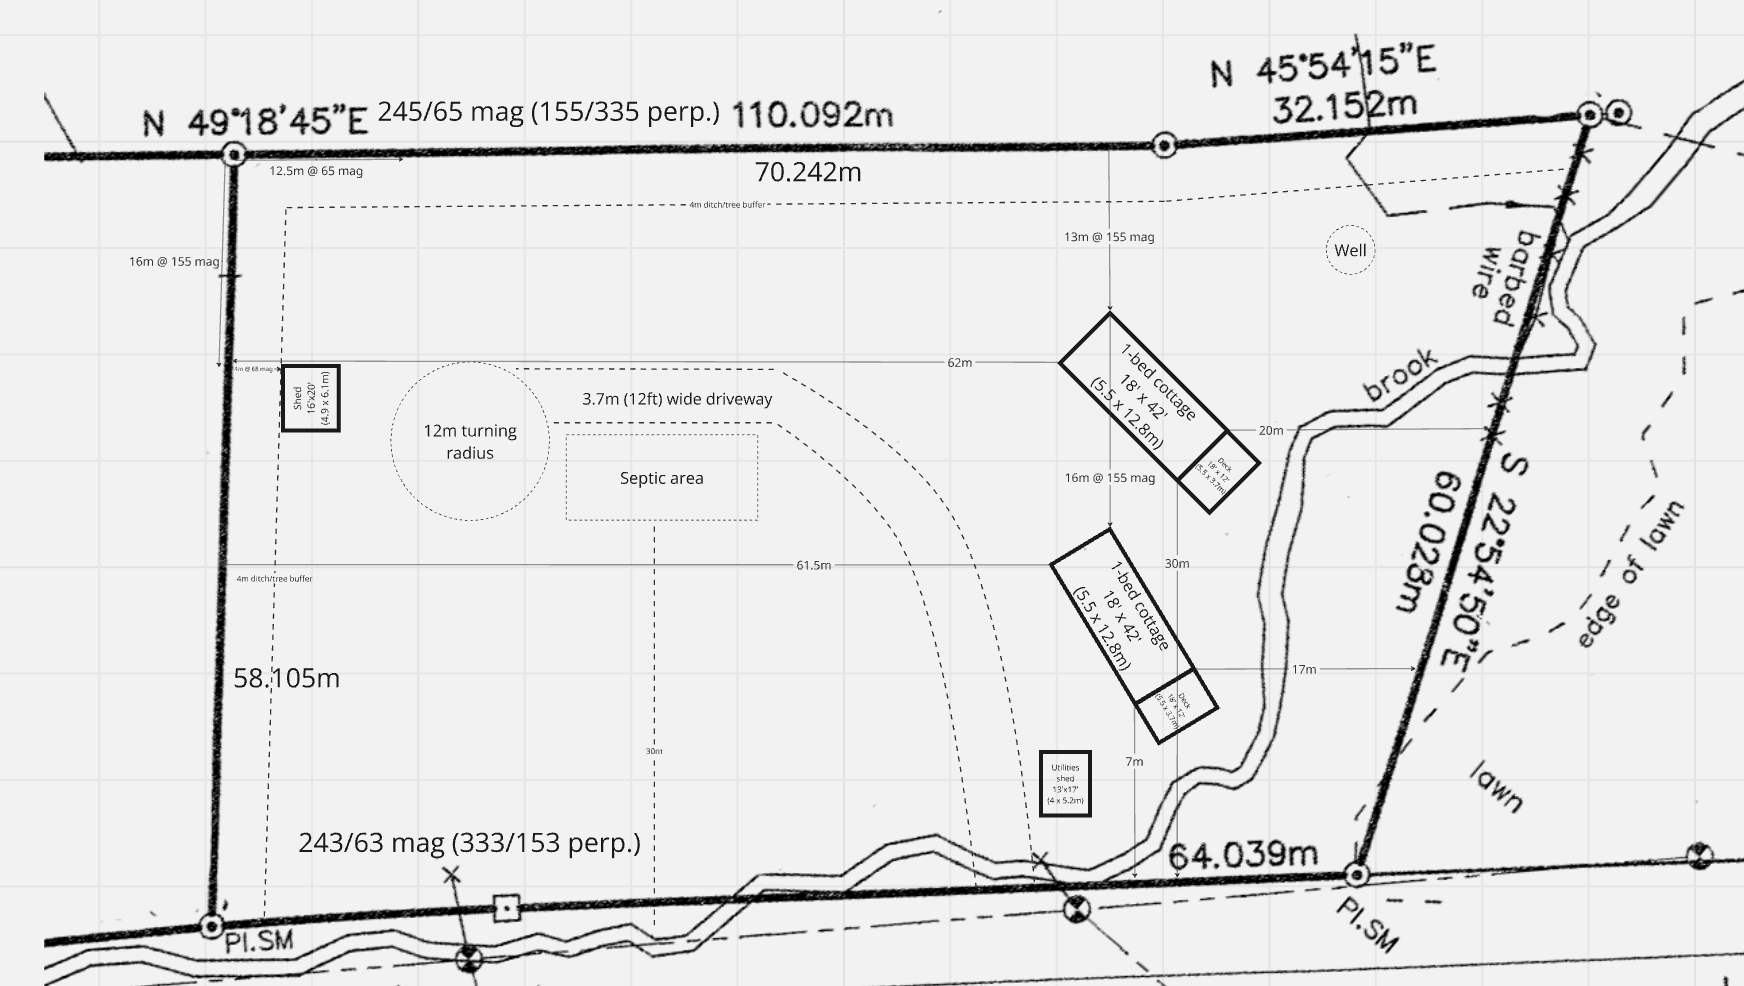
Using the Miro grid, this also allows me to also get measurements from the property markers at corners to where the buildings should be.
So, we took those measurements at the property, and used them to use marking paint to outline where the footprint of the buildings will go.
For some things, like the shed, that just means the excavator guy has an idea of where he needs to prep.
For others, like the cottage locations, it gave us a sense of whether the layout made sense, which trees might have to come down, etc.
The end result was that we felt the cottages weren't oriented in an ideal way, and it would make more sense to shift them a bit. A valuable thing to know at this stage.
Drone Mapping
One of the other cool things about having the survey layout digitally is it allows easy mixing with other things, like satellite maps (Google Maps), local maps (like the coastal development one from our municipality) and so on.
My brothers and I have been using drones for a long time, and one of the cooler things they're good at is mapping.
You can use applications like Drone Deploy (iOS) or MapsMadeEasy (Android) to draw out on your phone (overlaid on something like Google Maps) where you want the drone to map, it will fly the route, take photos, and then stitch them all together into a cohesive map.
They also allow you to overlay them on Google Maps, compare before/after, do all kinds of cool things like that.
Here's what that looks like: 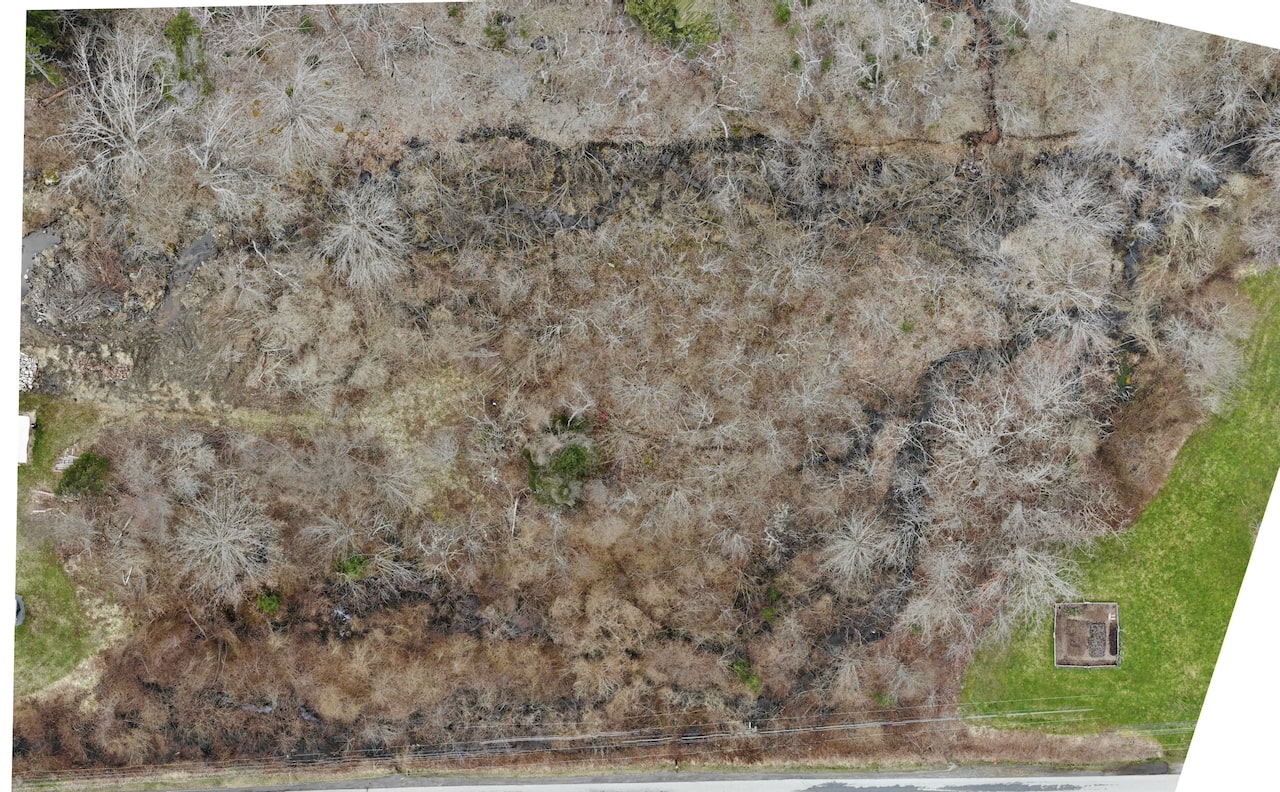
Helps monitor progress, see where drainage is happening, and you can even see the marking paint we put down when zooming in on the high-res version, which allows us to compare how our measurements on the ground compare to the plan.
We'll do more of these as the build goes on, so we can compare over time how things develop.
Mosquito Prevention
The final thing we did on-site is some mosquito prevention.
I hate mosquitos, always seem to get bit repeatedly by them, and generally don't think they should exist.
We went to a spa that was next to a swamp a couple years ago, and barely saw a single mosquito. I asked what they did, and they had a bunch of the propane-powered mosquito killers like the Mosquito Magnet. That was the first time I really understood they could be beaten.
There are all kinds of methods for preventing and killing mosquitos, and I plan to try most of them.
For now, we're focused on two things:
- Preventing stagnant water from occurring (hence the ditching and excavation)
- Using larva killer to prevent them from hatching in the first place
Doktor Doom is the product that's locally available, and you just take a chunk of these, put them in a bucket, add some organic material and some sugar/yeast if you want, and let them sit there.
The organic matter creates CO2 as it rots, attracting the mosquitos, and they lay their eggs there—or at least that's the hope. Then the chemical dunks prevent them from hatching. They're supposed to be non-toxic to other animals, and putting them in buckets instead of a broader water supply prevents the chemicals from going elsewhere too. And then hopefully it prevents the mosquitos from occurring in the first place.
We'll see if it works\!
Finalizing Shed Plans
Off-site, I've been working to get the shed (aka office) plans finalized. You're allowed to build a shed less than 215 square feet without a permit, but the shed specs are a little bigger than that, and I wanted to make sure I could get the non-standard walls I'm planning to use approved.
These are going to be Larsen trusses (a good explainer here), which are used on the outside of a standard wall to form a cavity for extra insulation.
As it turns out, they were not approved by the building inspector, which is a pain, so I've been attempting to get an engineer to look at the design and approve it.
Not having it approved by the building inspector adds a lot of pain, as not only does an engineer have to approve the plans, but they then need to be engaged to inspect and approve each individual build. This is a big pain for me since I'm doing lots of smaller buildings, not a single big one.
Overall, it's one of the biggest gripes I have so far with the building process; I'm attempting to build extra energy-efficient buildings, the structural components comply with code, and yet I need to go through all these extra hoops (and expense) to get approval. These are the kinds of things which slow development and disincentivize non-standard (but potentially innovative) building practices.
Anyway, that work is ongoing.
I also am working on finalizing plans for the "power shed" after meeting with the local utility. I'm aiming to keep this as small as possible, while still having room to potentially house batteries, inverters, internet equipment, etc. in preparation for potentially being off-grid (at least net-neutral) in future.
Meeting With Local Utility (NS Power)
Speaking of the local utility, I had my second meeting with them this week to finalize the plan.
Last time I met with them, we ran through various options. You're allowed up to 400A service as a residential customer here, but it often requires infrastructure upgrades; in my case it would have required a new transformer, as well as two new power poles, and the agreement from my neighbor to add pole supports on his property.
The infrastructure upgrades are not usually a big deal, as NS Power typically covers these costs.
However, apparently they have an agreement with Bell (the cable/internet provider) that splits ownership of the power poles in the province. If they're owned by NS Power, the cost of the upgrades is included.
If they're owned by Bell, they are billed. At a cost of something like $5000-$7500 per pole. So in my case, that would be $10K-$15K in infrastructure upgrades, for the privilege of paying the utility more in future. Despite the fact that NS Power would be doing the work in either case.
Needless to say, I'd rather spend that money on infrastructure that I would own and that would benefit me in my quest to be net zero or off-grid, like solar and batteries.
For a 200A service, no changes are necessary, and so that's what I'll be going with.
Ordering Materials
Finally, I've also started the process of ordering materials. I'll be doing a breakdown of all the things I'll be using at some point in the future, and I've got a spreadsheet estimating the quantities and costs of everything.
Many items require different lead times, which are all variable, and the building supply stores want to deliver to you as soon as they arrive, as they don't have the capacity to store everything.
For now, I'll give the outline of the basics:
- The insulated slab forms, provided by FastSlab, need 6-8 week lead time
- The trusses, and metal siding/roofing, from different suppliers, each need up to 4 week lead time (though could be as short as a week)
- The framing materials, sheathing, etc. should all be available from the local building supplier without lead time, assuming they're still in stock when I go to order (unpredictable)
- The windows and doors need 4-6 weeks lead time
I don't currently have anywhere to store things (there are no buildings on the property), so I'm trying to time everything correctly, not ordering too much in advance, but trying not to delay myself either.
Next up on the list of things to do:
- Update building permits with engineer-approved designs
- Order more building supplies
- Get the excavator contractors back on site to prep the building sites and clear more debris
- Finalize cottage plans and get building permits approved (these require engineered slabs as well)
Until next time\!