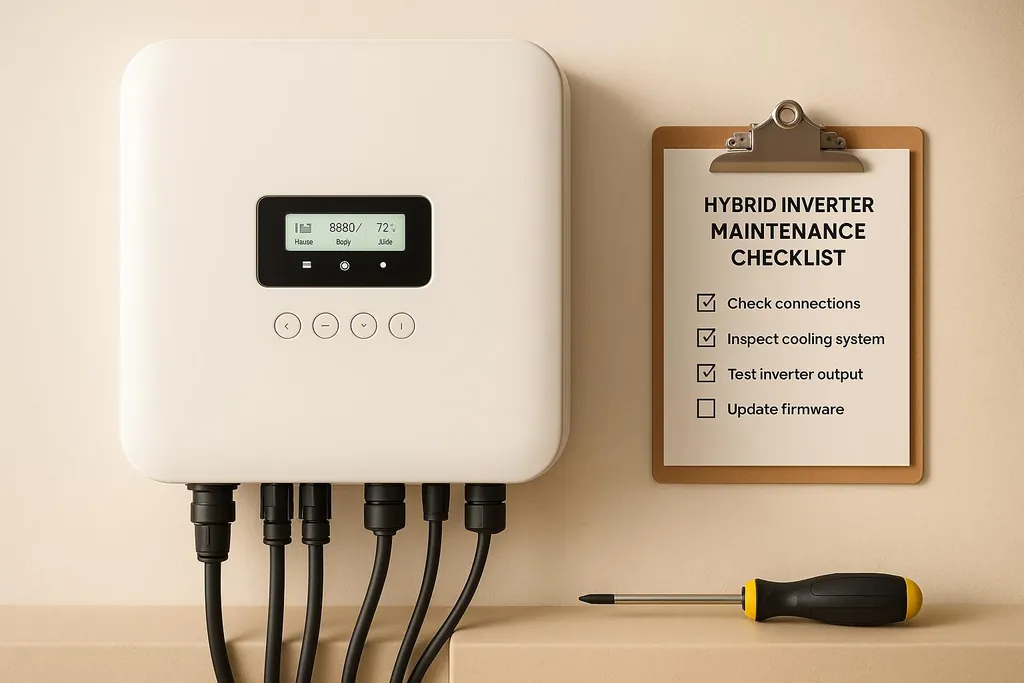
Ensure your hybrid inverter operates efficiently and lasts longer with our comprehensive maintenance checklist and expert tips.
Hybrid Inverter Maintenance Checklist
Maintaining your hybrid inverter is key to ensuring your energy system runs efficiently and lasts longer. Here's what you need to do:
- Inspect regularly: Check the exterior for damage, burn marks, corrosion, or rodent issues. Look at cables for loose or frayed connections.
- Clean properly: Keep the inverter free of dust and debris. Avoid abrasive tools and ensure proper ventilation to prevent overheating.
- Monitor performance: Check the display for error codes or unusual readings. Document any issues for future reference.
- Update firmware: Keep the system software current to access the latest features and fixes.
- Schedule professional checks: Annual inspections by certified technicians can catch hidden problems and keep warranties valid.
Tip: Stick to a maintenance schedule - daily monitoring, monthly cleanups, quarterly checks, and yearly professional inspections. Regular care avoids costly repairs and keeps your system performing well.
Visual and Physical Inspection
A visual check is the first step in spotting potential problems. Before starting, make sure to turn off both the AC and DC switches on your inverter. This is crucial for your safety during the inspection.
Inspecting the Exterior
Safety is key - double-check that the inverter is powered off. Begin by examining the inverter's housing for any signs of damage, such as cracks, warping, or other deformities. These can weaken its ability to protect against dust and weather. Look closely for burn marks on the surface; these often signal overheating and require immediate attention.
Another issue to watch for is corrosion, especially if you’re in a humid or coastal area. Inspect the housing, mounting brackets, screws, and electrical terminals for rust or other signs of wear. Also, check for water stains, mineral deposits, or moisture around seals and cable entries. Water exposure can lead to corrosion and potentially dangerous short circuits.
Don’t forget to examine the display panel. A foggy, discolored, or unresponsive display could point to internal moisture or a failing component. Lastly, inspect the wiring and enclosure for signs of rodent damage, as this can pose serious safety risks and lead to system malfunctions.
Checking for Loose or Damaged Cables
Loose connections are a frequent cause of inverter issues and can result in burned cables or breakers, potentially leading to a complete system failure. Carefully inspect all electrical connections for frayed or burned wires, ensuring they are tight and secure.
Using a torque wrench is essential for tightening screw terminals, particularly when dealing with fine strand wire. Hand-tightening often isn’t enough for long-term reliability. For example, one user shared their experience:
> "I had a similar issue in a combiner box. It was resolved when I put a Phillips bit on my torque wrench and actually torqued the screws. Previously, I tightened them by hand as tight as I could make them. I was astonished to learn how much tighter they needed to be to reach 2.9 nm." - TomC4306, Solar Obsessive
Inspect all module, inverter, and grid connection terminals. Tighten any loose or frayed wires according to the manufacturer’s specifications. Poor connections can cause unstable voltage, zero voltage output, or even trigger display errors and grid loss failures.
Routine checks are important, as emphasized by a maintenance expert:
> "All screw terminals like that should be retightened periodically. I recheck mine 2-3 times a year, always find a few loosening up. Fine strand wire is particularly prone to loosening. I pick a dark night and go out and tighten the combiner box screws, and inside I shut down the system and tighten the controller screws and all the breakers and buss bars." - Hogheavenfarm
Once all connections are secure, move on to reviewing the inverter's display for any diagnostic alerts.
Monitoring Display and Error Codes
After confirming the physical connections, check the inverter’s display for additional insights. This step helps identify internal issues that might not be visible during a physical inspection. Ensure the display is functioning properly and take note of any error codes or warnings. Many modern inverters provide real-time data, system status updates, and diagnostic information, making it easier to spot potential problems early.
Pay attention to unusual readings, such as sudden changes in power output, irregular voltage levels, or temperature warnings. Be sure to document any error codes - include the exact text or numbers along with the date and time they appeared. This information will be invaluable if you need technical support or professional repairs.
Some inverters also store historical performance data, which can reveal trends or gradual changes over time. Reviewing this data during your inspection can help you catch small issues before they escalate into bigger problems.
Cleaning and Environmental Controls
Keeping your inverter clean and ensuring proper ventilation are essential for maintaining its performance and reliability. Dust buildup and poor airflow can reduce efficiency, cause overheating, and eventually lead to malfunctions.
Cleaning the Inverter
Safety first: Before you start cleaning, always turn off and disconnect both AC and DC power sources. After powering down, wait at least 5 minutes. Wear insulating gloves and safety glasses, and follow the manufacturer’s specific instructions for your inverter model.
Use a soft, dry microfiber cloth to wipe the exterior of the inverter. For tougher stains, you can dampen the cloth with clean water or a diluted mild detergent. Make sure to wring out the cloth thoroughly so it’s only slightly damp, not wet.
What to avoid: Never use abrasive tools, harsh chemicals, corrosive cleaning agents, or high-pressure water. These can damage the surface, corrode components, or allow moisture to seep into sensitive areas. Keep all liquids away from vents, terminal blocks, and openings to avoid short circuits.
After wiping the surface with a damp cloth, immediately dry it with a clean, dry cloth to remove any remaining moisture. Double-check that everything is completely dry before reconnecting power. Once dry and secure, reconnect the power sources and monitor the display to ensure the system is functioning as expected.
Ensuring Proper Ventilation
Blocked vents are a major cause of inverter overheating. Regularly inspect all air vents, cooling ports, and heat sinks for dust and debris that might restrict airflow. Even small blockages can compromise cooling efficiency and affect performance.
Use a soft-bristle brush to gently clean vents and hard-to-reach areas. For stubborn debris, a low-power vacuum or a compressed air canister on a low setting can help clear out dust without pushing it deeper into the unit. Be cautious when using compressed air - too much pressure can damage delicate components.
If your inverter has external cooling fins, such as aluminum heat sink fins, give them extra attention. These fins are designed to dissipate heat but can become clogged with dirt and dust over time. Clean carefully between the fins to maintain proper airflow and cooling.
Keeping vents and cooling components clear is especially important in environments prone to dust or moisture, as these conditions can accelerate buildup.
Environmental Factors to Monitor
The environment where your inverter operates has a big impact on how often it needs maintenance. In general, clean your inverter every 3 to 6 months, but harsher environments may require more frequent attention.
Place the inverter in a shaded, dry location with good ventilation. Direct sunlight can cause overheating, while exposure to moisture may lead to corrosion or electrical issues. For outdoor units, check that protective covers or enclosures are intact and properly sealed.
Temperature extremes can also affect maintenance needs. In hot climates, dust tends to stick to warm surfaces, requiring more frequent cleaning. In colder areas, fluctuating temperatures can cause condensation, so watch for moisture around seals and cable entries.
Adjust your maintenance schedule based on the surrounding environment. Units near construction sites, unpaved roads, or farmland will accumulate dust faster than those in cleaner residential areas. Similarly, coastal installations should be checked regularly for salt corrosion, which can damage components over time.
Electrical Connections and Firmware Updates
After completing visual and physical inspections, the next step is to ensure solid electrical connections and up-to-date firmware. These are crucial for maintaining both safety and performance, and the good news is that these tasks are well within reach for DIY enthusiasts.
Inspecting Electrical Connections
Before diving in, turn off both the AC and DC disconnect switches and wait at least 5 minutes. For safety, wear insulating gloves and safety glasses while working.
Start by checking the DC input terminals where your solar panels connect to the inverter. Look for any signs of corrosion and tighten all screws to avoid power loss, overheating, or potential safety hazards.
Next, inspect the AC output connections that connect the inverter to your home’s electrical panel. Ensure these connections are tight and that the grounding is secure - poor grounding can lead to earth faults, which are a serious risk.
Be on the lookout for warning signs like failure to start, no power output, or strange sounds. These could point to electrical problems. Other common issues include missing supply voltage (possibly from a blown fuse or faulty isolator), low mains voltage, or earth faults.
Once you’ve confirmed that all connections are secure, it’s time to update your inverter’s firmware.
Updating Firmware and Software
Keeping your inverter’s firmware up to date is key for ensuring peak performance and accessing the latest features or fixes. To get started, check your current firmware version on the inverter’s display or through its monitoring app.
Head to the manufacturer’s official website and find the support or downloads section. Look for firmware updates specifically designed for your inverter model - using the wrong firmware could damage your system. Download the correct update file along with any instructions or release notes provided.
Many modern hybrid inverters offer multiple ways to update firmware. Some manufacturers provide dedicated tools or mobile apps to simplify the process, while others might require you to use a USB drive or SD card.
Before proceeding with the update, review the release notes to understand what changes are being made. It’s also a good idea to record your current settings, as updates can sometimes reset configurations. Make sure your inverter has a stable power supply during the update to avoid interruptions, which could cause serious problems.
Signs that a firmware update might be necessary include error codes, trouble connecting to WiFi or monitoring apps, or other unusual behavior.
After completing the update, keep an eye on your system to ensure everything is running smoothly.
Monitoring System Performance
Regularly check your inverter’s display or app for error messages. Keep a log of recurring issues, noting the dates and times, to make troubleshooting easier if problems arise.
Professional Inspection and Troubleshooting
While DIY maintenance can handle a lot, some issues demand the expertise of certified technicians to avoid safety hazards and expensive repairs.
Annual Professional Inspection
Make it a priority to schedule a professional inspection each year to keep your inverter running smoothly. Certified technicians use advanced diagnostic tools and techniques that go beyond what most of us can handle at home. During these inspections, they’ll evaluate the inverter’s electrical performance, look for signs of wear or calibration issues, and check critical components like safety systems, grounding, and internal connections. Firmware updates are often part of this process too. Keep in mind, some manufacturers require these annual inspections to maintain your warranty. Pair these inspections with regular monitoring of warning signs to decide when it’s time to call in the pros.
Common Warning Signs and Troubleshooting
If your routine checks uncover ongoing issues, it’s time to bring in a professional. Be on the lookout for these warning signs:
- Frequent shutdowns: This could mean overheating, electrical faults, or worn components. Check vents and operating temperatures, but if the problem persists, call a technician.
- Error codes that won’t go away: These often point to deeper hardware problems that need expert attention.
- Unusual noises: Grinding, clicking, or buzzing sounds can signal mechanical or electrical issues that require professional inspection.
- Drops in power output: This might indicate problems with internal components or connections that need a closer look.
- Signs of overheating: If surfaces feel too hot or you notice burning odors, it’s a serious safety risk. Do not attempt to open the inverter - leave it to a professional.
Before contacting a technician, jot down any error messages and note when the issue first appeared. You can try some basic troubleshooting, like checking that circuit breakers are in place, ensuring disconnect switches are properly engaged, and confirming that monitoring displays show normal readings. If these steps don’t resolve the issue, it’s time to call in the experts.
Maintenance Schedule Overview
Having a clear maintenance plan helps prevent problems, keeps your warranty intact, and ensures your inverter runs smoothly and efficiently.
Creating a Maintenance Plan
Once you've completed initial inspections and basic cleaning, it's time to establish a regular maintenance schedule. A structured plan keeps everything running efficiently, and sticking to it is essential.
- Daily: Use your inverter's app to monitor error codes, power output, and unusual sounds. Quick daily checks can help catch small issues before they become big problems.
- Monthly: Look for loose cables, signs of corrosion, or debris around the inverter. Clean the exterior and review data logs to spot any irregularities.
- Quarterly: Use compressed air to clean vents, tighten electrical connections, and check for firmware updates. Take photos of cable connections to document their condition.
- Annually: Bring in a certified technician to handle detailed electrical tests, calibrations, and internal inspections. These are often required to maintain your warranty.
Adjust the frequency of checks based on the seasons. For example, inspect the cooling system before summer and confirm temperature tolerances before winter.
Keep a log of all inspections, issues, and maintenance dates. This record will help you track performance trends and support any warranty claims if needed.
Begin with basic monthly checks, and as you get more familiar with your inverter's normal operation, expand your schedule to include more detailed inspections.
Conclusion
Maintaining your hybrid inverter is crucial to protecting your investment in sustainable energy and ensuring your power system operates efficiently. By integrating regular inspections, cleaning, connection updates, and professional evaluations into your routine, you can avoid expensive repairs and extend the lifespan of your system.
Key Takeaways
Effective hybrid inverter maintenance revolves around four essential practices: visual and physical inspections, cleaning and ventilation, maintaining electrical connections and updating firmware, and professional evaluations. Each of these plays a vital role in keeping your system running smoothly.
- Visual inspections help you catch early warning signs of potential issues.
- Cleaning and proper ventilation prevent dust buildup and overheating, which can harm system performance.
- Electrical connection maintenance and firmware updates ensure your system remains efficient and secure.
- Professional inspections provide a deeper analysis that DIY efforts might overlook, helping to identify hidden problems and maintain warranty coverage.
For those in dusty or extreme climates, more frequent checks may be necessary. Keeping detailed maintenance logs can simplify troubleshooting and support any warranty claims.
With these practices in place, you can ensure your hybrid inverter operates at peak performance for years to come.
Encouragement for DIY Enthusiasts
If you're a DIY enthusiast, maintaining your hybrid inverter can be an empowering way to take control of your home's energy system. Platforms like [DIY Eco Homes](/) offer step-by-step guides with detailed photos and troubleshooting tips tailored to homeowners focused on sustainable living. These resources make it easy to tackle maintenance tasks with confidence.
Start small, such as performing monthly visual inspections or quarterly cleaning. As you gain experience, you can expand your routine to include more advanced tasks. Most of these require only basic tools and a bit of patience, making them accessible even for beginners. Successfully managing your inverter not only boosts your technical skills but also lays the groundwork for taking on other eco-friendly home projects.
DIY Eco Homes emphasizes practical skills and transparent budgeting, helping you decide when to handle tasks yourself and when to call in a professional. Their guides are a valuable resource for anyone looking to maintain and optimize their sustainable energy systems.
FAQs
What happens if you don’t maintain your hybrid inverter regularly?
Regular maintenance for your hybrid inverter isn’t just a good idea - it’s essential. Skipping it can lead to a drop in efficiency, meaning your solar system might generate less energy than it should. And when energy production dips, you could see higher utility bills and a less reliable system overall.
Beyond performance issues, neglecting maintenance can cause parts to wear out faster than they should. This could mean expensive repairs or even full replacements down the line. Worse yet, ignoring upkeep might lead to safety concerns, like electrical malfunctions or, in rare cases, fire hazards. Keeping up with routine maintenance ensures your inverter runs smoothly, safely, and for as long as possible.
How do I know if my hybrid inverter needs a firmware update, and why is it important?
To find out if your hybrid inverter requires a firmware update, start by navigating through its menu system, app, or web portal to locate the current firmware version. Then, compare it with the latest version listed by the manufacturer. Many inverters have a built-in option to check for updates directly, or you can visit the manufacturer’s support page for the most up-to-date information.
Updating the firmware can bring several benefits, such as boosting your inverter's efficiency, improving reliability, and enhancing safety. It might also introduce new features and optimize your system's overall performance, ensuring you get the best results from your energy setup.
Why should I schedule annual professional inspections for my hybrid inverter, and what happens during these inspections?
Keeping up with yearly professional inspections for your hybrid inverter is a smart move to keep it running safely and efficiently while steering clear of expensive repairs. These regular checkups can catch problems early, help your system last longer, and ensure it performs at its best.
During an inspection, a technician will examine your system for any visible damage, test the internal components, check the calibration, and confirm that all safety features are working as they should. This detailed process ensures your hybrid inverter stays reliable and operates smoothly throughout the year.