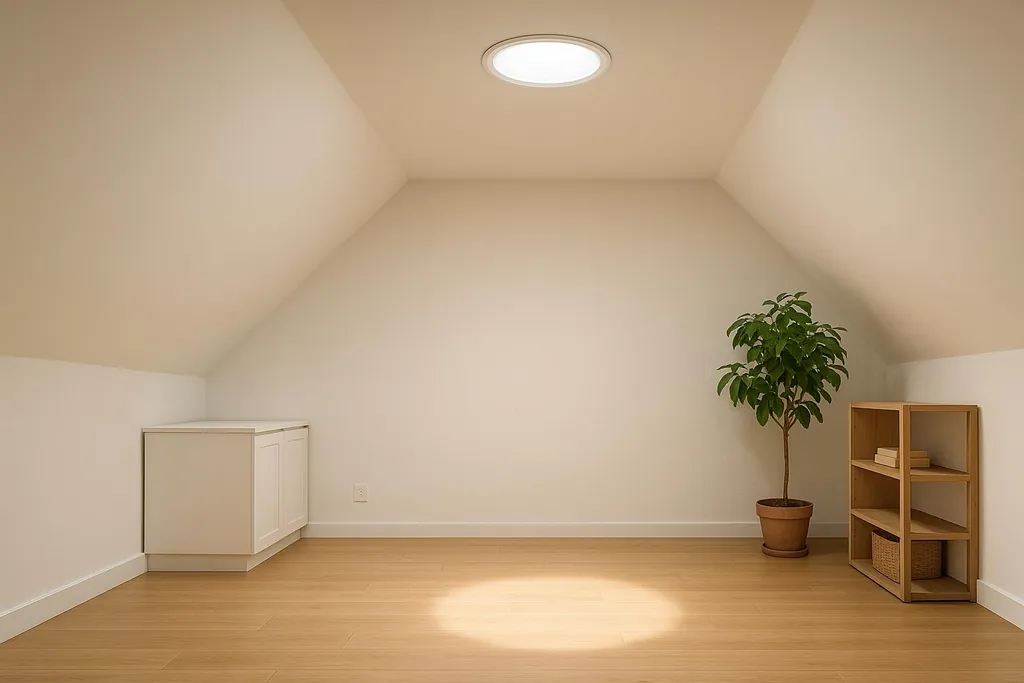
Learn how to install solar tubes to brighten dark spaces with natural light, all while reducing energy costs and maintaining a DIY approach.
How to Install Solar Tubes: Step-by-Step Guide
Solar tubes are an easy and effective way to bring natural light into dark spaces in your home without the need for large skylights. These systems use three main components: a roof dome to capture sunlight, a reflective tube to channel the light, and a ceiling diffuser to distribute it evenly. They are energy-efficient, reduce electricity costs, and can be installed by most homeowners with basic tools.
Key Steps to Install Solar Tubes:
- Plan and Prepare: Choose the right location, check for obstructions, and measure carefully.
- Tools and Materials: Gather essentials like a drill, saw, ladder, and a solar tube kit.
- Safety First: Use protective gear, ensure the roof is stable, and adhere to local codes.
- Cut and Install: Create openings in the roof and ceiling, secure the dome and flashing, and connect the reflective tube.
- Seal and Test: Seal all joints, check for leaks, and ensure even light distribution.
Solar tubes are perfect for hallways, bathrooms, or closets, and they work well with various roof types. Regular maintenance, like cleaning the dome and diffuser, ensures long-term performance. Whether you're looking to brighten your home or save on energy bills, this DIY project offers a practical solution.
Tools, Materials, and Safety Requirements
Required Tools and Materials
Having the right tools and materials on hand is crucial for a smooth solar tube installation.
Essential Tools for Installation To get started, you'll need a hammer, screwdrivers, a drill with various bits, a tape measure, and a cutting tool. A ladder is essential for accessing the roof, while a stepladder is handy for interior work. For cutting, a keyhole saw works for smaller openings, while a reciprocating saw or angle grinder is better for larger or more precise cuts, especially on metal or roofing materials. Tools like a magnetic compass, plumbline, and flashlight are also helpful for alignment and measurements. Retaining wire can be used to secure components during the process .
Specialized Tools and Where to Find Them For better precision and ease, consider using a specialized caulk gun like the Newborn 250 Pro 18:1 Caulk Gun, which offers better control. Accurate marking tools, such as All Purpose Timberstik Lumber Crayons and the DuraMark ChalkShot Marking Chalk Tool, can make your job easier. A Rafter/Stud Center-Line Locator is useful for identifying structural elements in your roof and ceiling. If you're working in colder weather, caulk warmers can help maintain the performance of your sealant. You can find these specialized tools at retailers like Solar Tools USA .
Materials You'll Need You'll need a solar tube kit, which typically includes a roof dome, flashing, reflective tubes, ceiling diffuser, lenses, and hardware. A high-quality, UV-resistant sealant is also necessary to ensure durability .
Safety Precautions for Roof Work
Before heading up to the roof, check the weather. Avoid working in rain, snow, high winds, or on wet surfaces. For ladder safety, place it on firm, level ground, positioning the base one foot away from the wall for every four feet of height. The ladder should extend at least three feet above the roof's edge. Inspect the roof for damaged decking, loose shingles, or any weak spots, and always step on solid, stable areas. Be cautious of electrical hazards by keeping at least a 10-foot distance from power lines. If your roof has solar panels or other electrical equipment, turn off the relevant breakers.
Personal Protective Equipment (PPE)
To stay safe, wear safety goggles, work gloves, and non-slip footwear. For steep roofs, a safety harness is essential. If the work environment is dusty, use a dust mask or respirator to protect your lungs.
Planning and Preparation for Installation
Choosing the Right Location
To get the best results from your solar tube installation, selecting the right location is key. Start by pinpointing rooms that could benefit from extra natural light, like hallways, bathrooms, or closets without windows. Ideally, choose a south-facing roof to maximize sunlight exposure.
Pay attention to the ceiling height and room layout. Solar tubes typically work best with ceilings between 8 and 10 feet high. For vaulted or cathedral ceilings, you might need additional components like extension tubes or angled adapters. Avoid placing solar tubes directly above areas where people spend a lot of time, as the light beam can be too bright during peak sunlight hours.
The roof pitch and accessibility also matter. Roof slopes between 15 and 60 degrees are generally suitable for most solar tube systems. If your roof is steeper, you may need extra safety gear and specialized flashing. Flat roofs, on the other hand, require specific dome designs to prevent water pooling and ensure proper drainage.
It’s also smart to think about seasonal sun patterns. For instance, trees that block sunlight in the summer might lose their leaves in the winter, allowing more light through. If your room faces east and gets morning sun, a location with afternoon shade could provide a softer, more balanced light throughout the day.
Once you’ve chosen the best location, the next step is to carefully measure and mark the installation points for accuracy.
Measuring and Marking Installation Points
After selecting the location, precise measurements are essential to ensure everything fits perfectly. Start by identifying the center point on the ceiling where you want the diffuser to be installed. Use a pencil to mark this spot and measure the distances from nearby walls to create reference points.
Next, head to the attic and locate the mark from above. Drill a small pilot hole through the ceiling to the roof. This hole will act as your guide when working on the exterior.
On the roof, find the pilot hole and use it as the center for your solar tube opening. Most solar tubes require a 10- or 14-inch diameter opening. To mark the circle, you can use a compass or a string tied to a pencil. Use chalk or a lumber crayon to outline the circle - these markings will stay visible even if it rains.
Double-check your markings from both the interior and exterior to ensure they align. Taking photos of your marked locations from various angles can also be helpful during installation.
Measure the distance between the ceiling and the roof to determine the amount of reflective tubing you’ll need. Be sure to account for any bends or angles required to navigate obstacles. While most installations use 2 to 6 feet of tubing, more complex setups may require additional lengths.
Once everything is measured and marked, you’re ready to move on to preparing for cutting and installation.
Checking for Obstructions and Permits
Before cutting into your roof, inspect the installation path for any potential obstacles. In the attic, use a flashlight to look for electrical wiring, plumbing lines, HVAC ducts, and structural beams that could interfere with your plans. Electrical wires should be at least 6 inches away from your intended opening. If wires are in the way, you’ll need to adjust the tube’s path.
Plumbing vents and water lines can be more challenging to deal with. These systems, such as copper pipes or PVC vent stacks, often require professional rerouting if they block your installation path. In some cases, you may need to choose a different location altogether.
Examine the roof structure for trusses, rafters, or support beams. Solar tubes are designed to fit between standard 16-inch or 24-inch rafter spacing, but engineered trusses with diagonal bracing can complicate things. Never cut through structural supports without consulting a structural engineer first.
Make sure to check your local building codes before starting the project. Many areas treat solar tubes similarly to skylights, meaning you may need a permit to install one. Some regions also require professional installation, particularly if you’re adding features like dimming controls or electrical switches.
If you live in a neighborhood governed by a homeowners association (HOA), review their rules regarding roof modifications. Some HOAs have strict guidelines about dome colors, placement, or other aesthetic considerations. Submit any necessary applications before starting work.
Finally, confirm the location of utility lines near your roof access points. If your project involves exterior work, ensure you’re clear of electrical or gas lines to avoid any safety hazards.
With all these steps completed, you’ll be well-prepared to begin your solar tube installation.
How to Install a Solatube Tubular Skylight (Full Length How-to)
Step-by-Step Solar Tube Installation
With all the groundwork done, it's time to bring your solar tube to life. Follow these steps carefully to ensure your home is filled with natural light safely and effectively.
Cutting and Preparing Openings
Start with the ceiling to establish proper alignment. Here's a crucial safety tip: don’t cut into the ceiling until you’ve confirmed the roof flashing and assemblies align perfectly .
Drill a pilot hole through the marked spot on the ceiling. From the attic, use a marker screw (leave about an inch visible) to pinpoint the diffuser's center .
For the ceiling cut, check your manufacturer's installation guide for the exact diameter required for your diffuser. Most systems call for either a 10-inch or 14-inch opening . Use a hole saw attachment for a clean, precise cut, and hold onto the screw "handle" to prevent the cut-out section from dropping unexpectedly.
Next, head to the roof and locate the pilot hole from the outside. Cut an opening that matches the tube's diameter, adding an extra inch to accommodate the flashing . Use a saw that suits your roofing material and choose a calm, dry day for this step. Double-check the alignment of both openings with a plumb line to ensure they’re perfectly vertical.
Installing the Roof Dome and Flashing
Install the roof dome and flashing according to the manufacturer’s instructions to keep your setup weatherproof. Apply roofing sealant around the roof opening as recommended, then secure the flashing in place using the provided hardware. Once the flashing is set, attach the dome assembly, following the guidelines, and make sure it’s firmly secured.
Connecting the Reflective Tube and Ceiling Components
Carefully connect the reflective tubing between the roof dome and the interior ceiling. Handle the tubing by the edges to avoid smudging its reflective surface. Add any intermediary components required by your kit, and finish by mounting the diffuser as instructed in the manual.
Sealing and Insulating Joints
Seal all joints thoroughly using the manufacturer’s recommended materials. This step is essential to block drafts and maintain energy efficiency.
Testing the Installation
On a sunny day, test the solar tube to ensure even light distribution throughout the space. After the next rain, inspect for any leaks. If you notice any issues, revisit the installation and check the sealing. Once everything is in place, you can move on to routine maintenance to keep your solar tube performing at its best.
Troubleshooting and Maintenance Tips
To keep your solar tube functioning at its best, make it a habit to clean the roof dome and interior diffuser every six months. Proper care ensures optimal light transmission and extends the life of your setup.
Regular Maintenance Tasks
- Safety first: Always use a stable ladder and maintain three points of contact when working on roof components. If you're unsure or uncomfortable, consider hiring a professional for assistance.
- Check your manual: Refer to your solar tube's manufacturer's guide for specific instructions, as diffuser designs can vary and may require unique removal methods.
- Gentle cleaning: Prepare a solution of warm water and mild dish soap. Avoid harsh chemicals, abrasive cleaners, or tools like metal scrapers that could scratch the surfaces. Clean both the exterior dome and interior diffuser, rinse thoroughly with clean water, and let everything air dry before reassembling.
- Reflective tube care: The interior reflective tube is sealed to prevent dust and debris, so it typically doesn’t need cleaning.
Conclusion: Key Takeaways
Adding solar tubes to your home is an affordable way to brighten up your space while cutting down on energy use. This DIY project can make a noticeable dent in daytime lighting costs without requiring a massive investment.
Breaking down the process, the installation involves five main steps: planning, cutting openings, installing the components, connecting the tube system, and sealing everything up. Each phase calls for careful attention, but the methods are simple enough for anyone with basic DIY experience to handle.
Safety should always be a priority. Use the right protective gear and take your time with each step. If you’re unsure about anything, reaching out to a professional is always a good idea.
Beyond saving on energy bills, solar tubes come with long-term perks. They need very little maintenance - just occasional cleaning of the dome and diffuser - and they can provide years of dependable natural light. Plus, they can boost your home’s value while promoting eco-conscious living, aligning with today’s green building trends.
Once installed, solar tubes can transform dim, uninviting areas into bright, welcoming spaces. The effort you put in pays off with lower electricity bills, better indoor air quality thanks to reduced artificial lighting, and the satisfaction of completing a home improvement project that benefits both your wallet and the environment.
A solid installation now means fewer headaches later. This project reflects the spirit of practical, sustainable upgrades that bring lasting benefits to your home.
FAQs
What are the advantages of solar tubes over traditional skylights?
Solar tubes come with several standout benefits when compared to traditional skylights. For starters, they’re less expensive and simpler to install, often taking less time and effort to set up. Unlike skylights, which can lose a noticeable amount of light due to their structure, solar tubes can deliver up to 99% of the natural light they collect, making them incredibly efficient.
Another advantage is their energy-saving design. Solar tubes can be installed in areas where skylights simply wouldn’t work, like narrow hallways or compact rooms. Their streamlined structure minimizes heat transfer, helping to keep your indoor temperature steady while still flooding your space with bright, natural light. These qualities make solar tubes a smart and budget-friendly way to improve your home’s lighting.
How do I choose the best spot in my home to install solar tubes?
To get the most out of solar tubes, aim to install them in spaces that don’t get much natural light but see a lot of use. Think about areas like bathrooms, hallways, staircases, closets, or kitchens. However, steer clear of placing them near electronics or screens to avoid annoying glare.
For the best light transmission, make sure there’s a clear, unobstructed path from the roof to the ceiling. On the roof itself, pick a south-facing spot that gets plenty of sunlight and has a slight slope. This setup ensures you’ll enjoy the brightest and most efficient lighting possible.
What should I do if I run into obstacles like trusses or plumbing while installing solar tubes?
If you come across obstacles like trusses or plumbing while installing a solar tube, don’t cut or drill through them - doing so could lead to structural damage or leaks. Instead, consider using flexible tubing or elbows to navigate around the obstruction. Another option is to select a different spot where there’s a clear, unobstructed path from the roof to the ceiling.
For more involved adjustments, it’s a smart move to consult a professional, such as a roofer or structural engineer. They can help ensure the installation is both safe and up to code.