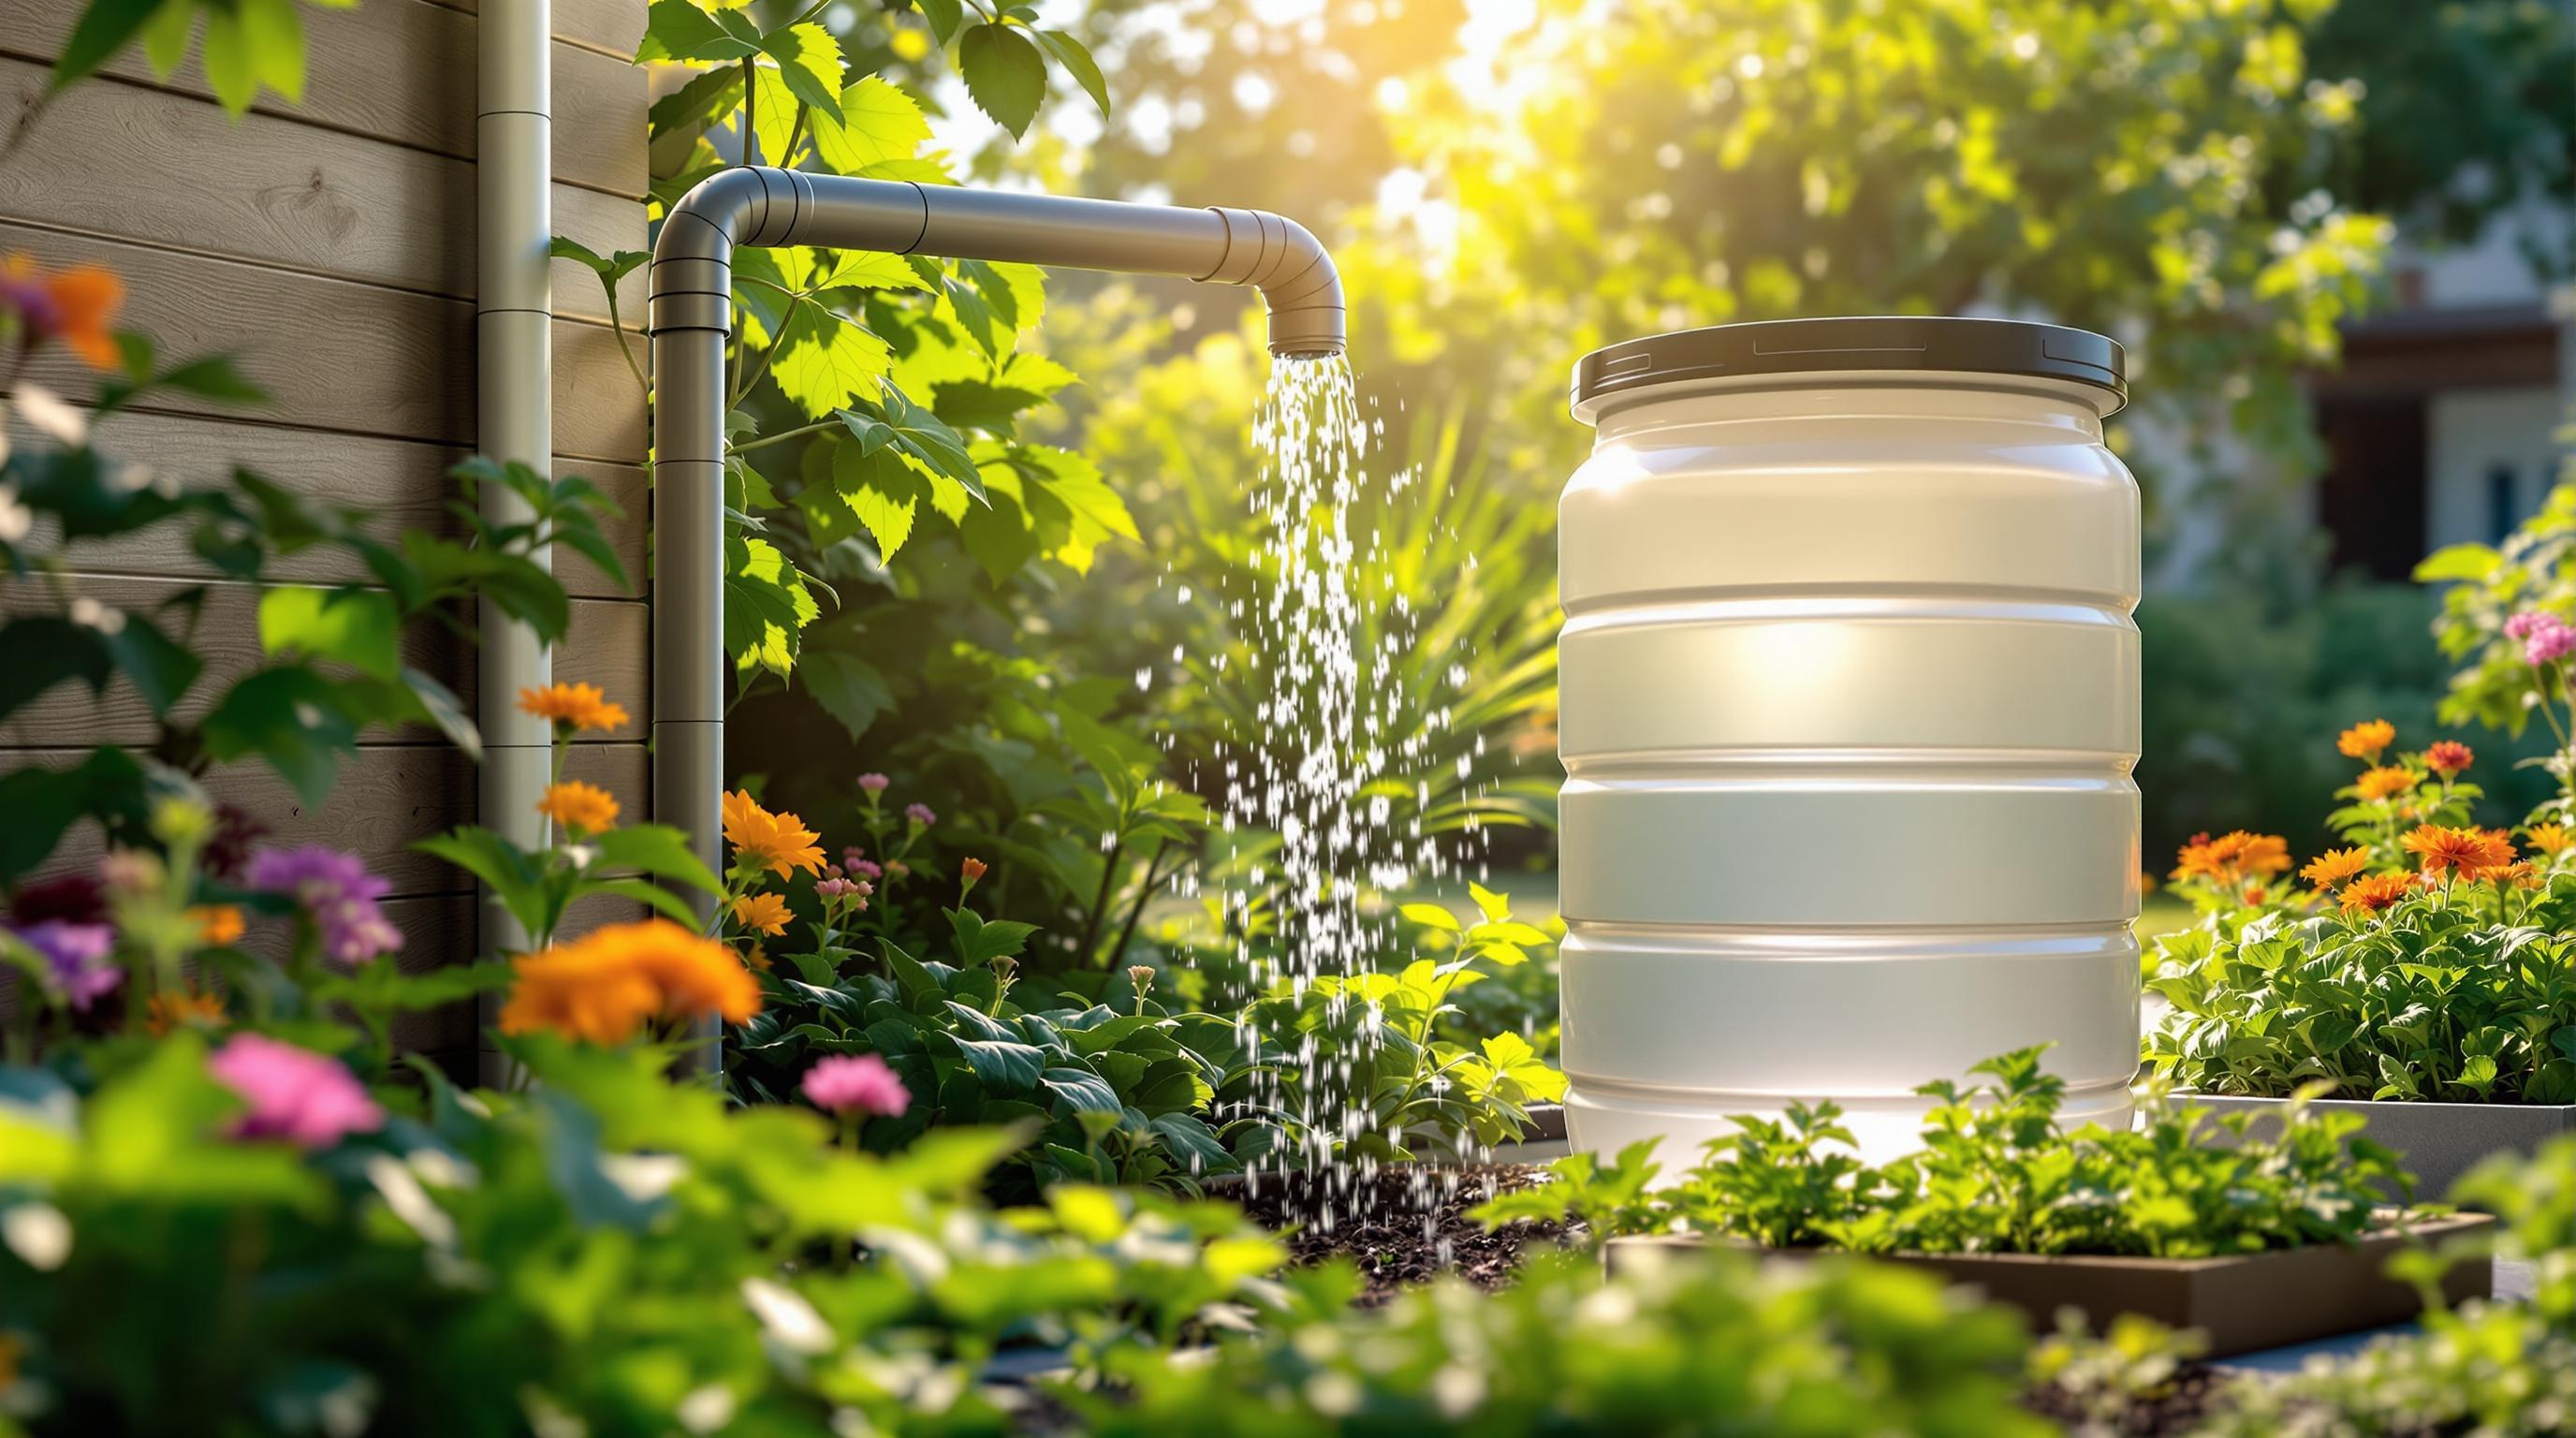
Learn how to build an efficient rainwater collection system with this step-by-step guide, maximizing water savings for your garden.
How to Build a Rainwater Collection System: Step-by-Step Guide
A basic system can collect hundreds of gallons of rainwater from your roof to use for gardening or other non-drinking purposes. Here's how it works:
- Roof Collection Area: A 1,000 sq. ft. roof can gather 623 gallons from just 1 inch of rain.
- Gutters & Downspouts: Direct water to your storage tank while keeping out debris.
- Water Filters: Use screens and diverters to remove dirt and particles.
- Storage Tank: Choose a sturdy, opaque tank to store water and prevent algae growth.
- Water Movement System: Use gravity or a pump to access stored water.
Benefits: Save money, reduce runoff, and get chlorine-free water for plants. You can even build a system for a few thousand dollars or less.
Ready to get started? Keep reading for a step-by-step guide to design, build, and maintain your rainwater system.
DIY Rain Water Collection System - Over 800 Gallons
Main System Parts
A rainwater collection system has five main components, each serving a specific purpose to collect and distribute water effectively.
Roof Collection Area
The roof is where it all starts. A clean, well-maintained 1,000-square-foot roof can collect up to 623 gallons of water for every inch of rainfall. Regular maintenance is key to ensuring maximum efficiency.
Gutters and Downspouts
Gutters and downspouts guide the water from your roof to the storage tank. Aluminum gutters are durable and have fewer seams, reducing the chance of leaks. Proper angling ensures water flows smoothly, and using screens can help keep leaves and debris out - especially in areas with lots of trees.
Water Filters
Filtration is critical to keep your collected water clean. A multi-stage system is ideal:
| Filter Type | Purpose | Maintenance |
|---|---|---|
| First-flush diverter | Removes the initial, sediment-heavy runoff | Empty after each rainfall |
| Gutter screens | Keeps out leaves and large debris | Clean monthly |
| Fine-mesh screens | Blocks insects and smaller particles | Inspect quarterly |
Water Storage
The storage tank is the centerpiece of the system. Here's what to consider when choosing one:
- Size: Match the tank size to your roof area and local rainfall.
- Material: Opt for non-transparent materials to stop algae from growing.
- Location: Place the tank on a stable, level surface near your downspouts.
- Access: Ensure it's easy to maintain and clean.
- Security: Cover all openings with fine-mesh screens to keep out insects and debris.
In areas with frequent rain, a 50-gallon drum might be enough. For regions with dry seasons, larger tanks are better. If a single large tank isn't practical, connect multiple smaller tanks to increase storage capacity while keeping each tank easier to handle.
Water Movement System
To move the water, you can use gravity with elevated tanks to create natural pressure or install a pump for tanks at ground level. Choose between dry or wet systems based on your property layout. To avoid freezing damage in winter, drain tanks and pipes ahead of time.
5 Steps to Build Your System
Creating a rainwater collection system takes thoughtful planning and precise execution. Here's a step-by-step guide to help you set up an effective system.
1. Make Your Plan
Start by calculating how much rainwater your roof can collect. Measure your roof's square footage and check local rainfall data. Use this simple formula to estimate your collection potential:
| Roof Area (sq ft) | Rainfall (inches) | Potential Collection (gallons) |
|---|---|---|
| 1,000 | 1 | 623 |
| 2,000 | 1 | 1,246 |
| 3,000 | 1 | 1,869 |
Next, list the materials you'll need, such as a storage tank, gutters, filters, plumbing parts, and a sturdy base for the tank.
2. Prepare Your Roof
Inspect your roof and fix any damaged shingles to ensure it's ready for water collection. Clean the gutters thoroughly and make sure they slope at least 1/4 inch per 10 feet toward the downspouts. Adding gutter guards can help reduce debris buildup and keep the water flow smooth.
3. Add Filters
Filtration is key to keeping the collected water clean. Set up your filtration system in the following order:
- First-Flush Diverter: Captures the initial runoff, which may contain dirt and contaminants.
- Gutter Screens: Blocks leaves and larger debris from entering the system.
- Fine-Mesh Filters: Placed at the tank inlet to catch smaller particles.
4. Set Up Your Tank
Your tank needs a solid foundation to stay stable. Here's how to get it ready:
- Level the ground and create a base with concrete blocks or a pad.
- Install support posts in a square layout.
- Add cross-bracing to reinforce stability.
- Attach barrel braces at angles that allow full drainage.
- Secure the tank by fastening it to the braces with screws.
Once the tank is in place, you're ready to set up the water access system.
5. Connect Water Output
Think about how you'll use the stored rainwater and install the right output system:
| Output Type | Installation Notes |
|---|---|
| Gravity-Fed Spigot | Place at the tank's bottom for outdoor watering. |
| Electric Pump | Add a switch and pressure tank for indoor water usage. |
| Solar Pump | Install a south-facing solar panel for remote setups. |
Ensure all connections are sealed and pressure-tested. Add shut-off valves at key points for easy maintenance and emergency control.
System Upkeep
Keeping your rainwater collection system in good condition ensures it works efficiently and provides safe water over time.
Regular Inspections
Frequent inspections help you avoid expensive repairs and keep water quality high. Most systems should be checked 2-4 times a year under normal conditions. However, during severe weather or if your system is near trees, you may need to inspect it more often. Focus on these key components:
| Component | What to Check | Warning Signs |
|---|---|---|
| Gutters | Remove debris and ensure alignment | Overflow or sagging |
| Downspouts | Clear blockages and check connections | Water backup or leaks |
| First-flush diverter | Clean out debris and screen | Slow drainage or overflow |
| Inlet filters | Check the mesh and remove buildup | Reduced water flow |
| Tank openings | Inspect seals and clean screens | Insects or debris inside |
In addition to these inspections, don't overlook the importance of regular tank upkeep.
Tank Care
Proper tank maintenance is key to maintaining water quality. Here are some general guidelines:
- Inspect the tank's interior walls for cracks every six months.
- Check seals for leaks every three months.
- Schedule a full tank cleaning every 15-20 years.
- Ensure the tank remains opaque to prevent algae growth.
- Keep an eye on sediment levels at the bottom of the tank.
If you notice unusual smells or discoloration in the water, inspect and clean the tank immediately.
Filter Changes
Filters are essential for keeping your system running smoothly. Use this table to stay on top of maintenance schedules and know when to replace components:
| Filter Type | Maintenance Schedule | When to Replace |
|---|---|---|
| Sediment filters | Every 3-6 months | Reduced water pressure |
| Carbon filters | Every 6-12 months | Change in water taste |
| UV lamps | Annually | Indicator light warning |
| First-flush screen | Clean every 3 months | Visible debris buildup |
| Leaf guards | Check monthly | Blocked water flow |
Adding a pre-filtration system or roof washer can help protect the water quality inside your tank. If you're using the system for irrigation, you can space out filter maintenance since the water doesn't need to meet drinking standards. However, always monitor filter performance and replace parts if water flow slows or quality drops.
Important Notes
Budget Tips
You don't have to spend a fortune to set up a rainwater collection system. Here are some practical ways to save money:
| Strategy | Tips for Implementation | Savings Potential |
|---|---|---|
| Used Containers | Look for food-grade buckets at restaurants | Costs as low as $2 per 5-gallon bucket |
| Local Sourcing | Purchase tanks from nearby suppliers | Save on shipping costs |
| DIY Filtration | Create a first-flush diverter using PVC | Cheaper than buying commercial units |
| Modular Design | Begin with a smaller setup and expand later | Spread out expenses over time |
These approaches help you stick to your budget while ensuring a safe and effective rainwater collection system.
Water Safety
Keep your stored water safe by following these key tips:
- Use opaque tanks to prevent algae growth.
- Install fine-mesh screens to keep out debris.
- Select food-grade materials for any part that touches water.
- Add a first-flush diverter to remove sediment.
- Empty tanks before freezing temperatures to avoid damage.
These steps will help maintain water quality and protect your system.
Local Rules
Before starting, make sure your project complies with local laws. Check state regulations and contact local authorities to see if you need any permits. This ensures your setup is both legal and hassle-free.
Conclusion
Building your own rainwater collection system can help you cut costs and support local water conservation efforts.
As rainwater harvesting expert Richard Heinichen explains:
> "The privilege of [water] independence comes with responsibility. You are the sanitation engineer, the maintenance mechanic, the troubleshooting technician. You can't point the finger at some hapless bureaucrat if you let your pipes freeze or you forget to change your filters or you don't keep your gutters clean or can't learn to conserve during dry spells."
A well-maintained system not only reduces erosion and flooding but also helps protect local water supplies. Plus, the naturally soft rainwater requires less soap and detergent, making it a practical and eco-friendly choice for your home.