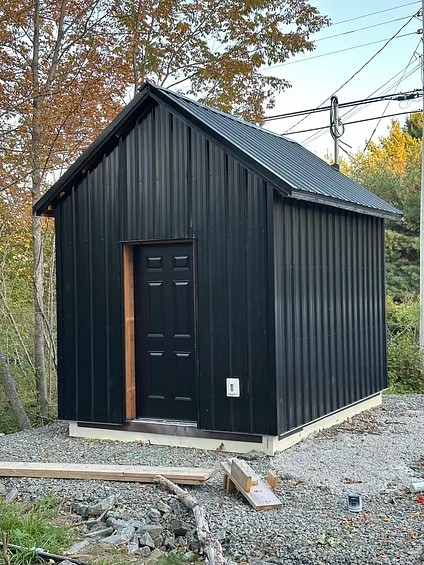
We're back after stopping for winter, but progress has been good.
The last build update got deep into Larsen trusses, housewrap, strapping, and siding. Since then, a lot has happened across both shed builds, and the cottage builds are finally getting started. So before getting back into the step-by-step details, I wanted to do a quick update on where everything stands.
The Power Shed
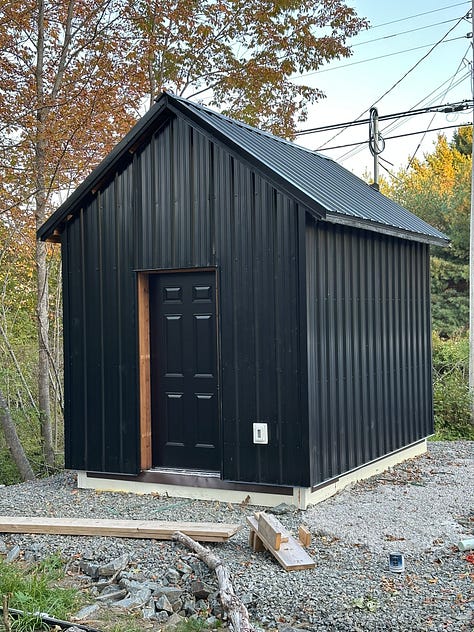
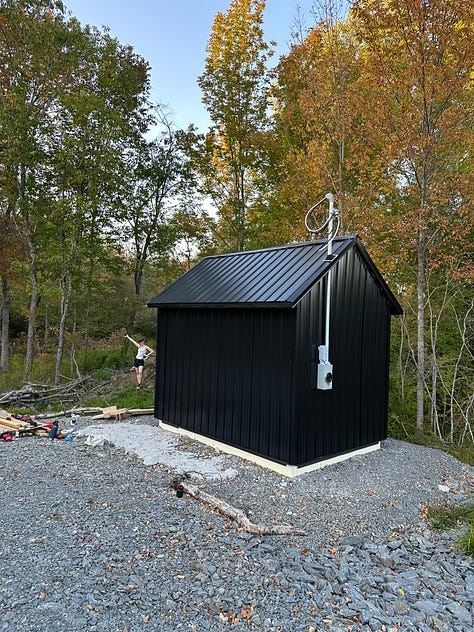
The power shed is functionally complete!
Thanks for reading DIY Eco Homes! Subscribe for free to receive new posts and support my work.
There are a few small remaining items, but overall I’m pretty happy with how it turned out.
It’s now connected to power and internet, which has been great.
The small hiccup has been that I discovered that metal siding/roofing really kills wifi signal, but I’ve since solved that with an outdoor access point.
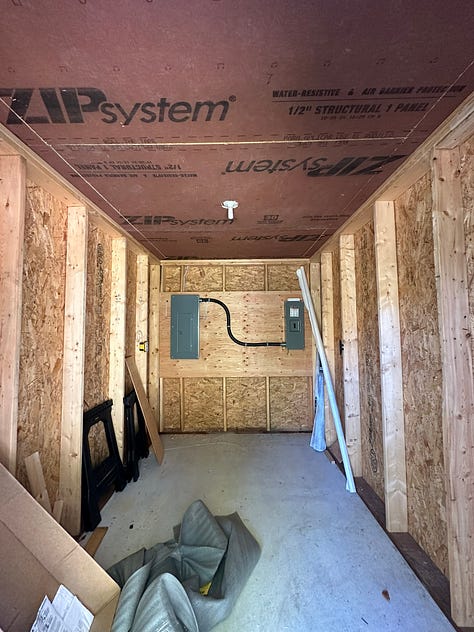
<ImageGallery columns={3} caption="The power shed in pretty much complete condition, hooked up to power and internet.">
</ImageGallery>
The Larsen trusses and ceiling have been insulated, and I’ve now partially taped the inside, so it’s fairly airtight. Not to the standard of the other buildings, but in a good spot. It remains to be seen whether I’ll have to put any ventilation in or not.
The Office Shed
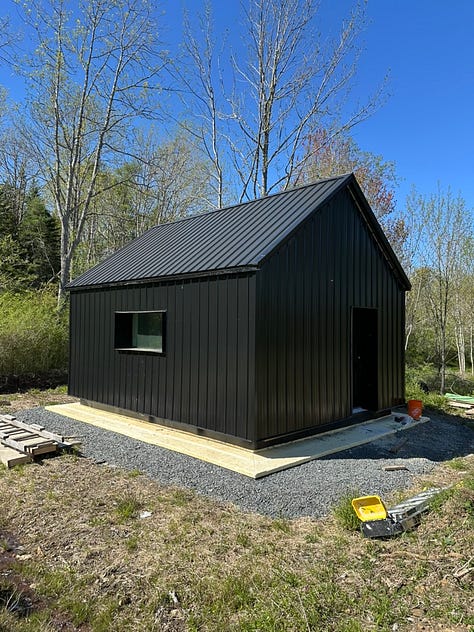
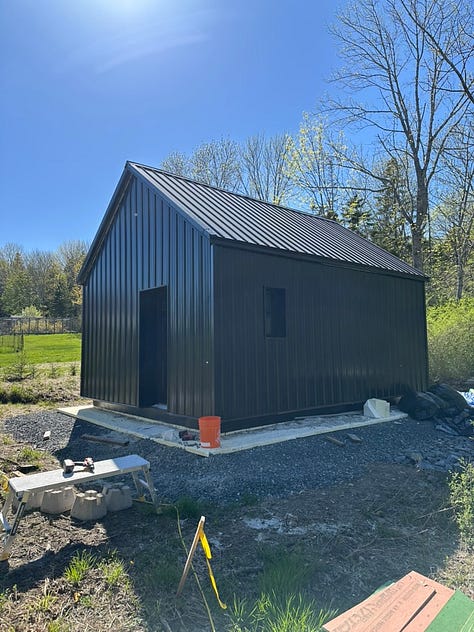
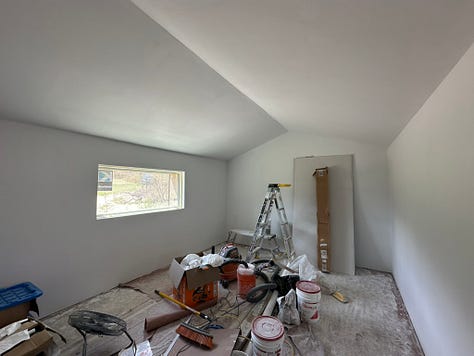
The office shed is close to usable, though there are still some finishing details left.
<ImageGallery columns={3} caption="The office shed is also near completion, with just a few minor things remaining.">
</ImageGallery>
Before the real winter started, I got to the point of starting drywall, and quickly learned some tough lessons about doing drywall with no ventilation or power in cold weather.
Since the snow has disappeared, I’ve been working through the final touches:
- Finished the exterior metal trim, which has been tricky
- Several rounds of drywall finishing + priming, to a point where I’m fairly satisfied
Remaining are a few small items:
- Vapor barrier paint + decorative paint if I choose (likely at least one wall)
- Concrete sealing
- Generally cleaning up
Remaining For Both Sheds
There are a number of things that I need to get done at some point, the most obvious being the backfilling around the sheds. The foam frost skirt isn’t meant to remain exposed, and will deteriorate if left as such, but this will require an excavator.
For the office shed, I’m planning to add some solar and battery power, and some ventilation, but I’ll wait until inspections are done to do so.
I also need to figure out a storage solution for all my building material/tools, as the power shed is now full (I added shelving too), and I don’t want to keep it in the office shed as it will ruin the usability. Shout out to Nick, who suggested getting a container early—likely the solution I’ll end up on.
For both, I think I’ll also build small entrance platforms with ramps, to make the step up to the door easier, and make it easier to wheel things in and out.
Both sheds did what they were supposed to do: the power shed is the connection to power for the cottages and future battery storage, etc. It turned out to be a good entry to the world of building too, smaller and less complex than the larger shed.
The office shed was more complicated, but was the better test of the overall construction sequence for the cottages. It was more difficult, but a valuable iteration for me, even if it felt painful at times.
There were a lot of lessons I’ll take into the cottage construction, but at this point there’s very little about the design itself that I’m not confident in.
Both definitely went slower than expected, which is probably worth remembering as I look at the cottage schedule.
What Are The Biggest Lessons From The Sheds?
Too many to list, in short, and future posts will explore more of these in detail.
But here are some of the biggest ones:
- Roof work is painful solo: I did get some help here and there from my dad/brothers/friends in lifting up panels onto the roof, etc., but generally a lot of it was done solo. The speed at which one person can go up and down, retrieving materials, etc. is slow. A crew with a mechanical lift can do a roof better than I can in a day. This will be something I’m outsourcing on the cottages (installation is not that big a premium either).
- Insulation is messy: we blew our own cellulose insulation into both sheds and it required at minimum one other person. We had some other complicating factors: it was cold, windy, we didn’t have power (had to buy a generator), the machine didn’t work, etc. but it was still a pain. This might be something else to outsource.
- Window/door detailing remains one of the biggest challenges: for most of the trim/siding/detailing, I was pretty happy with my own work. I recognize where it can be done better (metal trim in particular), but overall definitely can be done DIY. The deep Larsen trusses mean deep reveals around the windows and doors though, and this means custom trim, which is tricky. I don’t think I chose correctly on the types of window and door trim I ordered either in terms of making this easy, so I’ll be changing that moving forward.
- Many details need to be more robust: insect-proofing is a good example. I did SOME of this, but it will need to be much more strict on the cottages and future livable buildings.
- Services go first: I knew ahead of time I didn’t want to bother with services (electrical, plumbing, HVAC, etc.) on the first builds, it was going to be a complication I didn’t need. But some minimal planning and built-in pathways would have been useful and made later additions much easier. Running an ethernet cable I have to cut holes in the siding now, for example. I could have done something much more elegant if I did it earlier.
- Drywall is tricky: everyone told me this ahead of time, but I did want to do every job once. But I can confirm: drywall is tricky. I’m happy with my final product, but this is likely to be something I outsource to the pros, who can do it faster and better than I can.
The Cottages
I pushed to get the cottages started before winter, but it wasn’t meant to be.
We did, however, get the gravel pads for the cottages built and compacted, which was a good place to start. It allowed them to settle a bit over the winter which I think was helpful, and meant I was ready to get going when the snow cleared.
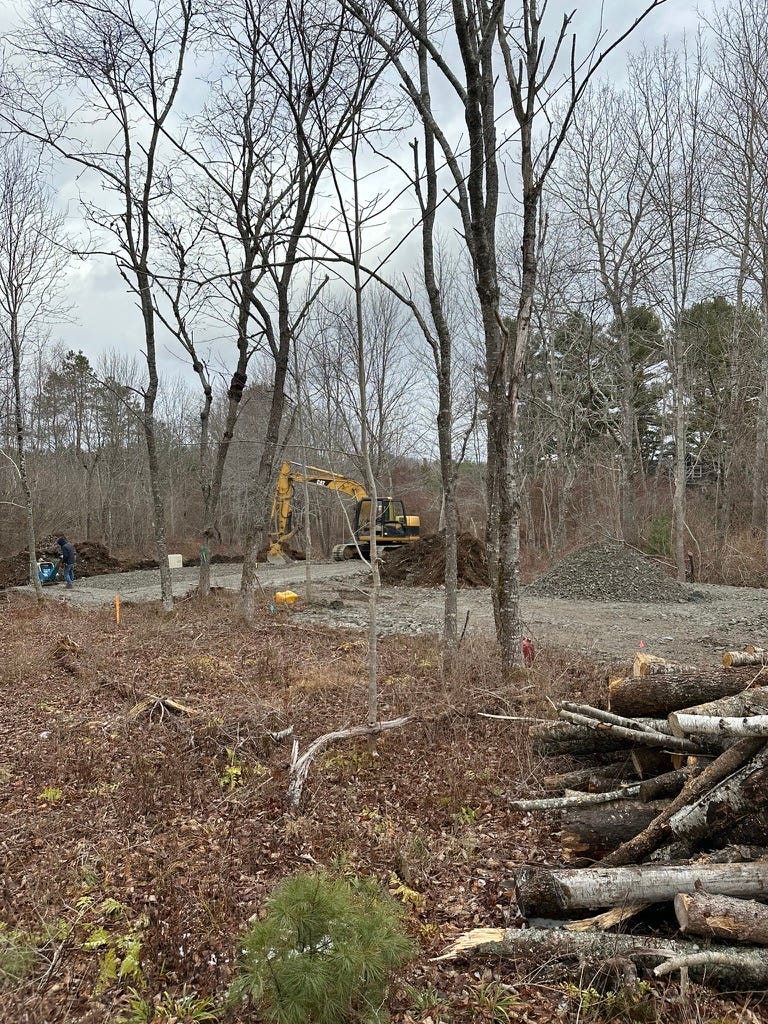
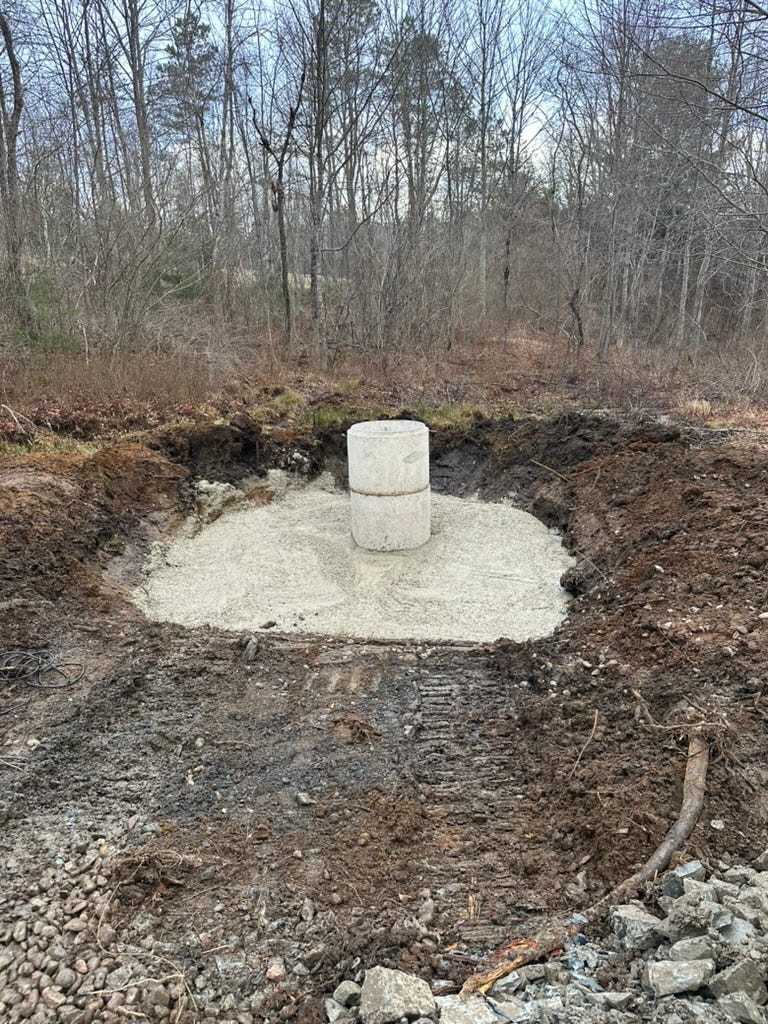
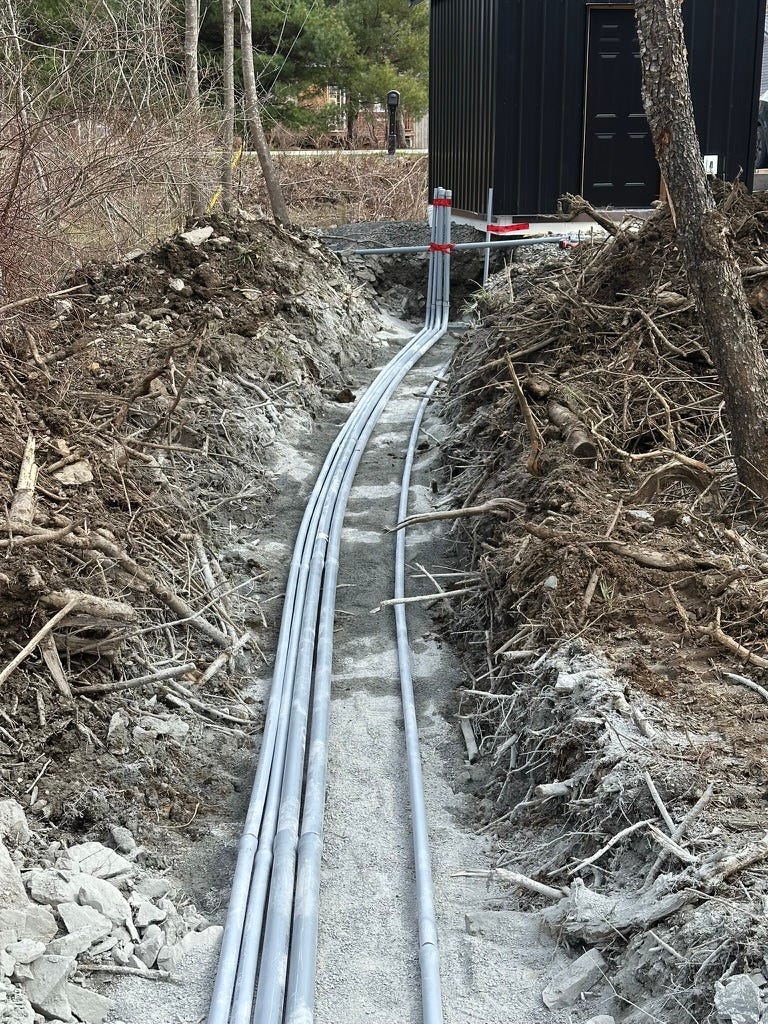
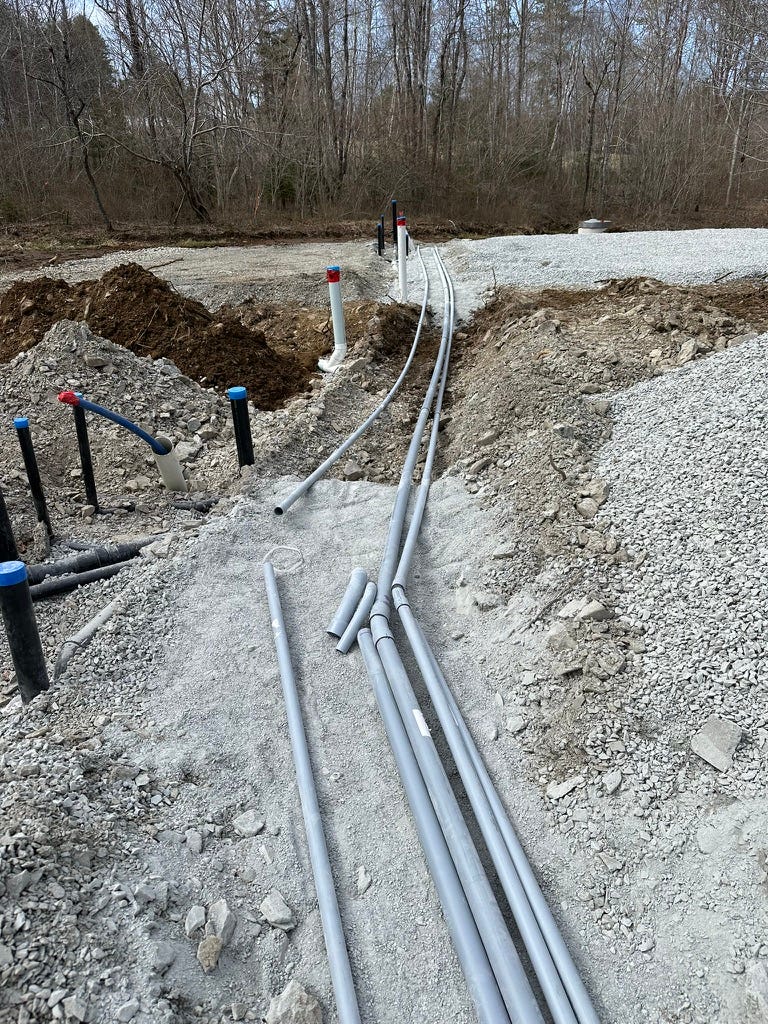
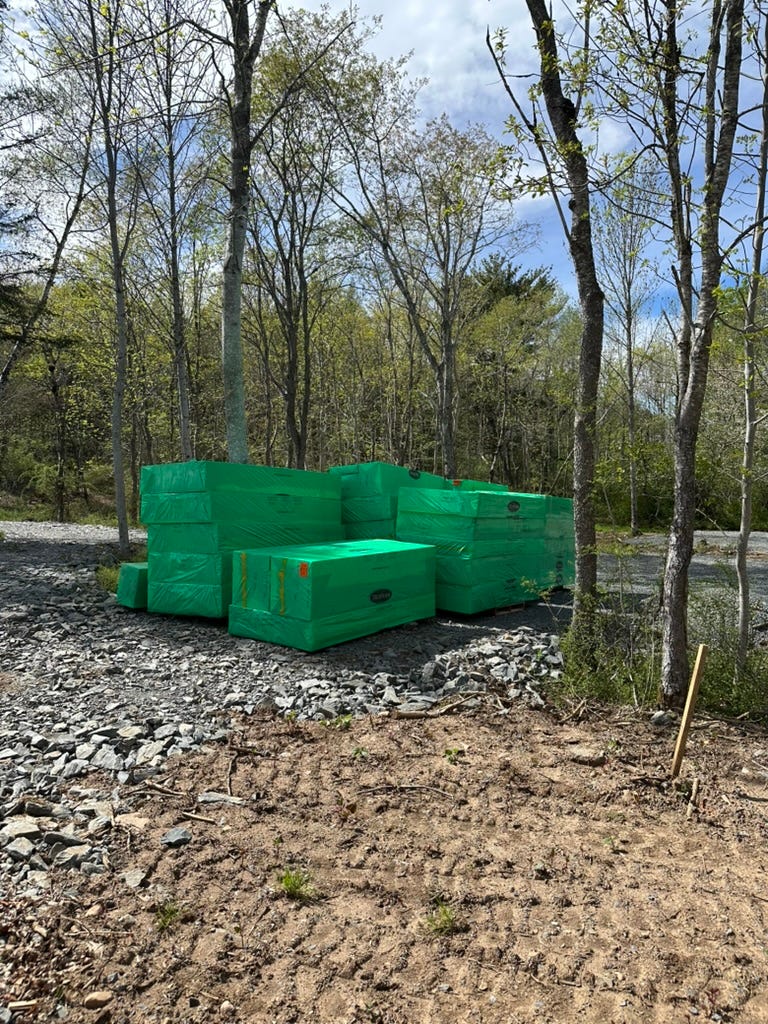
So far this spring we’ve managed to get the plumbing, water, and electrical conduits all installed in the gravel pads, and so we’re ready to get the FastSlab forms in place now.
They just got delivered last week, so that’s what I’ll be tackling this week (and likely next) to get ready for concrete to be poured.
Building permits for the cottages were also delayed a bit (a story for another time), but they’re in place now and the initial plumbing inspection is done, along with the location plan which was required to verify it complied with height requirements (3.97m above sea level).
This is what it looked like while we were digging things up and placing conduits:
<ImageGallery columns={2}>
</ImageGallery>
And now looks something like this, with all the FastSlab forms sitting there and ready to go:
When Will The Cottages Be Done?
The most common question, and difficult to predict, but the timeline I’m working on roughly right now is:
• Both slabs poured: ~Jun 9 • Cottage 1 framed: ~Jul 10 • Cottage 1 dried in: ~Jul 24 • Cottage 2 framed: ~Jul 31 • Cottage 2 dried in: ~Aug 14 • Cottage 1 insulated/tested: ~Sep 4 • Cottage 2 insulated/tested: ~Sep 25 • Cottage 1 interior complete: ~Oct 23 • Cottage 2 interior complete: ~Nov 13 • Cottage 1 bookable: ~Nov 27 • Cottage 2 bookable: ~Dec 18
No doubt some of this will shift, but I’m also likely to contract out some of the work on the cottages, now that I’ve seen what I do and don’t like in terms of work (and what makes sense for me as a solo builder).
We’ll see whether I manage to stick to this timeline.
Either way, the next few posts should get back into the more detailed build sequence: building the sheds step-by-step, and then getting the cottages off the ground.
Thanks for reading DIY Eco Homes! Subscribe for free to receive new posts and support my work.