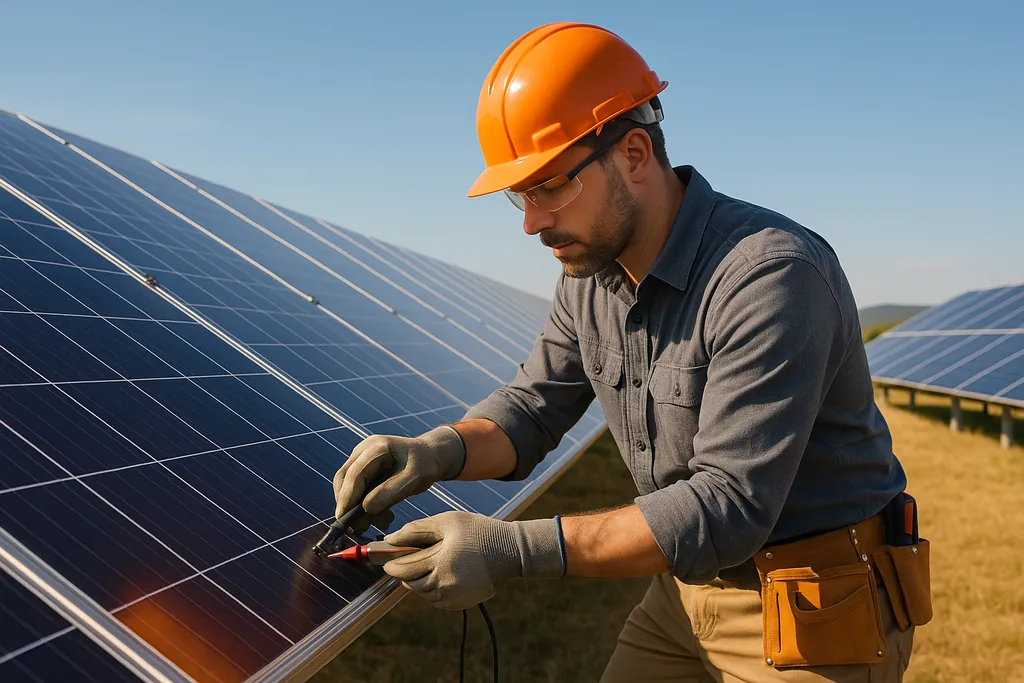
Learn essential troubleshooting steps for maintaining solar power systems, from panel inspections to inverter fixes, ensuring optimal performance.
How to Troubleshoot Solar Power Systems
Want to keep your solar power system running efficiently? Regular maintenance is key to avoiding performance drops, costly repairs, or system failures. Here's a quick summary of how to troubleshoot your system:
- Inspect Panels: Look for cracks, dirt, or discoloration that can reduce energy output by up to 25%. Clean panels quarterly in dusty, coastal, or agricultural areas.
- Check Wiring: Loose or corroded connections cause 85% of failures. Use proper tools to inspect and secure all connections.
- Fix Inverter Issues: Reset inverters, update firmware, and monitor for error codes like grid faults or isolation problems.
- Test Batteries: Check for capacity loss, rapid discharge, or physical damage. Keep batteries in well-ventilated areas within the recommended temperature range.
- Use Diagnostics: Thermal cameras and ground fault detection tools can uncover hidden issues.
Pro Tip: Routine checks can boost energy production by up to 30% and extend your system's lifespan beyond 35 years. Always follow safety protocols before troubleshooting.
Quick Troubleshooting Overview
| Task | Frequency | Focus Areas |
|---|---|---|
| Inspect Panels | Quarterly | Cleanliness, cracks, discoloration |
| Check Wiring | Quarterly | Loose connections, corrosion |
| Test Batteries | As needed | Capacity, temperature, physical damage |
| Fix Inverter Issues | As errors occur | Error codes, firmware updates |
| Thermal Scanning | As needed | Hotspots on panels or connections |
Stay proactive with regular maintenance to ensure your solar system operates efficiently and lasts longer.
How To Troubleshoot Solar Panel Systems - Top 5 Tips For Beginners And Non-Techies
Step 1: Check Solar Panels and Wiring
Regular inspections of solar panels and wiring are crucial to avoid system failures. According to a 2024 NREL study, 85% of solar system failures are linked to connection and wiring issues. By following these steps, you can maintain efficiency and reduce the risk of breakdowns.
Panel Surface Inspection
Even minor damage to solar panels can cause a noticeable drop in performance. Here's what to look for:
- Cracks: Inspect for cracks wider than 2mm on the glass surface.
- Discoloration: Check for patterns that suggest delamination.
- Edges: Look for signs of frame separation or corrosion along the panel edges.
- Microcracks: These appear as spider-web patterns and can significantly impact output.
Cleaning and Maintenance: Efficiency losses due to dirt and debris vary by location. For example, desert areas can experience up to an 18% loss from silica dust, while coastal areas face a 12% loss from salt spray, and agricultural zones may see a 15% loss from pollen. DIY Eco Homes advises quarterly cleanings in such environments using soft-bristle brushes and deionized water.
| Region Type | Common Issue | Efficiency Loss |
|---|---|---|
| Desert | Silica dust | Up to 18% |
| Coastal | Salt spray | 12% |
| Agricultural | Pollen | 15% |
Once you've inspected and cleaned the panels, turn your attention to the wiring and connections.
Wire and Connection Check
Proper maintenance of wiring is critical for system safety and performance. Focus on these areas:
Connection Inspection:
- Use certified tools to check the torque of MC4 connectors (recommended range: 3.4–3.5 Nm).
- Examine terminals for signs of oxidation, such as green or white residue.
- Look for black carbon deposits, which could indicate arcing.
- Test for temperature variations; connections exceeding 120°F warrant immediate action.
Corrosion Prevention: For systems in coastal areas, opt for marine-grade MC4-Evo2 connectors with an IP68 rating. To prevent corrosion in humid environments, apply NO-OX-ID A-Special grease annually. If corrosion is present, clean affected areas with a 1:3 vinegar solution before retightening connections.
> "Under-torquing below 3Nm increases resistance by 40%, while over-torquing above 3.6Nm risks thread stripping", states a 2024 TÜV Rheinland study.
Grounding Verification: Improper grounding significantly raises fire risks - by up to 300%. Use a clamp meter to measure ground resistance; readings over 25Ω require immediate correction. Ensure all mounting rails are continuously bonded with 6AWG copper wire and proper compression lugs.
Thermal imaging can help identify hidden issues by detecting temperature differences greater than 4°F. Affordable thermal cameras are an excellent diagnostic option. If surface inspections and basic checks don't reveal any problems, advanced diagnostics may be necessary to uncover underlying faults.
Step 2: Fix Common Inverter Problems
Did you know that around 62% of inverter issues are tied to grid connectivity problems like voltage or frequency deviations? Let's break down how to tackle these common problems.
Reading Error Code Messages
Error codes are your inverter's way of telling you what's wrong, but they vary by brand. Here are some common error types and what they mean:
| Error Type | Common Causes | Immediate Action |
|---|---|---|
| Grid Fault | Voltage fluctuations | Check utility power |
| Isolation Fault | Damaged wiring insulation | Inspect DC connections |
| Over Voltage | Peak production surge | Monitor grid stability |
For example, SMA Sunny Boy inverters use "Error 35" to indicate a utility power loss. On the other hand, Goodwe inverters display "Code 14" for ground isolation failures, which means you'll need to inspect the grounding system immediately.
Regular maintenance goes a long way. A study by NREL found that performing quarterly maintenance can reduce inverter failures by 58%.
Temperature-Related Problems: In hot regions like the Southwest, dust buildup can cause overheating when components exceed 104°F. To prevent this, ensure proper airflow - about 200 CFM for a 10 kW unit.
Inverter Reset Steps
If error codes persist, a reset might be necessary. Follow these steps:
- Write down the error code for reference.
- Turn off the AC disconnect switch.
- Wait for 30 seconds.
- Turn off the DC disconnect switch.
- Wait 5 minutes to allow the capacitors to discharge.
- Reconnect everything in reverse order: DC first, then AC.
Some inverters have specific reset requirements. For example, SMA inverters need you to hold the rotary knob during the restart process. If you're working with Enphase microinverter systems, you'll need to power cycle the Envoy gateway for 30 seconds to clear communication errors.
Update Firmware: Firmware updates can fix 63% of communication errors. For Solis inverters, you'll need a FAT32-formatted USB drive with the manufacturer's .bin file. After updating, monitor the system for 48 hours to ensure everything is running smoothly.
Environmental factors can also play a big role. Coastal areas experience 22% higher inverter failure rates due to salt corrosion, while humid regions like the Northeast require keeping humidity levels below 85% to avoid isolation faults.
> "Under-torquing below 3Nm increases resistance by 40%, while over-torquing above 3.6Nm risks thread stripping", according to a 2024 TÜV Rheinland study.
The 2024 Solar Equipment Reliability Survey highlights that residential inverters under 250 kW have a median availability of 0.99, emphasizing the need for regular maintenance and quick error resolution.
When to Call a Professional
Some issues are better left to the experts. Schedule a professional inspection if you encounter:
- More than three error recurrences in a week
- Ground fault indicators
- Arc flash warnings
- Problems that require accessing internal components
Interestingly, 92% of inverter faults can be resolved with proper reset procedures if addressed within the first hour. Keep your inverter manual and support contact information nearby for quick reference.
Once your inverter is back to stable operation, it's time to move on to the next step: inspecting the battery systems for a full system check-up.
Step 3: Fix Battery System Issues
Once you've taken care of the panels and inverter, it's time to focus on your battery system. Batteries play a key role in the reliability of your solar setup, and problems like reduced capacity, rapid discharge, swelling, leakage, or overheating can seriously impact performance.
Battery Health Tests
To ensure your batteries are in good shape:
- Check charge-holding capacity: See how well the battery retains a charge over time.
- Look for rapid discharge: Monitor for signs of the battery draining faster than normal.
- Inspect for physical issues: Watch out for swelling, leakage, or other visible damage.
Many solar battery systems come with built-in diagnostic tools that can provide important performance data. Combine these tools with the manufacturer's recommendations to decide whether your battery needs maintenance or replacement.
Battery Temperature Control
Temperature management is critical for extending battery life. Extreme heat or cold can degrade performance. Here's how to keep your batteries in the right environment:
- Choose the right location: Place batteries in a well-ventilated spot, away from direct sunlight or heat sources.
- Monitor temperature: Regularly check that the battery stays within the temperature range specified by the manufacturer.
If you notice any signs of trouble - like a sudden drop in capacity, rapid discharge, or physical damage - have a certified technician inspect your system. Staying on top of maintenance and repairs will help prevent bigger issues and keep your system running efficiently.
Once you're confident your batteries are functioning properly and temperature is under control, you can move on to more detailed system diagnostics.
Step 4: Technical Diagnostic Methods
When basic troubleshooting doesn't solve the problem, it's time to bring out specialized diagnostic tools to uncover hidden issues.
Heat Detection with Thermal Cameras
Solar systems typically exhibit consistent heat patterns. Thermal imaging can help pinpoint irregularities, and here's how to use it effectively:
- Panel hotspots: Watch for areas on the solar panels that are noticeably warmer (bright yellow or red on the camera). These often signal damaged or malfunctioning cells.
- Connection points: Inspect junction boxes and wiring connections. They should only be slightly warmer than the surrounding temperature.
- Inverter heat patterns: Examine the heat distribution across inverter components. Uneven or excessive heat could indicate overloading or other issues.
For the most accurate results, conduct thermal scans between 10 AM and 2 PM, when the system is operating under normal load. Hold the thermal camera at a 90° angle to the target surface to ensure precise readings.
Once heat issues are ruled out, move on to testing for electrical leakage using ground fault detection.
Ground Fault Detection
A ground fault happens when an unintended electrical path forms between a system component and the ground. This can reduce efficiency and pose safety risks. Follow these steps to properly detect ground faults:
- Visual inspection: Look for obvious signs of damage, such as frayed insulation or exposed wires.
- Megger testing: Use a megohmmeter to check the insulation resistance between conductors and the ground.
- Voltage testing: Measure voltage between system components and the ground to locate potential leakage points.
Before performing megohmmeter testing, make sure the system is completely powered down. Resistance readings should be above 1 megohm; anything lower suggests insulation problems that need immediate attention.
For both safety and accuracy, carry out these diagnostics during clear weather and always follow the manufacturer's instructions. If handling specialized equipment feels overwhelming, don't hesitate to call a certified solar technician.
Conclusion: Keep Your Solar System Running Well
To ensure your solar system stays reliable and efficient, regular maintenance is essential. By staying proactive, you can catch potential issues early and keep everything running smoothly.
Main Troubleshooting Points
Routine checks and strict safety protocols are the backbone of a well-functioning solar system. Here are a few key practices to help you avoid future problems:
- Monitor performance daily: Track and log system output to spot irregularities early.
- Power down before inspections: Always shut down the system completely before performing any checks.
- Keep detailed records: Maintain logs of maintenance tasks and error codes to identify patterns or recurring issues.
To make maintenance easier, here's a quick-reference table for essential tasks:
| Task | Recommended Frequency | Key Focus Areas |
|---|---|---|
| Inspect Panels | As recommended | Cleanliness and visible damage |
| Test Wiring | As recommended | Wire integrity and terminal connections |
| Thermal Scanning | As recommended | Detecting hot spots |
| Ground Fault Check | As recommended | Insulation and voltage leakage |
For more detailed steps on inspections and troubleshooting, refer to the resources below.
More Help from [DIY Eco Homes](/)
Need more guidance? Visit DIY Eco Homes for in-depth tutorials on:
- Solar maintenance techniques
- Safety best practices
- Maintenance scheduling
- Tips for improving system performance