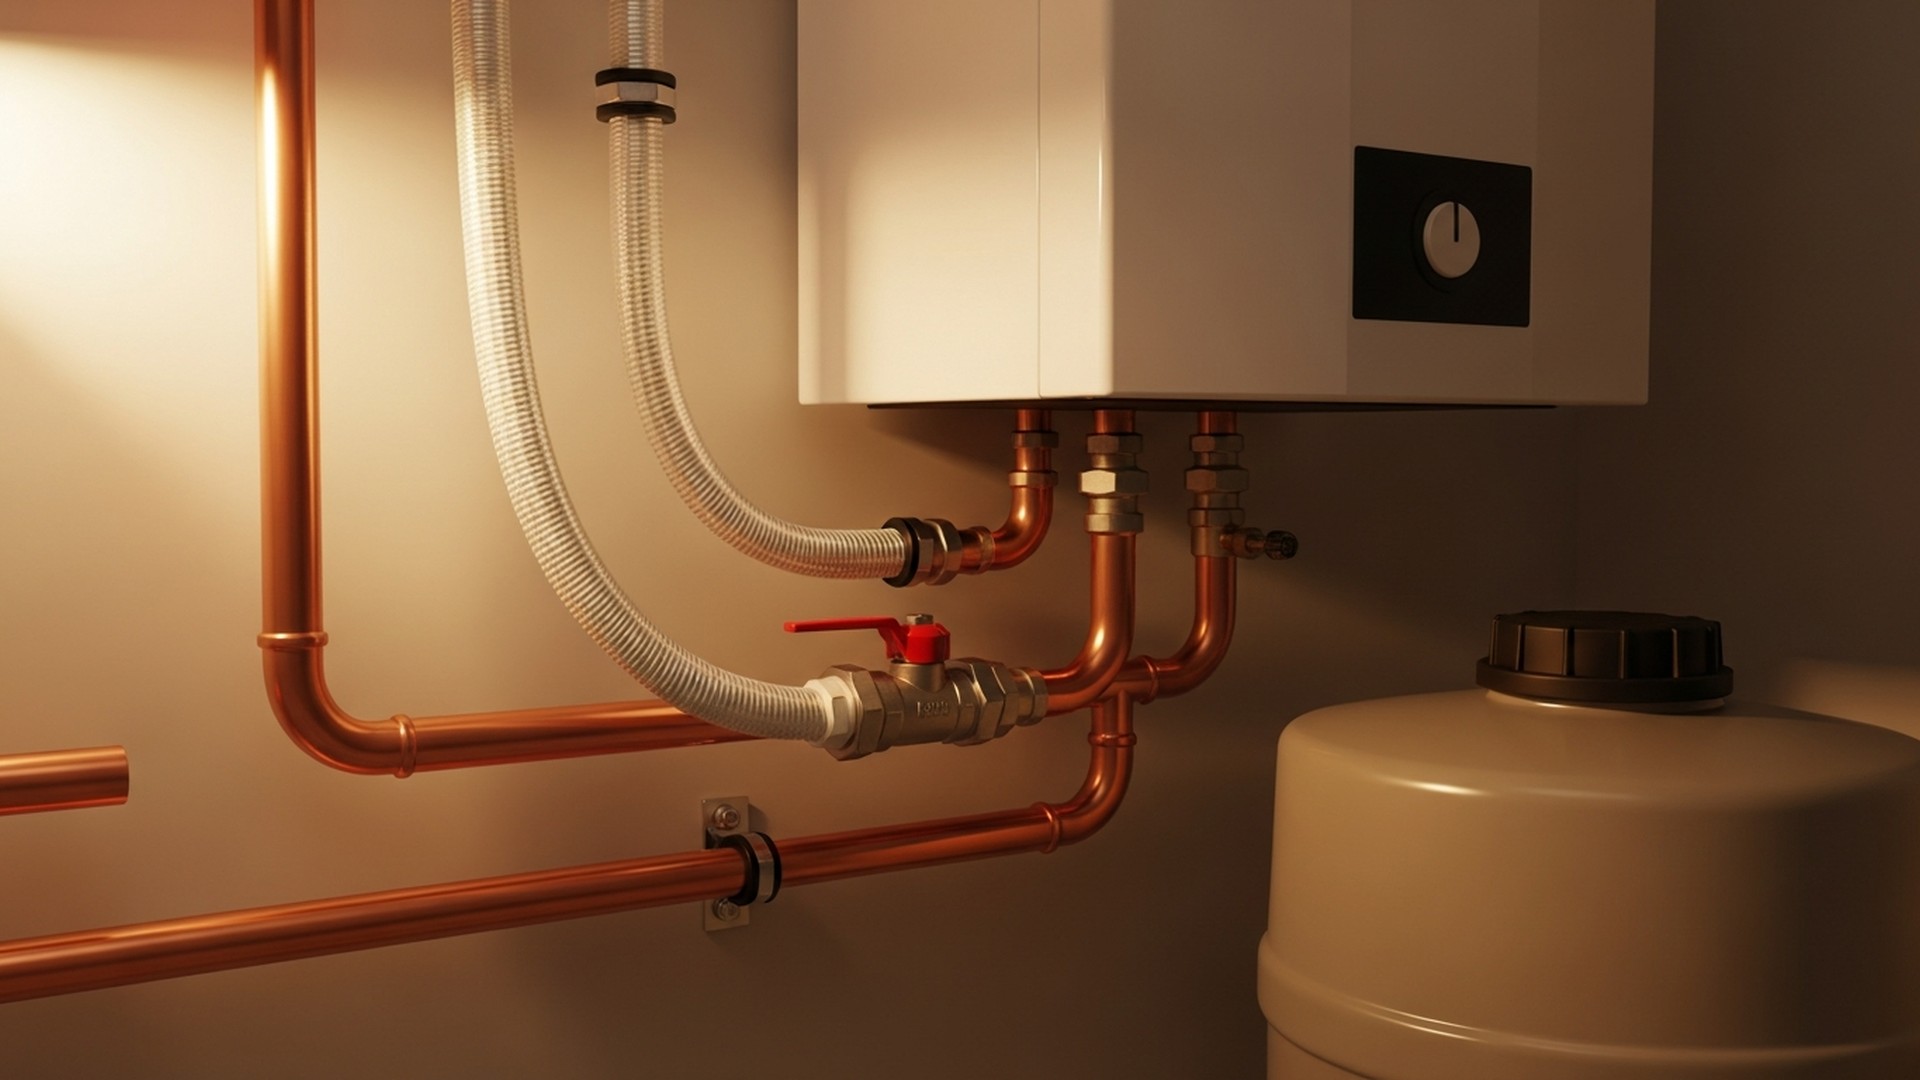
Practical, step-by-step guidance for planning a water-efficient plumbing system for eco DIY homes — fixtures, layout, reuse, monitoring, and common pitfalls.
How to Design a Water-Efficient Plumbing System (2026)
Designing a water-efficient plumbing system starts with the exact question in the headline: how to reduce household water use through planning, fixtures, piping, reuse, and monitoring. A well-designed system can cut indoor water use by 20–50%, shorten hot-water wait times, and lower energy bills tied to water heating. This guide walks through a step-by-step process for DIY and self-build projects—auditing demand, choosing fixtures and heaters, laying out pipes, adding rainwater and graywater, commissioning and monitoring, and avoiding common mistakes.
TL;DR:
- Aim to cut baseline indoor water use by 20–50%: target 40–60 gallons per person per day by using WaterSense fixtures and efficient appliances.
- Minimize waits and waste by shortening hot-water runs, insulating lines, and using small recirculation strategies or point-of-use heaters.
- Reuse rainwater and graywater for toilets, laundry, and irrigation to offset mains supply; size cisterns using the formula gallons = rainfall (in) × roof area (ft²) × 0.623.
Related guides: The Complete Guide to Water-Efficient Plumbing and Moisture Control: Design, Off-Grid and Smart Water Systems, Composting Toilets, and Crawl Space Solutions, How to Connect Smart Water Systems to Hubs (2026), Best DIY Crawl Space Repairs to Stop Moisture and Mold: Top 10 Picks for 2026, and DIY Moisture Absorbers vs. Store-Bought Options: A Side-by-Side Comparison (2026).
Step 1: Assess site needs, usage patterns, and code prerequisites
Collecting accurate demand data gives every design a firm base. Start by listing fixtures, occupants, and outdoor needs (irrigation, livestock, future ADU). Use the EPA WaterSense benchmark as a reference for average indoor use (about 80–100 gallons per person per day for many U.S. households) and record current fixture flow rates: toilets (standard 1.6 gpf vs 1.28 gpf or 1.0 gpf high-efficiency), showerheads (typically 2.5 gpm standard; target ≤2.0 gpm or 1.5 gpm where allowed), and faucets (1.5–2.2 gpm). For appliances, note washing machine Water Factor (WF) and dishwasher gallons per cycle; ENERGY STAR-rated machines often reduce water use significantly.
Create a simple demand schedule in a spreadsheet. Columns: fixture, flow rate (gpm or gpf), estimated daily cycles, peak simultaneous draw. Convert fixtures to an expected gpm during peak to estimate required supply capacity. For example, a small 3-bath home with two simultaneous showers (2.0 gpm each), a dishwasher (1.5 gpm), and kitchen faucet (1.8 gpm) needs a peak of ~7.3 gpm for short durations—design pipe sizing and pump capacity around those peaks.
Check local plumbing codes early. Contact your local building department or health authority for rules on rainwater use, graywater, backflow prevention, and required fixture approvals. The EPA WaterSense program provides fixture performance guidance and savings estimates that inspectors commonly accept: https://www.epa.gov/watersense. Also consider indoor humidity and moisture control—see our ultimate guide to ventilation for small eco homes to avoid water-related condensation problems that can mimic plumbing leaks.
Prerequisites and tools:
- Site and floor plans with roof catchment area.
- Simple sketch of existing plumbing risers or proposed layout.
- A bucket + stopwatch for flow tests and a spreadsheet template for demand scheduling.
- Local code contact details and permit checklist.
Step 2: Select high-efficiency fixtures and appliances
Choosing the right fixtures reduces demand at the source. Set concrete targets: toilets at 1.28 gpf (or consider composting options where code and lifestyle allow), showerheads ≤2.0 gpm (1.5 gpm where legal), faucets 1.5 gpm or pressure-compensating aerators, washing machines with WF ≤3.0, and ENERGY STAR dishwashers that use fewer gallons per cycle.
Compare certification classes. WaterSense-certified fixtures meet performance and efficiency targets; the Plumbing-Heating-Cooling Contractors Association lists industry resources for approved products and contractor guidance: https://www.phccweb.org/. For toilets, high-efficiency gravity or pressure-assisted 1.28 gpf units often offer reliable flush performance; dual-flush toilets can save more if users choose the correct flush volume. Composting or dry toilets reduce water use almost to zero—see our composting toilet guide for costs and code considerations when low-water options make sense.
Water heating choices affect both water and energy use. Compare:
- Tank electric or gas water heaters (lower upfront cost; standby heat loss unless well insulated).
- Heat pump water heaters (much higher efficiency for hot water energy).
- Tankless (on-demand) units (reduce standby loss but may extend wait time unless installed at point of demand).
Brands commonly used in DIY-friendly systems include Bosch tankless units for on-demand installs, Rheem high-efficiency tanks for budget builds, and Stiebel Eltron for compact point-of-use heaters. Choose appliances with durable seals and replaceable cartridges; look for pressure-compensating aerators on faucets and low-profile shower heads with good spray patterns.
Low-tech options complement fixtures:
- Install faucet aerators and flow restrictors (1.0–1.5 gpm) where appropriate.
- Add shut-off levers on shower valves or shower timers for behavior change.
- Educate occupants on load sizing for washing machines and dishwasher cycles.
Factor in local water pressure: if mains pressure exceeds 80 psi, specify a pressure-reducing valve (PRV) at the incoming main to protect fixtures and reduce leaks.
Step 3: Optimize piping layout, sizing, and hot-water delivery
A compact layout and correct pipe sizes reduce waste and wait times. Plan to minimize run lengths and unnecessary branches; place wet rooms close together or position the water heater centrally. Shorter runs cut the volume of cool water that must be flushed before hot water arrives.
Pipe material choices:
- PEX: flexible, lower material and labor cost, low thermal conductivity (less heat loss), easy fittings, good for retrofits.
- Copper: durable, familiar to plumbers, higher thermal conductivity (greater heat loss unless insulated), higher material cost.
- CPVC: lower cost than copper, decent thermal performance, but brittle in cold and less flexible than PEX.
Right-size pipes rather than oversize. Oversized mains reduce velocity and can promote stagnation; undersized lines cause pressure and flow problems. Use simplified practical sizing: for a typical small 3-bath home, design for 8–10 gpm peak supply. Distribute with 3/4" trunk mains and 1/2" branches to fixtures for most domestic needs. Example: a trunk of 3/4" PEX feeding 1/2" branches to shower, lavatory, and kitchen works well when peak is under 12 gpm.
Hot-water delivery options:
- Trunk-and-branch with insulated lines is simplest—insulate hot lines with 1" foam to reduce standby loss and speed thermal recovery.
- Small-loop recirculation with an on-demand pump (e.g., a Grundfos Comfort or similar) can reduce wait volumes dramatically; use thermostatic or demand sensors to limit runtime.
- Point-of-use electric heaters (Stiebel Eltron or Bosch point-of-use models) at distant fixtures remove long hot-run waits but add electric load; they are cost-effective for low-use or remote bathrooms.
Expect typical wait volumes: a 30-foot run of 1/2" pipe holds about 0.5–0.7 gallons. If two showers are 20–30 feet from the heater, each user may waste ~0.5 gallon per shower while waiting. A small recirculation or a point-of-use heater can cut that to near zero.
Measure static pressure and flow: install a test hose bib and use a pressure gauge to check static pressure; measure flow in gpm with a bucket test. For recirculation pumps and booster pumps for rainwater, consider automation—see how to automate water pumps for budget-friendly control options.
For a visual demonstration, check out this video on learn complete hot water return system design &:
Step 4: Integrate alternative water sources — rainwater and graywater systems
Alternative sources reduce mains demand when sized and plumbed correctly. Decide use cases first: toilets and irrigation are the lowest-risk non-potable uses; laundry is viable with correct filtration and code compliance. Reusing graywater and rainwater typically reduces mains potable use by 20–50% depending on climate and system scope.
Sizing cisterns and catchment:
- Use the capture formula: gallons = rainfall (inches) × roof area (ft²) × 0.623.
- Example: a 1,200 ft² roof with 20 inches annual rainfall yields ~14,952 gallons/year (20 × 1,200 × 0.623).
- Size for seasonal storage if rainfall is sporadic; for irrigation-heavy sites, aim for storage covering 1–3 months of dry-season demand.
First-flush diverters protect tanks from roof debris and reduce sediment load. Choose cistern materials: polyethylene tanks are lightweight and cost-effective; steel tanks offer durability; concrete cisterns are long-lived but expensive and need structural support. For pump choice, submersible pumps are compact for cisterns; external booster pumps offer easier maintenance and are suitable when the tank is in a frost-prone area.
Plumbing separations and labeling are mandatory where local codes apply—install code-compliant backflow prevention and cross-connection control assemblies on any harvested-water plumbing serving toilets or laundry. Local rules vary; consult the applicable health department. ENERGY STAR water heater guidance remains relevant when pairing heaters with non-potable supplies: https://www.energystar.gov/products/water\_heaters. For graywater specifics, state regulators often have practical guidance—see the California Water Boards’ graywater program for examples of permitted uses and design limits: https://www.waterboards.ca.gov/water\_issues/programs/graywater/.
Simple graywater options:
- Laundry-to-landscape diverter: diverts washing machine effluent to subsurface irrigation; requires biodegradable detergents and a separate valve for maintenance.
- Branched drain systems for single fixtures: retrofit options exist but require careful planning to avoid soils and clogging.
Consider off-grid and low-water toilets when pairing with alternative sources; our guide to off-grid toilet options explains compliance and practical pairings.
Step 5: Commissioning, monitoring, and low-cost leak detection
Commissioning verifies the system performs as designed. Pressure-test sections per code — commonly to 1.5× the working pressure — and inspect every joint and support. Flush lines to clear debris, and run each fixture while recording flow and temperature at the tap to create a post-commissioning baseline.
Metering and monitoring:
- Install submeters for hot water, cold water, and irrigation. Submeters let you spot sudden increases and track savings from retrofit measures.
- Use smart leak detectors at risk points (near water heaters, under sinks, at pump stations). Some models from brands like Flo by Moen or Phyn can automatically shut off the main on large leaks; low-cost sensors from Fibaro or Honeywell won't auto-shut but will alert you.
- Track metrics: baseline daily usage, peak-day use, target daily use (e.g., 40–60 gpd per person), and acceptable leak rate (target <2% of daily use).
Planned maintenance:
- Filters and first-flush devices: inspect every 1–3 months initially, then 6–12 months.
- Pumps: check impellers, seals, and electrical connections annually; store spare seals for common pump models.
- Exercise valves and inspect backflow preventers annually or per local code.
Budgeting for monitoring and servicing matters. Account for replacement filters, occasional pump servicing, and submeter costs in the project budget—see our hidden costs list for typical figures and trade-offs. For low-cost automation of pumps and controls, visit how to automate existing water pumps on a budget.
If monitors flag unusual usage, isolate sections by closing branch valves and reading submeters to find the offending circuit quickly. Rapid action limits water and structural damage.
Step 6: Common mistakes and troubleshooting in water-efficient system design
Overcomplicating early designs
- Mistake: Adding complex recirculation loops and intertwined graywater systems before demand and usage patterns are validated.
- Fix: Start simple—reduce demand with fixtures, shorten runs, and add one reuse stream at a time. Validate savings with submeters before expanding.
Wrong Pipe Diameters and Poor Routing
- Mistake: Oversizing mains that cause slow flow and stagnation, or undersizing branches producing low flow at fixtures.
- Fix: Use practical sizing guidelines (3/4" trunk with 1/2" branches for many small self-builds), measure actual peak flows, and reroute to group wet rooms.
Mixing Potable and Non-potable Systems
- Mistake: Cross-connections or missing backflow prevention on harvested-water lines.
- Fix: Install code-compliant backflow preventers and clear labeling. If in doubt, separate systems physically and use visible valve handles for isolation.
Ignoring Maintenance and Monitoring
- Mistake: No submeters, no regular filter changes, and no plan for pump failures.
- Fix: Install submeters, schedule 6–12 month maintenance tasks, and budget for spare parts.
Troubleshooting quick checks
- Low flow at fixtures: Measure upstream pressure; if pressure is fine, check aerators and debris in cartridge valves. Typical pressure drop across a clogged aerator can be 5–10 psi.
- Water hammer: Install air chambers or hammer arrestors near fast-closing valves; check for loose pipe supports.
- Pressure loss during peak: Check for undersized mains or partially closed PRV. Expected drop across a 1/2" branch under a shower load (~2 gpm) is small; larger drops indicate restriction.
- Pumps cycling rapidly: Add proper pressure tanks or set longer pump off-delay; verify sensor placement and tank pre-charge.
When to call a pro
- Complex cross-connection or backflow assemblies that must meet local certification.
- Structural work for large cisterns or buried tanks.
- Unclear pressure regulation issues or repeated leaks despite repairs.
The Bottom Line
Designing a water-efficient plumbing system combines simple demand reduction, smart fixture selection, compact piping, targeted hot-water solutions, and practical reuse. Start with an audit, pick WaterSense and ENERGY STAR-rated fixtures, add small reuse systems as proven by metering, and plan for commissioning and maintenance.
Frequently Asked Questions
How do I reduce hot-water wait time without a full recirculation system?
The short answer: shorten runs, insulate hot lines, and add point-of-use heaters where practical. Insulating hot-water lines with 1" closed-cell foam reduces standby losses and slightly shortens the perceived wait. For remote baths, install compact electric point-of-use heaters (Stiebel Eltron or Bosch mini-tanks) at the fixture to eliminate long waits without needing a full recirculation loop. Another low-cost option is an on-demand recirculation pump with a push-button or motion sensor that only runs briefly when needed—this uses much less energy than a continuous loop.
What are the signs of a hidden leak and how quickly should I act?
Signs include unexplained meter reads, damp spots beneath floors, higher water bills, or persistent mold/odor. If a submeter shows usage when all fixtures are off, that's a strong indicator. Act immediately: shut the main, read the meter, then open sections sequentially to isolate the leak. For visible flooding or large leaks, shut the main and call a licensed plumber. Small persistent leaks should be fixed within days to prevent structural and mold damage—delaying raises repair and remediation costs substantially.
Is it legal to use rainwater for toilets and laundry in my area?
Regulations vary widely by state, county, and municipality. Many U.S. jurisdictions permit non-potable uses like toilet flushing and laundry with required backflow prevention and labeling. Consult your local building or health department early and follow their guidance on cross-connection control. For reference on allowed practices and standards, review local code material and examples such as state graywater programs; the California Water Boards provide practical graywater guidance that illustrates common compliance requirements: https://www.waterboards.ca.gov/waterissues/programs/graywater/.
Which is better for small self-builds: point-of-use heaters or a central tank?
It depends on layout and usage patterns. Point-of-use heaters reduce wait time and water waste for distant fixtures and have lower installation costs for isolated bathrooms. Central tanks (especially heat pump water heaters) are more energy-efficient for whole-house hot-water loads and simplify maintenance. For many small self-builds a hybrid approach works: a central high-efficiency tank or heat pump for kitchen and main baths, plus point-of-use units for remote guest baths.